


Furniture Blog
Custom Furniture Gallery
Building a wood strip canoe


Relationships are a series of compromises. Your main squeeze might like to do lots of the same fun stuff that you like to do, but you can't expect that you're both going to want to do everything together. I mean, come on, get real. If you want to get a little rowdy sometimes, but they're only into the mellow contemplative stuff, then you just have to let it go. That's what your other friends are for. I'm not talking about boys and girls here, I'm talking about boats. Specifically canoes.
The shape and size of a canoe determines how it's going to behave on the water. That's probably obvious. How the shape changes the handling is less so. A boat that's long and straight along the keel line will be fast and want to track in a straight line. That's great if you're paddling into a stiff headwind on a lake but not so good if you are picking your way down a rock strewn rapid on a river. For that you need a boat that's shaped more like a banana, with the bow and stern being higher than the middle. This boat will want to pivot on the low spot on the bottom. The more "rocker" it has, the easier it will turn. A canoe with a high bow and stern will be good at pushing waves aside, but will also get shoved around by the wind; a round bottom is fast but unstable; a flat bottom wants to "stick" to the water, which is great until the waves kick up; flared sides deflect waves and add stability, but they make the boat wide and harder to paddle solo. Every decision that gets made when designing a boat affects every other detail in the boat. Compromise.
This is how a guy can end up having what some might call too many boats. What do they know? I mean, a sports car might be super fun to zip around in, but you ain't gonna haul your firewood in it. That's how you end up owning a pick-up truck as well.
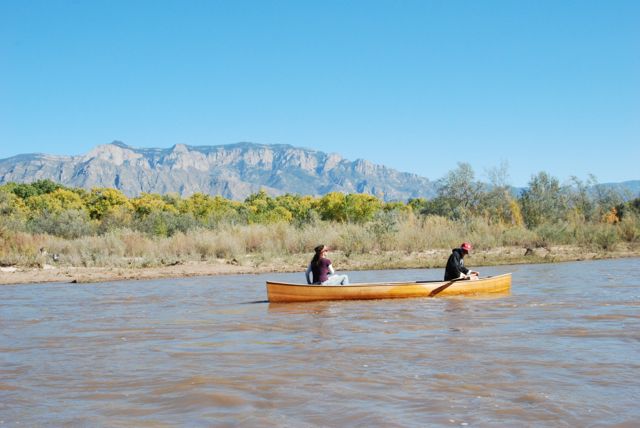
In New Mexico we are blessed with a full compliment of paddling opportunities, from lakes to class five whitewater and everything in between. I like the flat stuff. And I like the white stuff. And I have canoes for each. Recently I've been paddling the Rio Grande down around Albuquerque a lot and I've also been hankering to build another boat. But what to build?
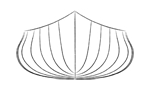
I had built the equivalent of the pick-up already, so I thought I'd build myself a sports car. A sexy, zippy little solo boat that would love the Albuquerque section of the Rio Grande as much as I do. After looking at lots of different designs I finally picked a boat called the Northwest Passage Solo from the Northwest Canoe Company. I had also gotten the plans for the boat in the picture above from them, so I thought I'd try this design of theirs as well. They will give you plans for any number of different types of canoes if you make a donation to a paddling organization of your choice. Then, if you want, they will sell you anything you need to build it, from wood strips to fiberglass, epoxy, seats, etc. If you think you might want to build a boat, you should check them out.
The technique I use to build canoes is called Strip Building. The boat is made from 1/4 x 3/4" strips of wood (usually cedar, but I used basswood on this one) that are laid up on a form to give them the shape you want. Then the whole thing is covered in fiberglass, inside and out, to give it strength. It's easy and the boat you end up with is not only strong and good looking, but it is also relatively lightweight.
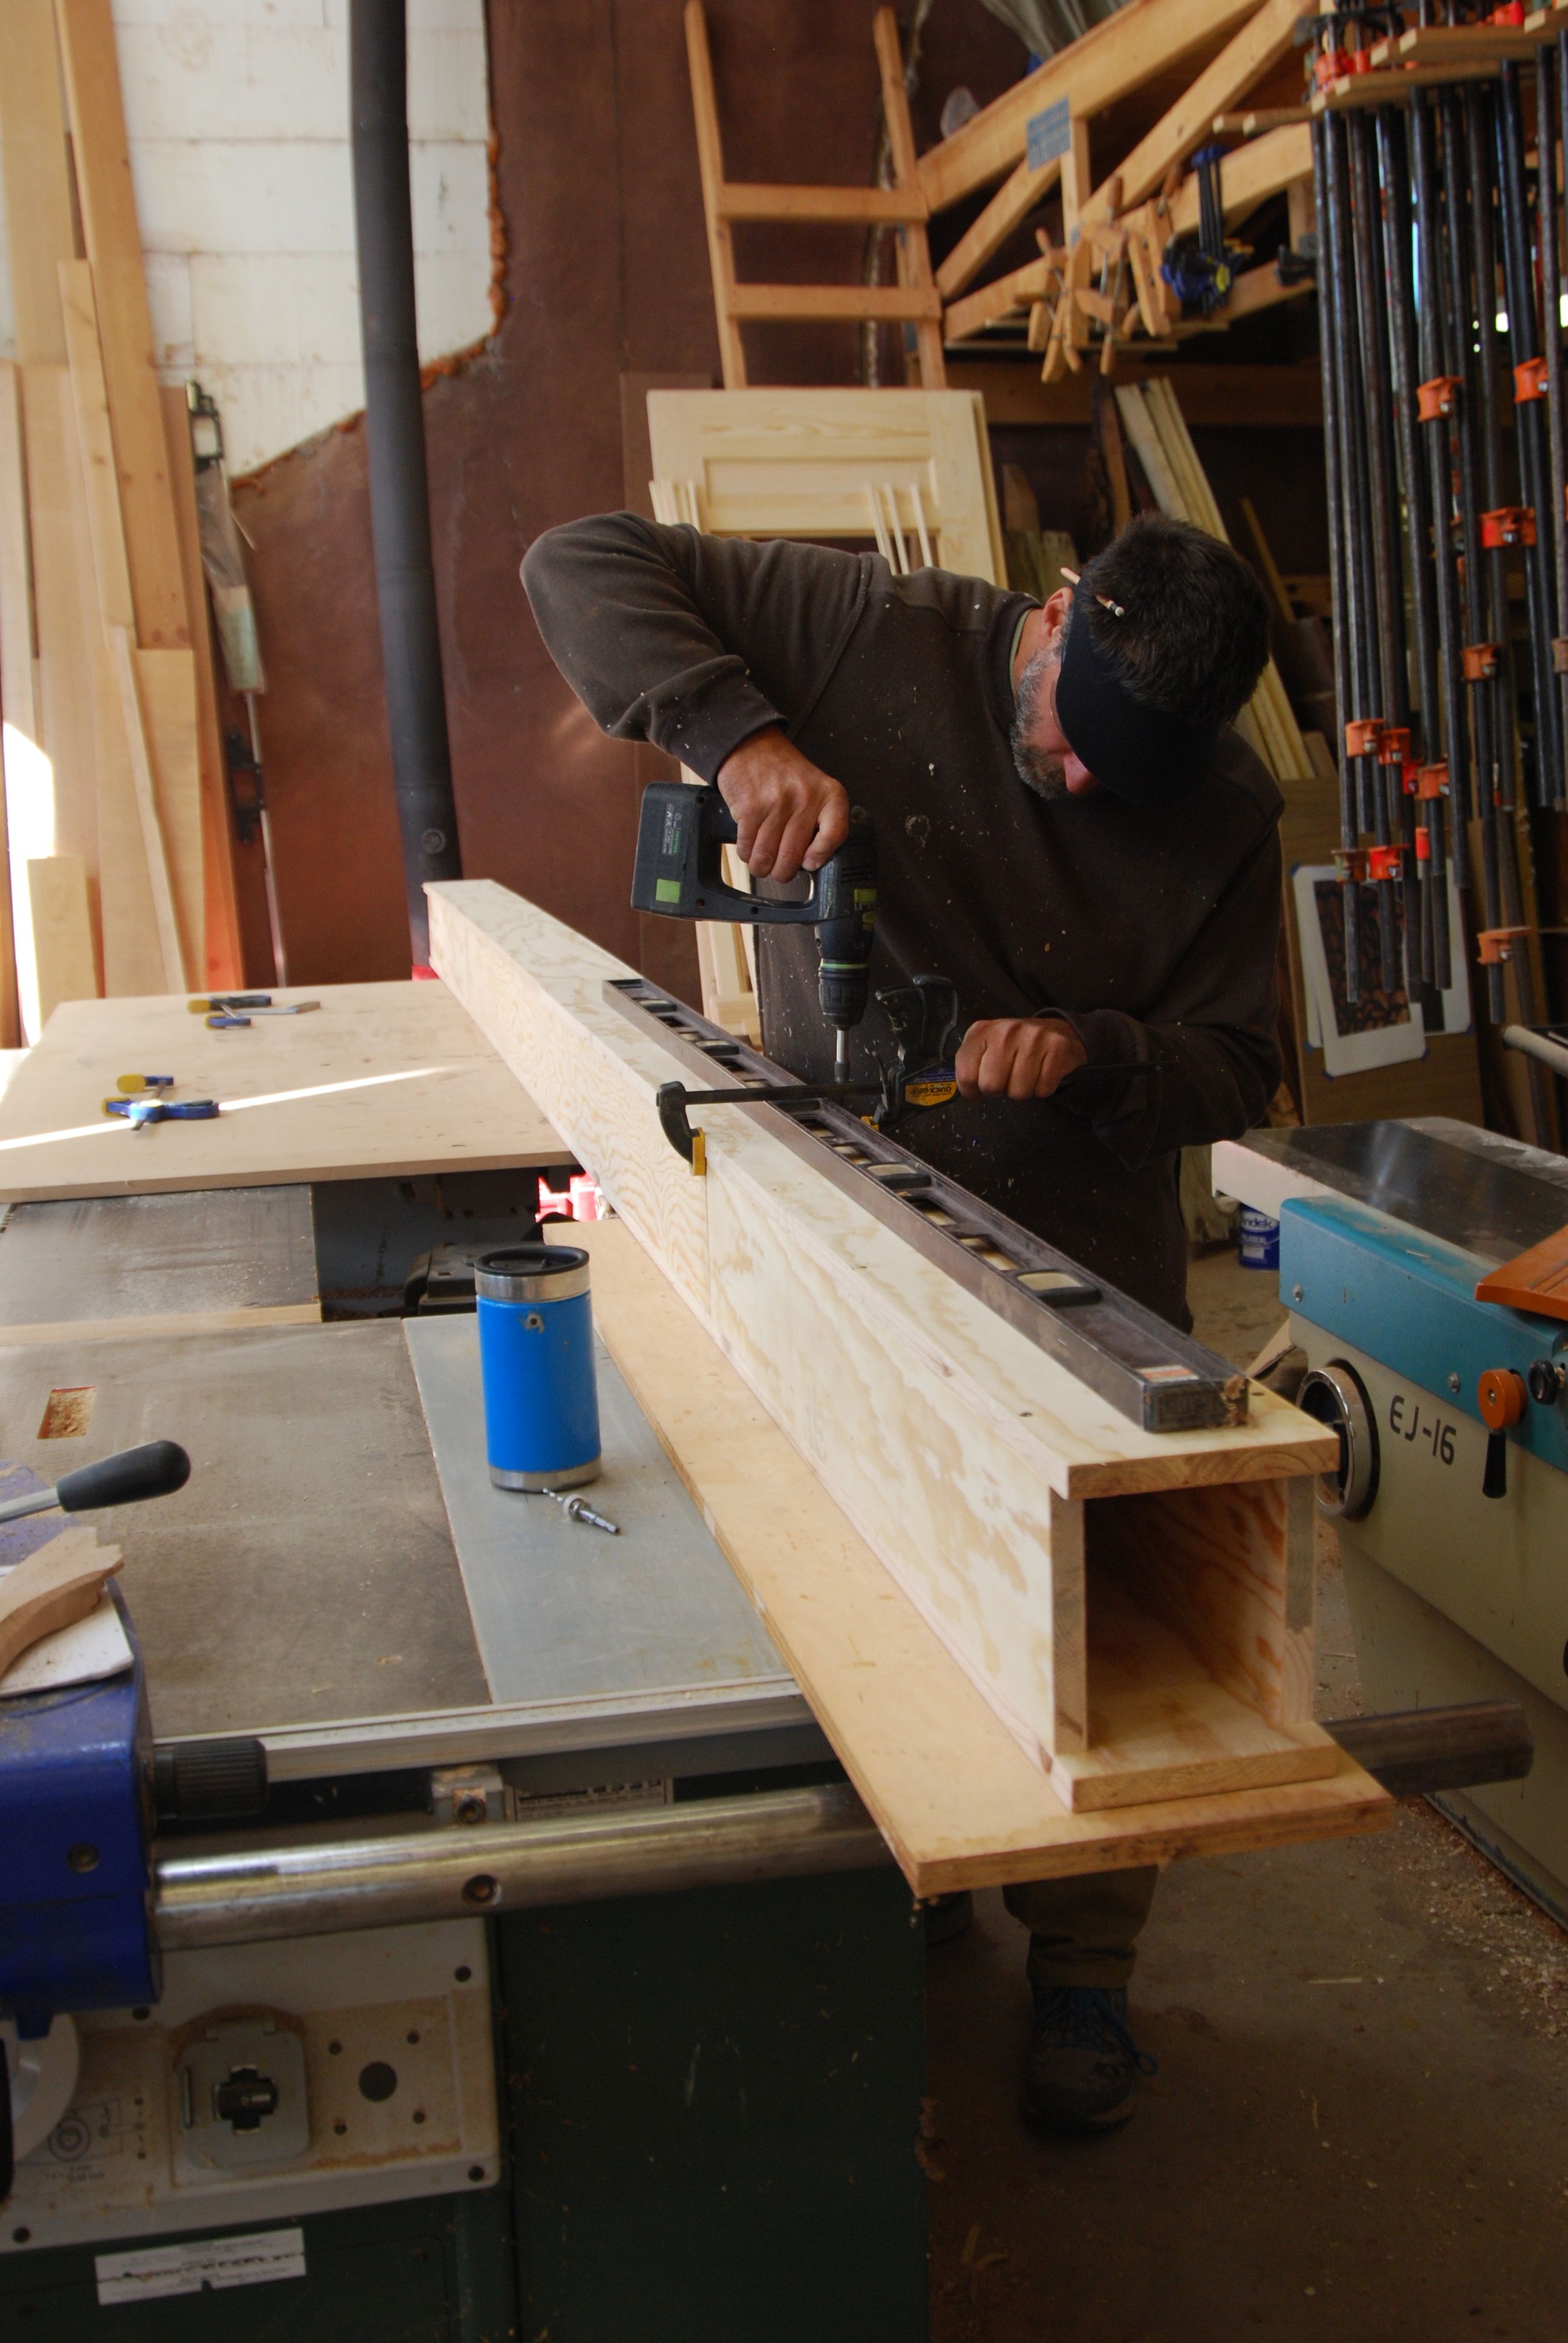
The first step in building a strip boat is to make the Strongback. It is the spine of the armature that you use to lay up your strips and it needs to be stiff and straight. There are plenty of different ways to make a strongback, but I decided to use a hollow plywood box for mine. The materials are cheap, and when put together like this, are light, stiff and straight.
The strongback get's a center line drawn on it so that all of the stations that make up the shape of the boat can be lined up.
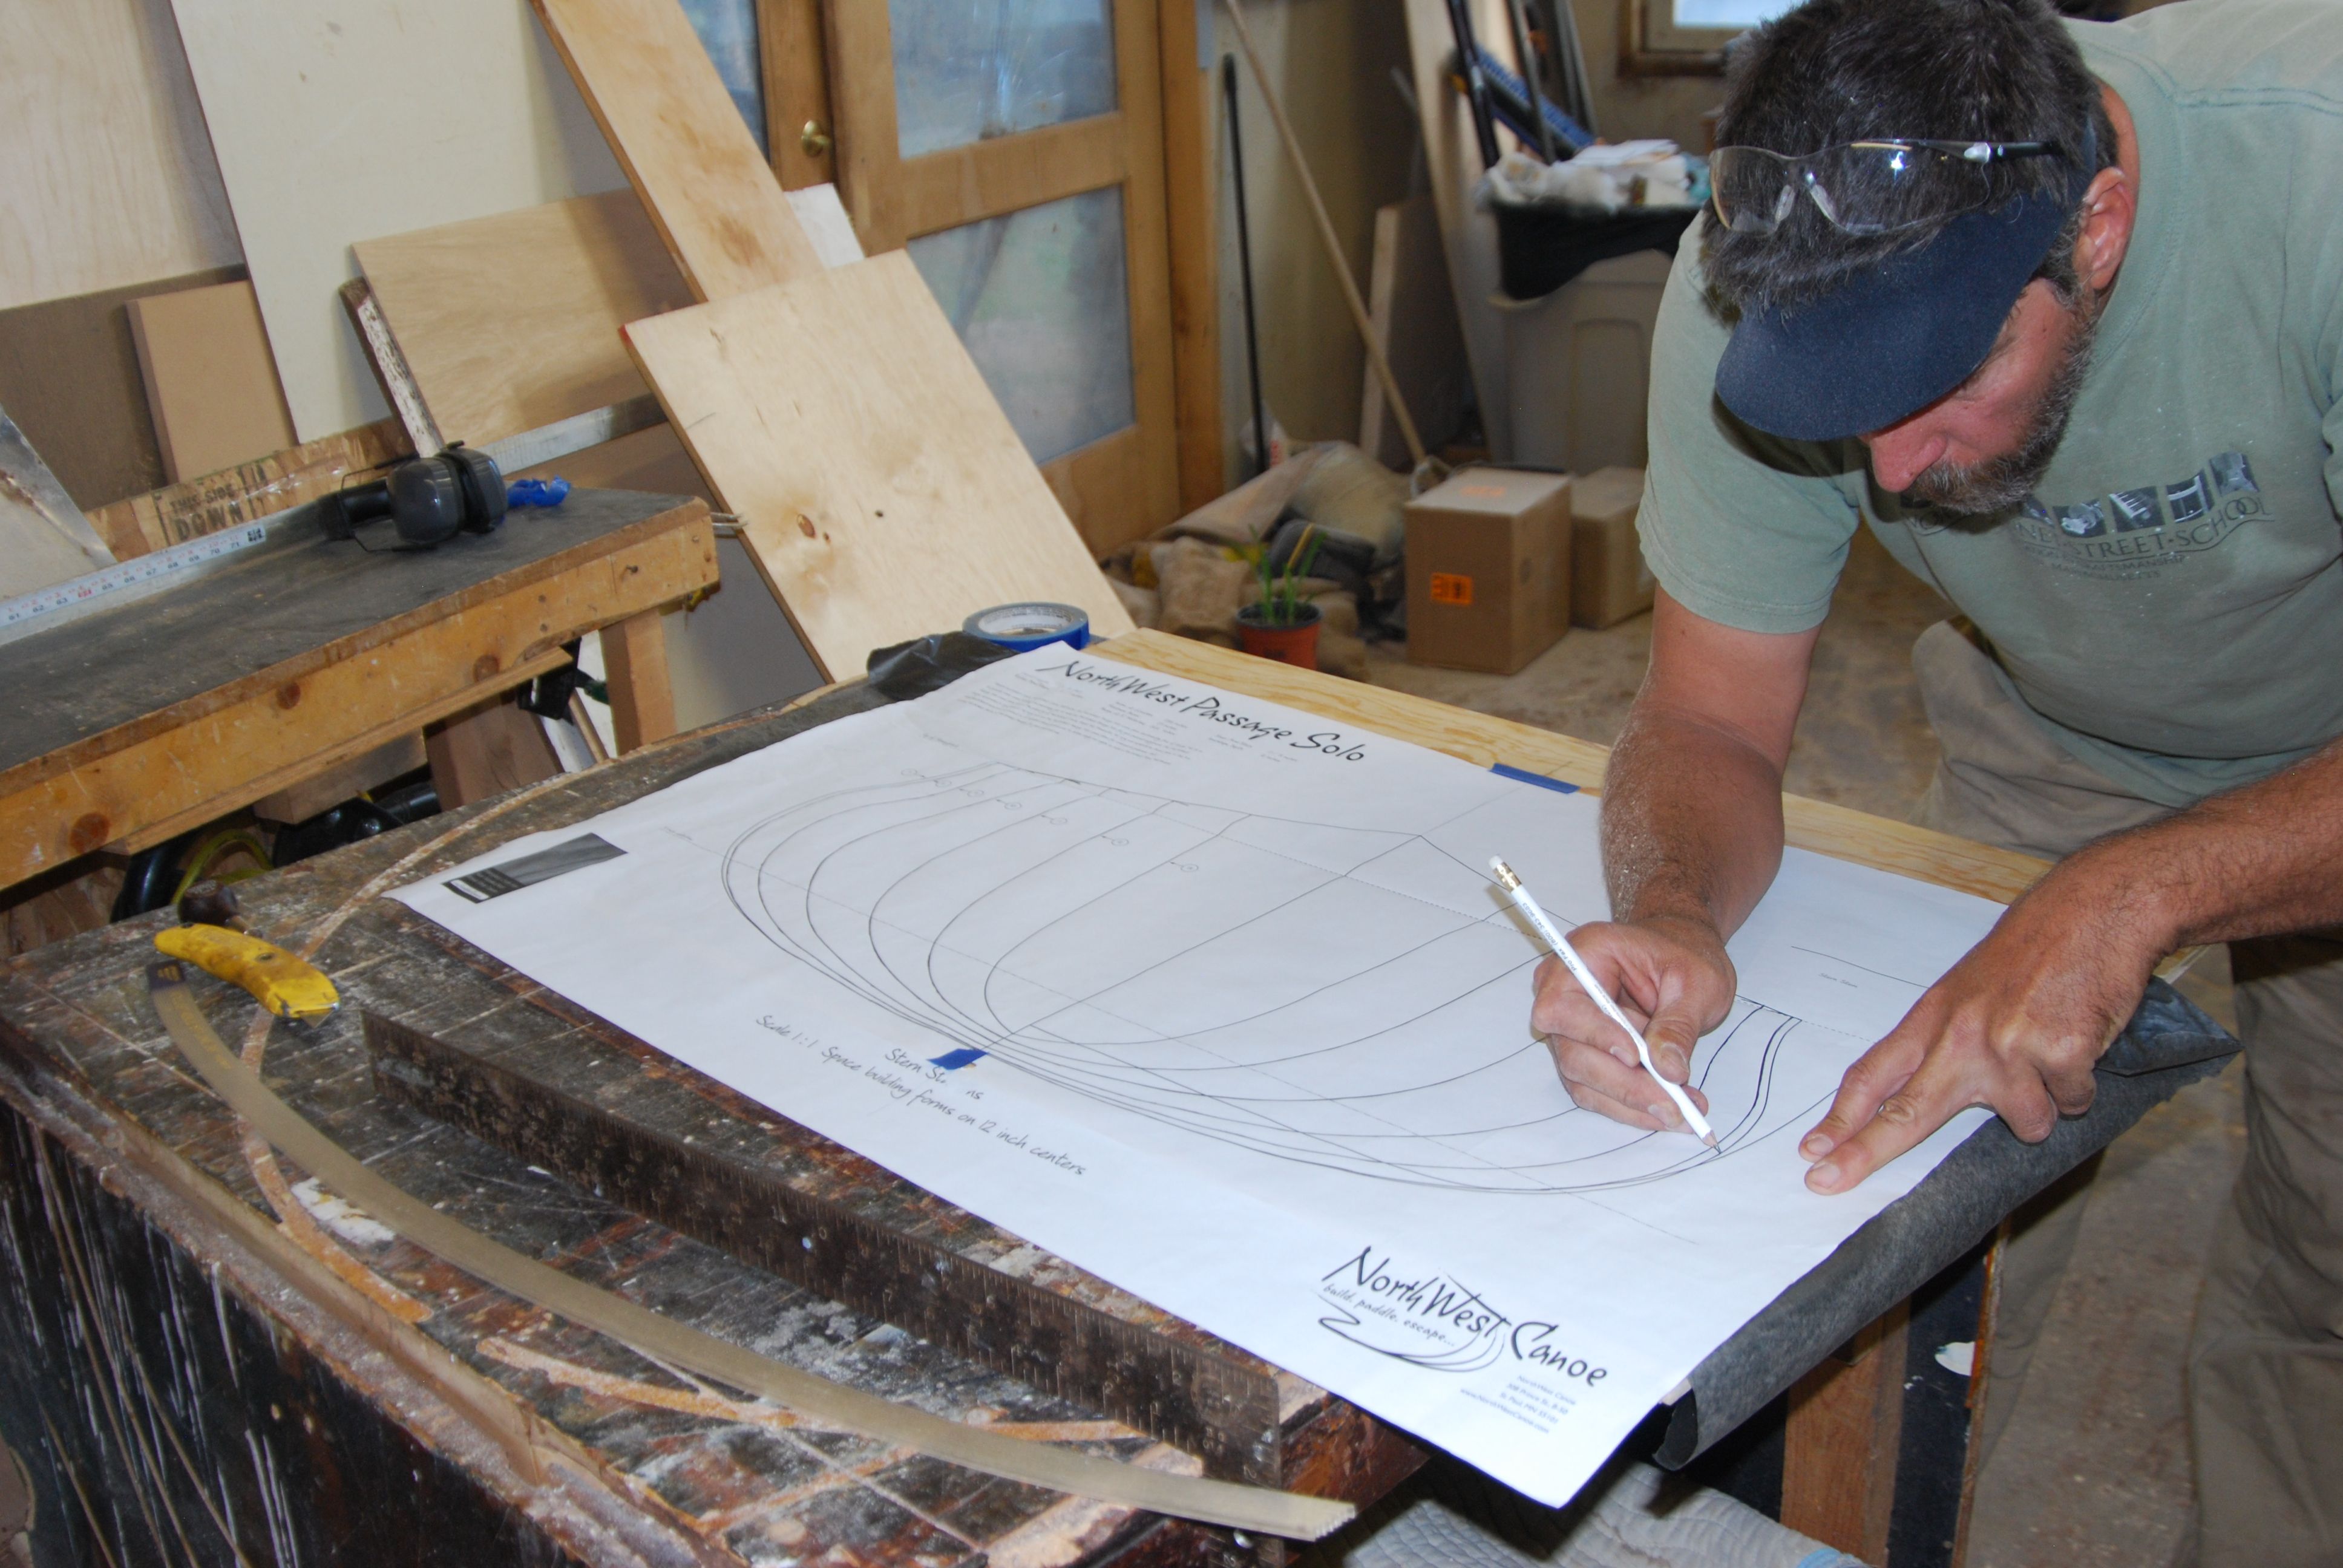
The plans for a boat like this come on one sheet of paper drawn full size. Each line represents the cross section of the canoe at one foot intervals along it's length. Here I've lined up the center line on the drawing with a center line on a piece of plywood and I'm using carbon paper to transfer the drawing of a station onto the plywood.
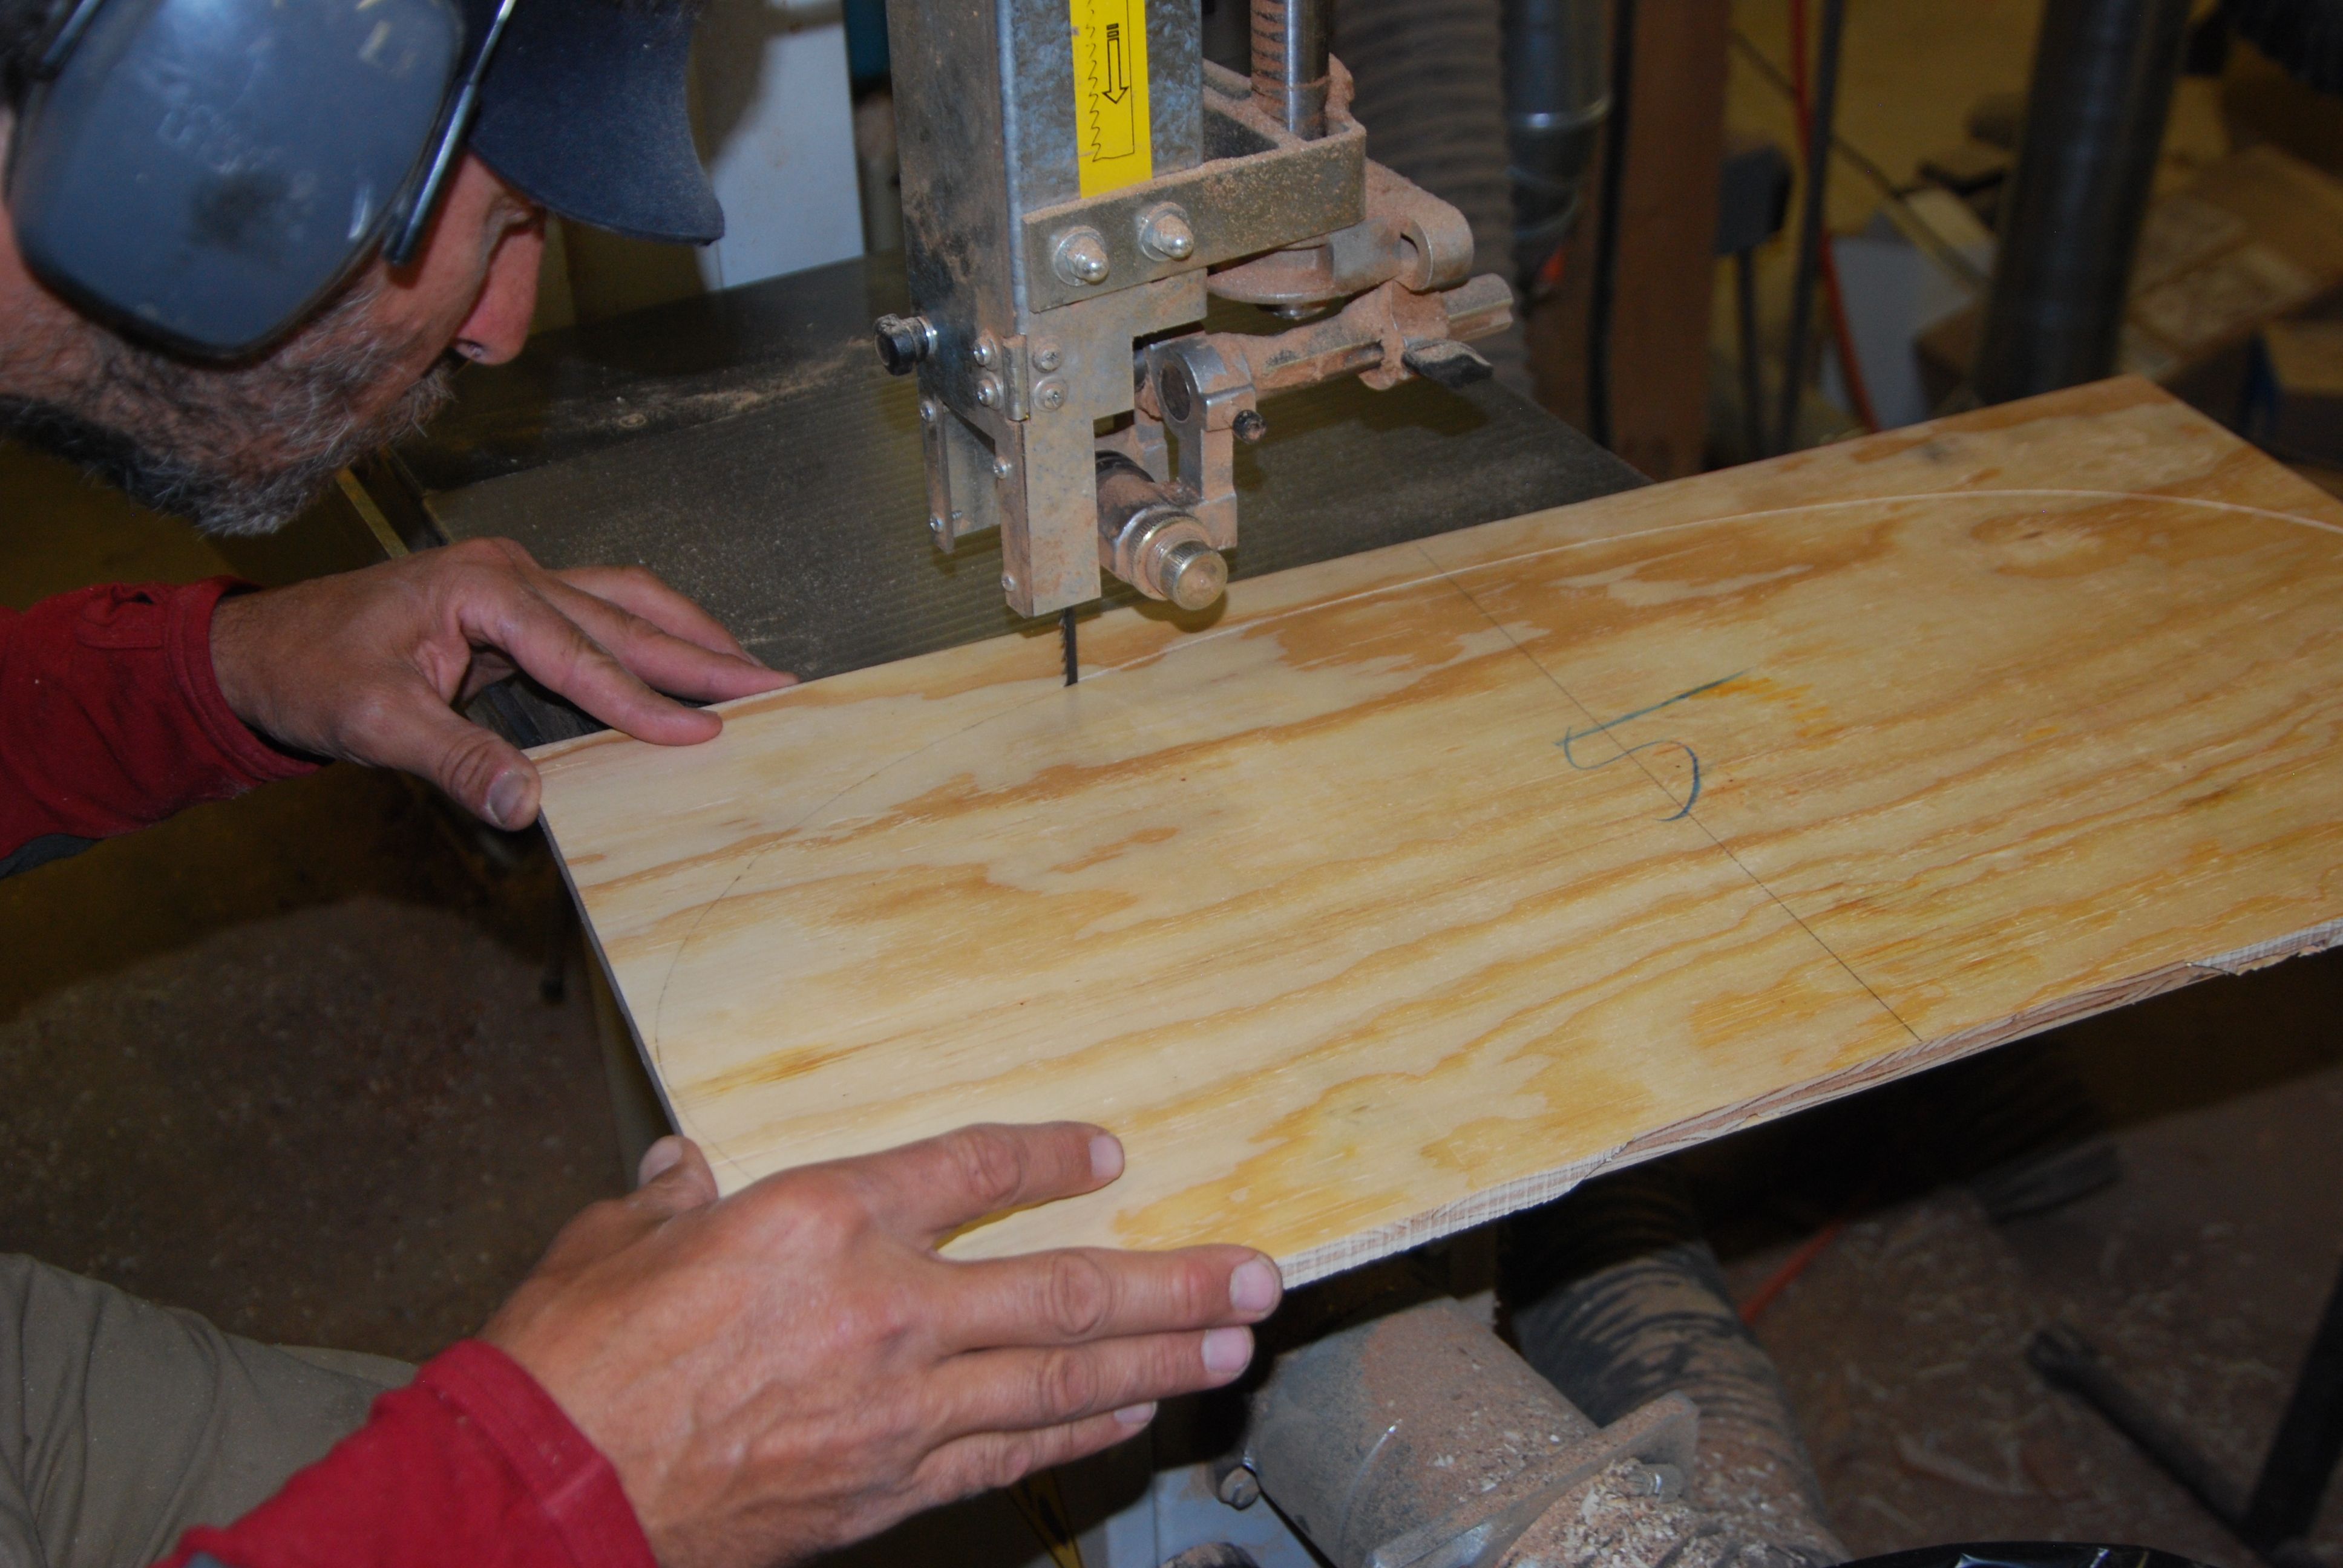
The next step is to bandsaw the stations to the lines from the drawings so that they can be mounted on the strongback.
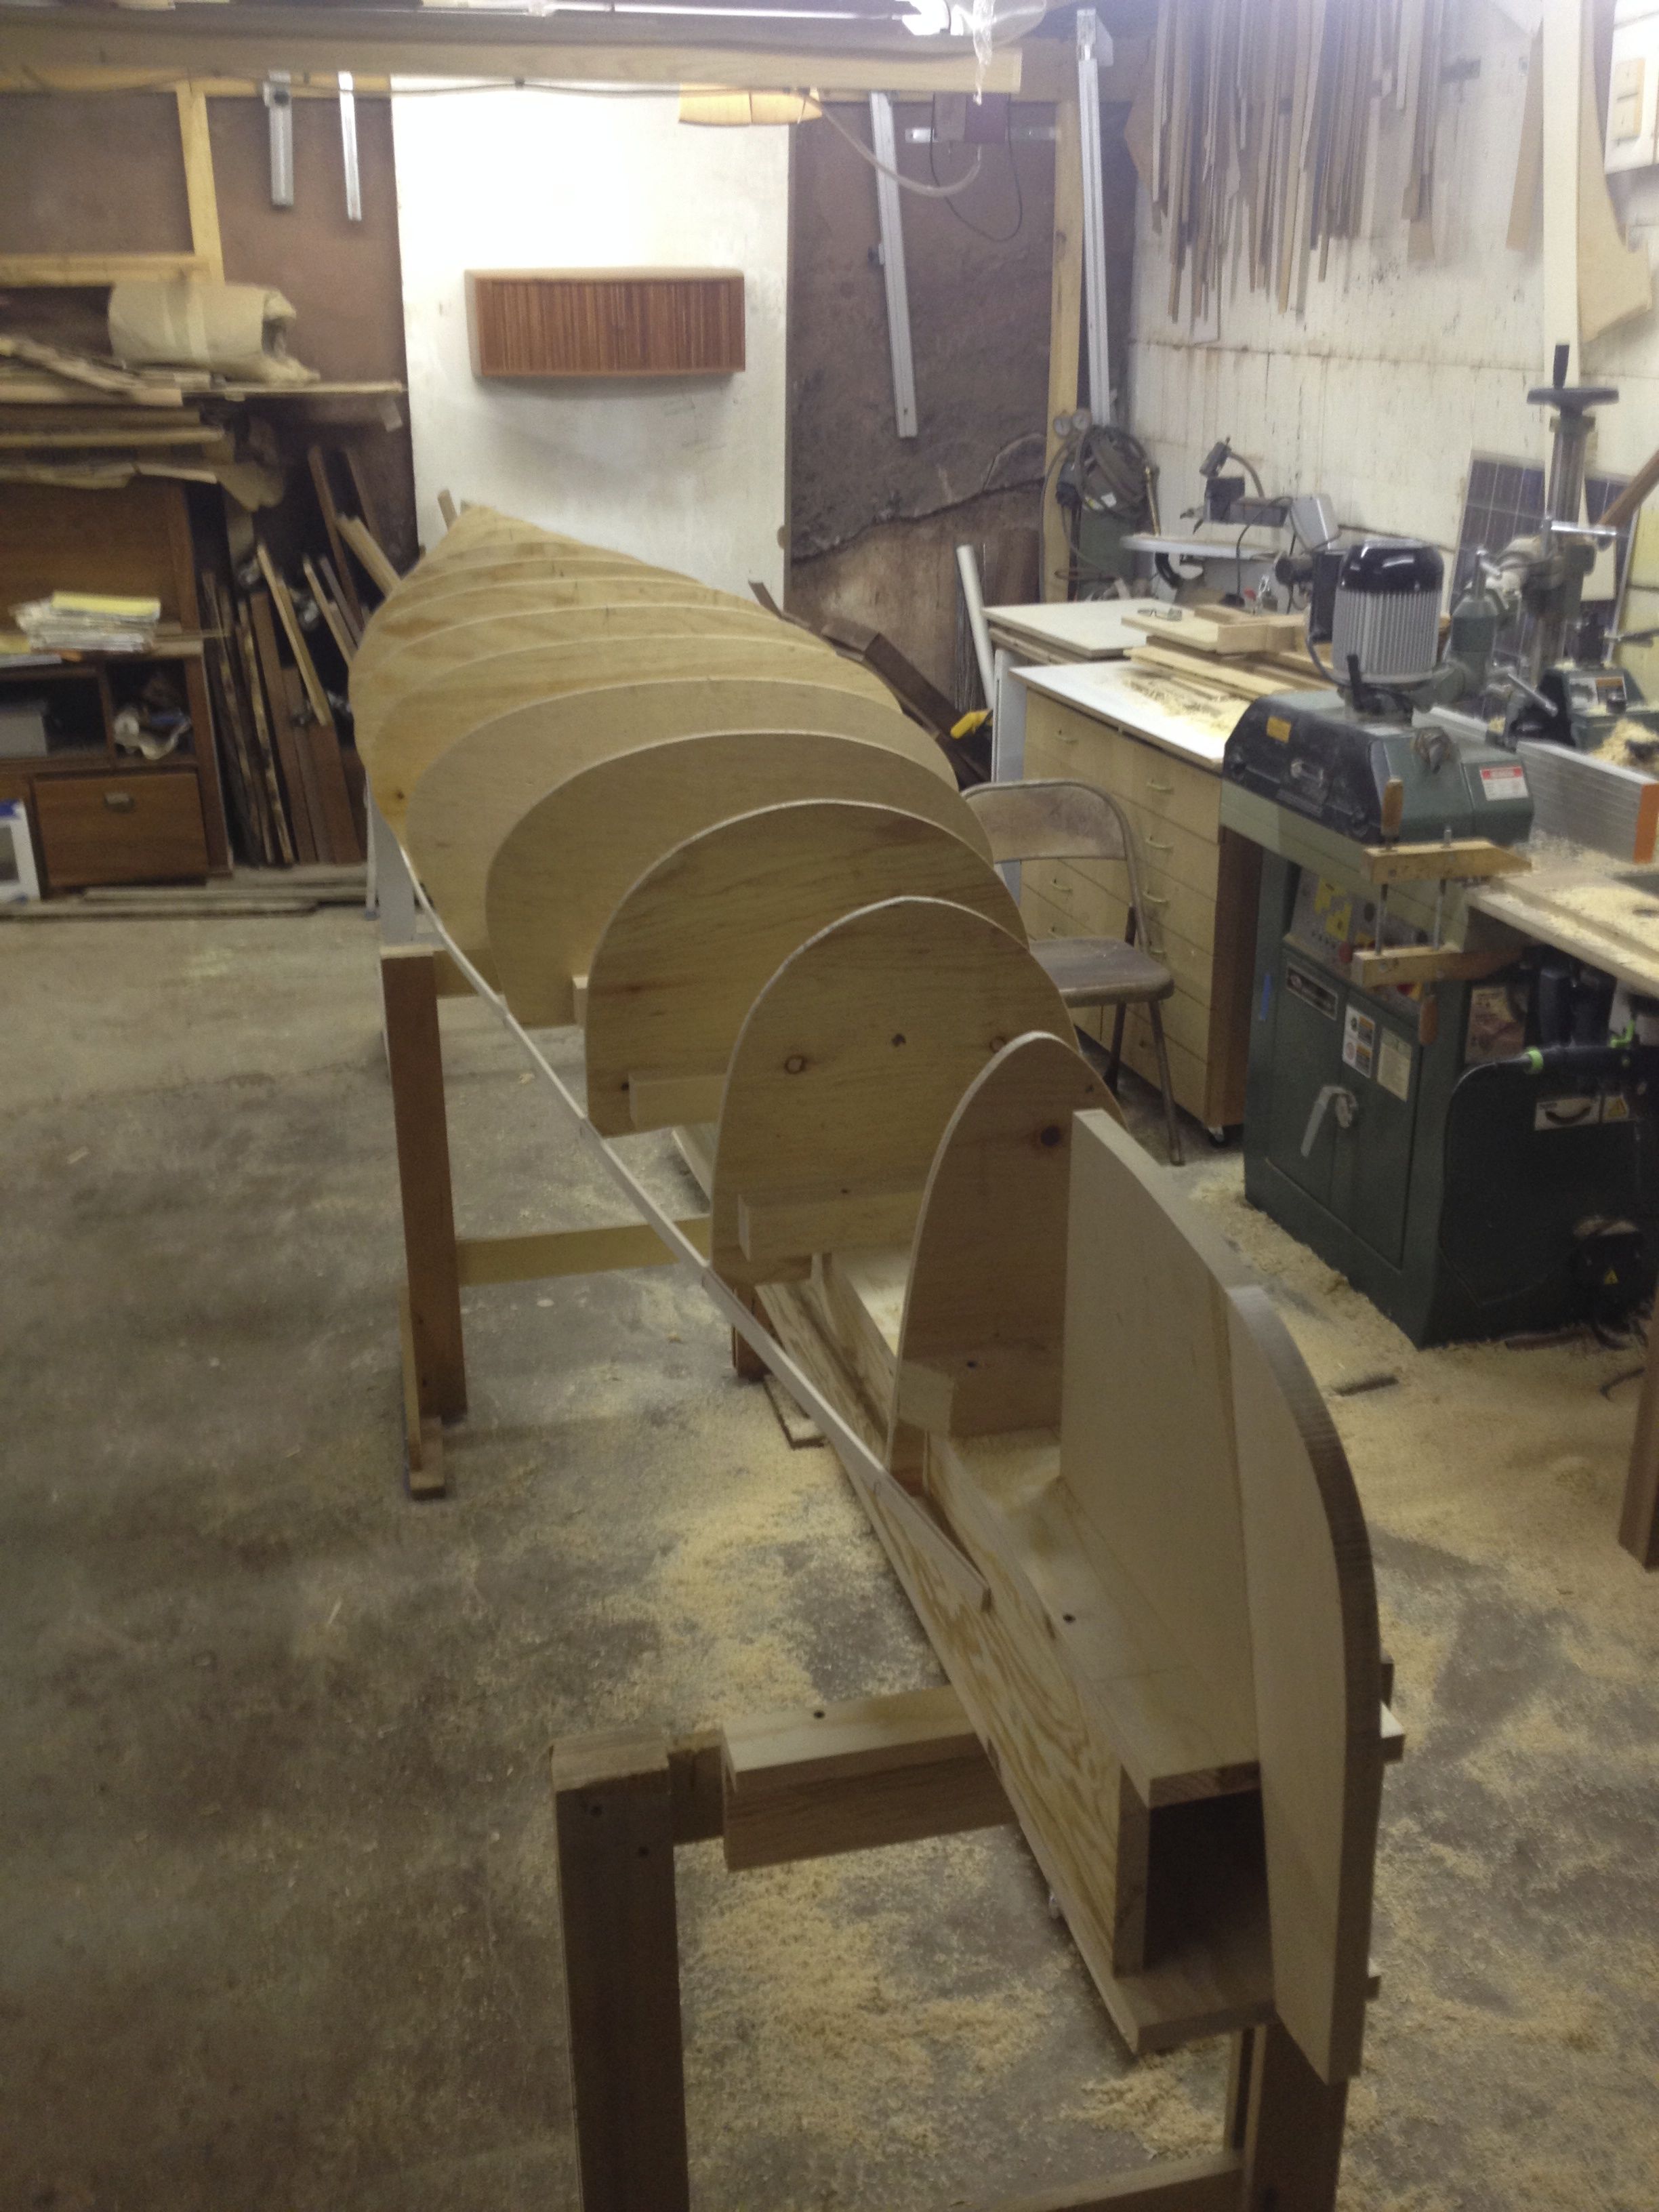
Once the stations are on the strongback you staple strips of wood to them and sight down the strip to make sure that the lines of the hull are fair. If they aren't, then you shift the stations around or do some modifications to them. It's worth spending some time on this since it determines the smoothness of your hull.
When you've made sure that all the stations are in the right spot it's time to start 'stripping' the hull.
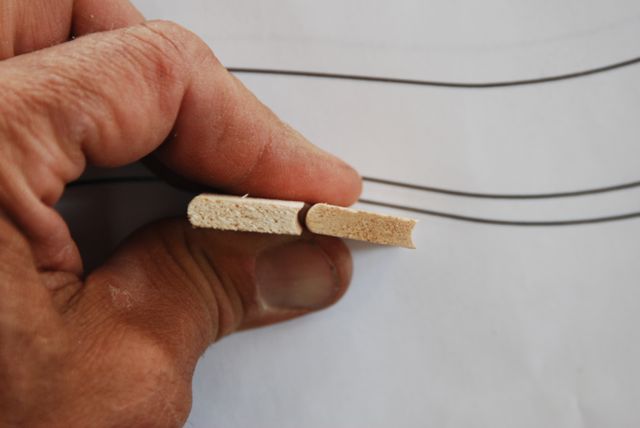
Each 1/4 x 3/4" strip has a cove machined on one edge and a bullnose cut on the other edge. This allows you to lay the strips around the curved shapes of the hull without there being gaps between the strips. Sort of like a knuckle.
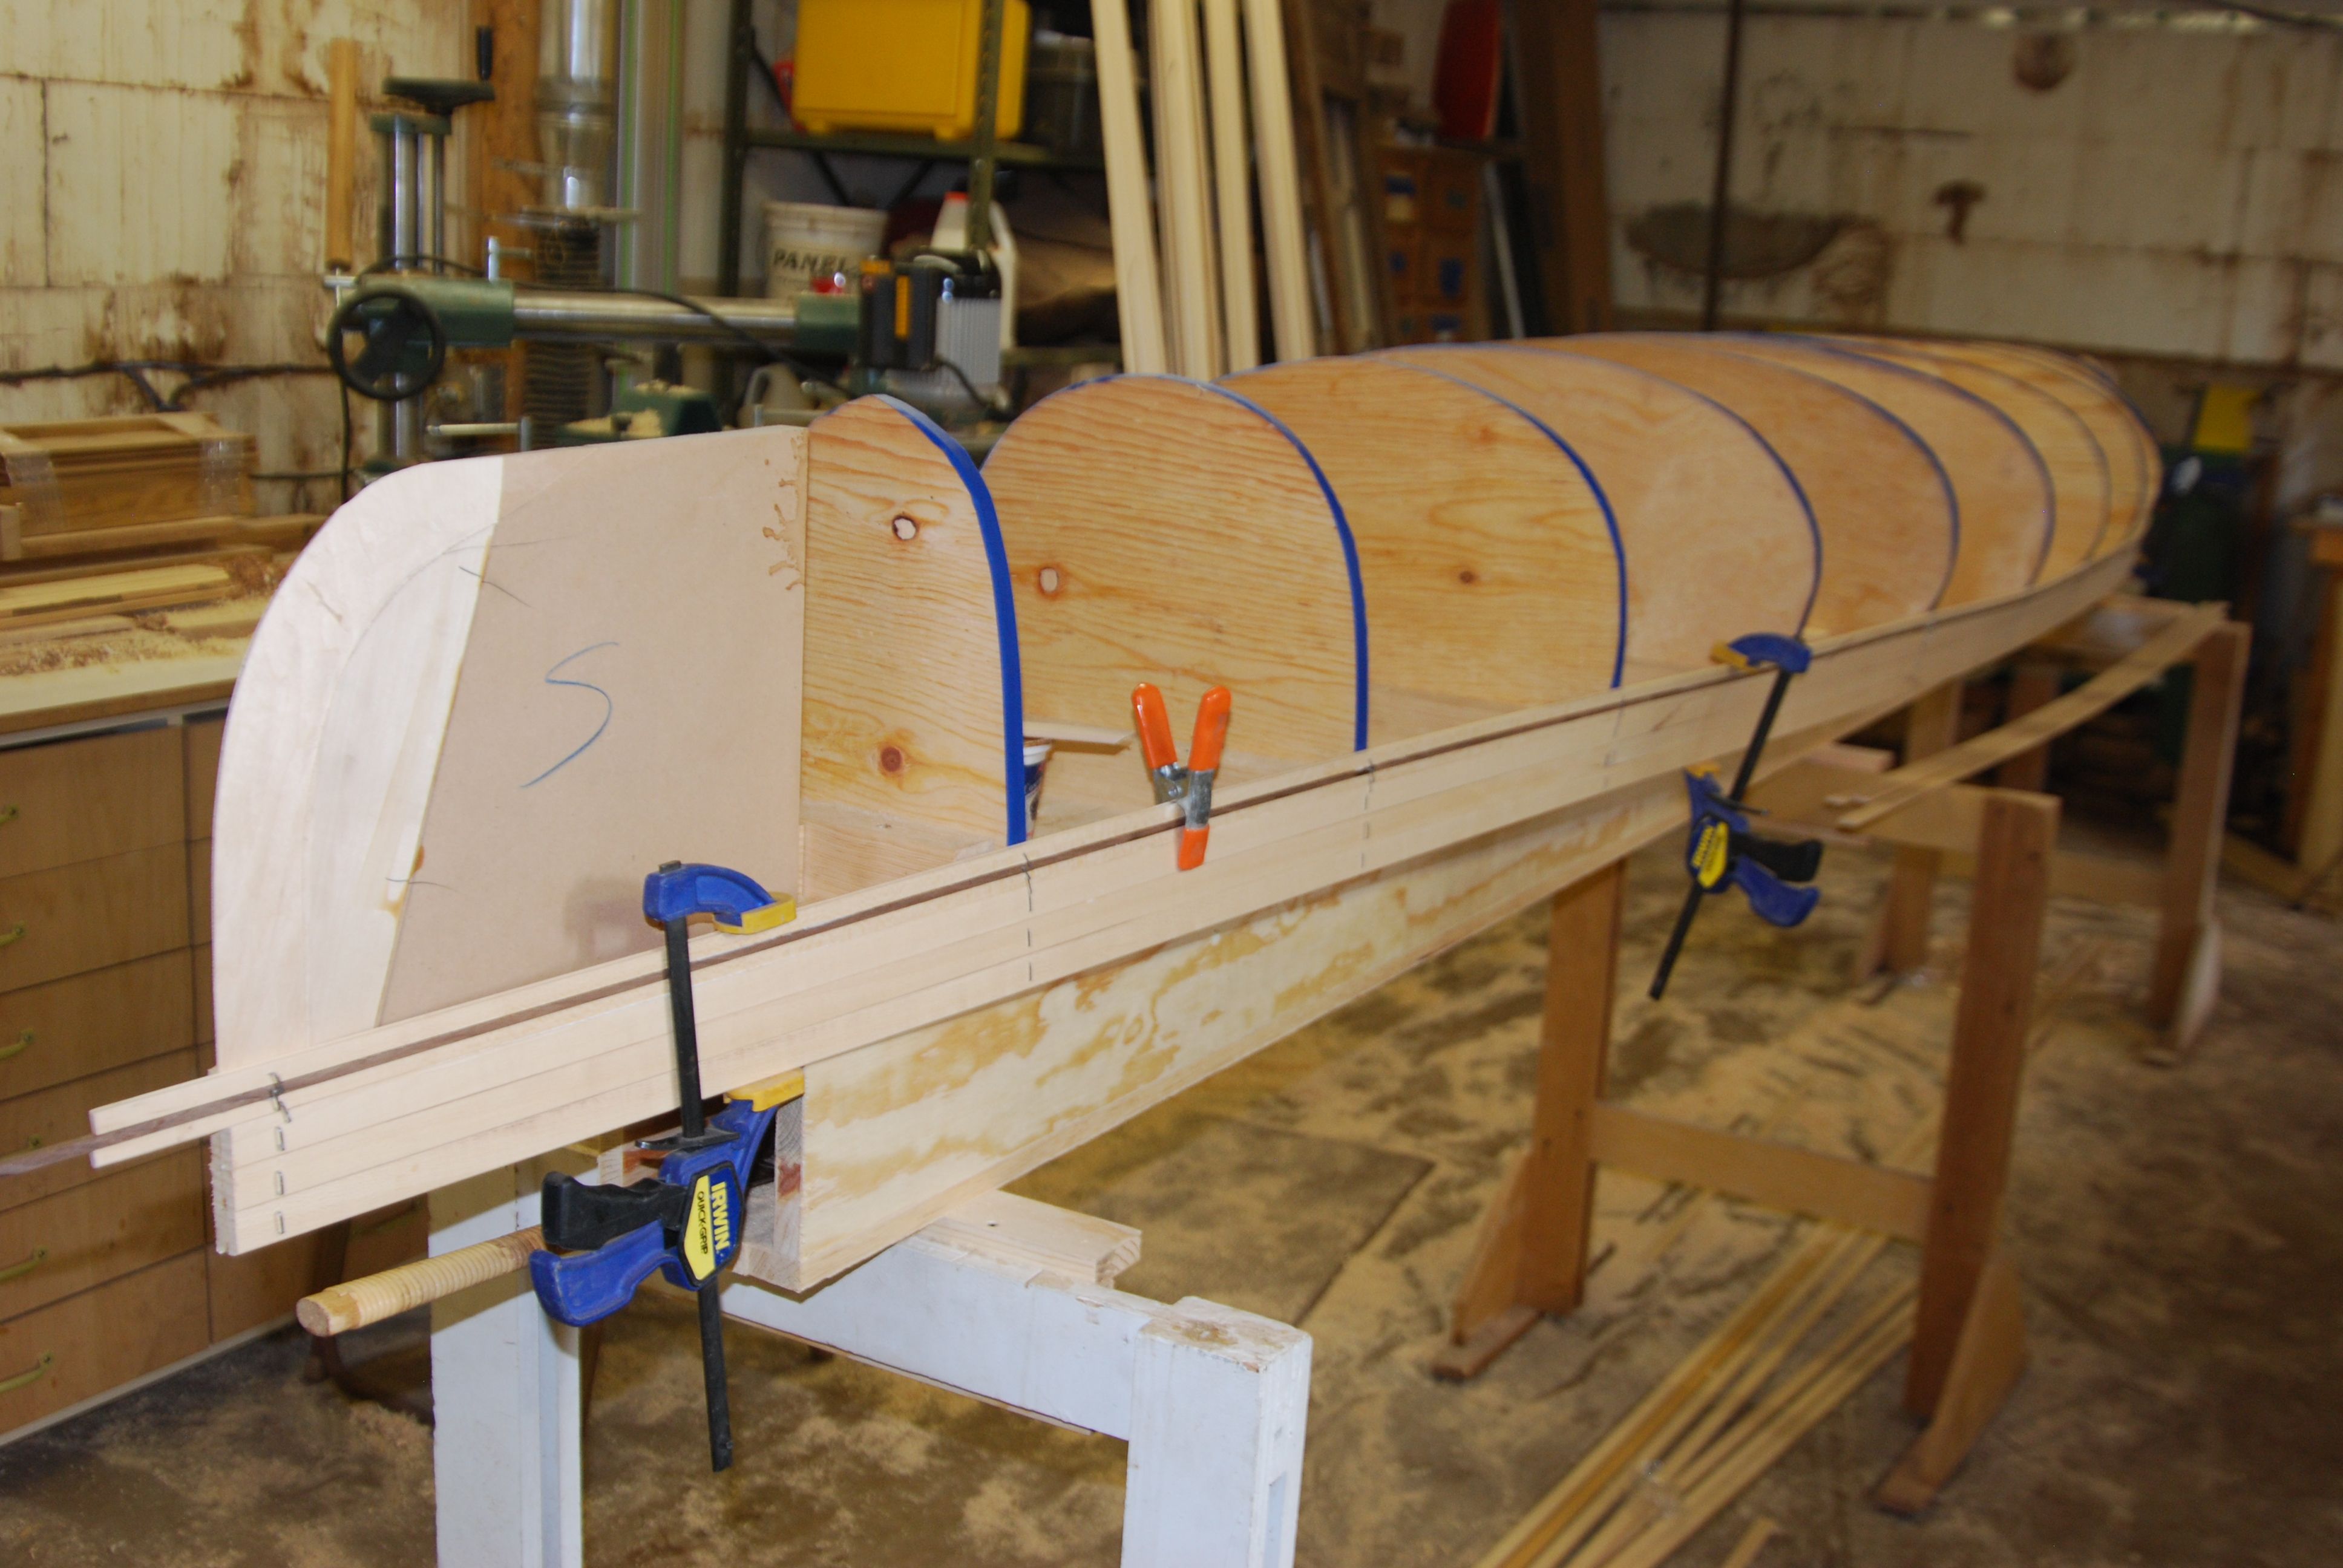
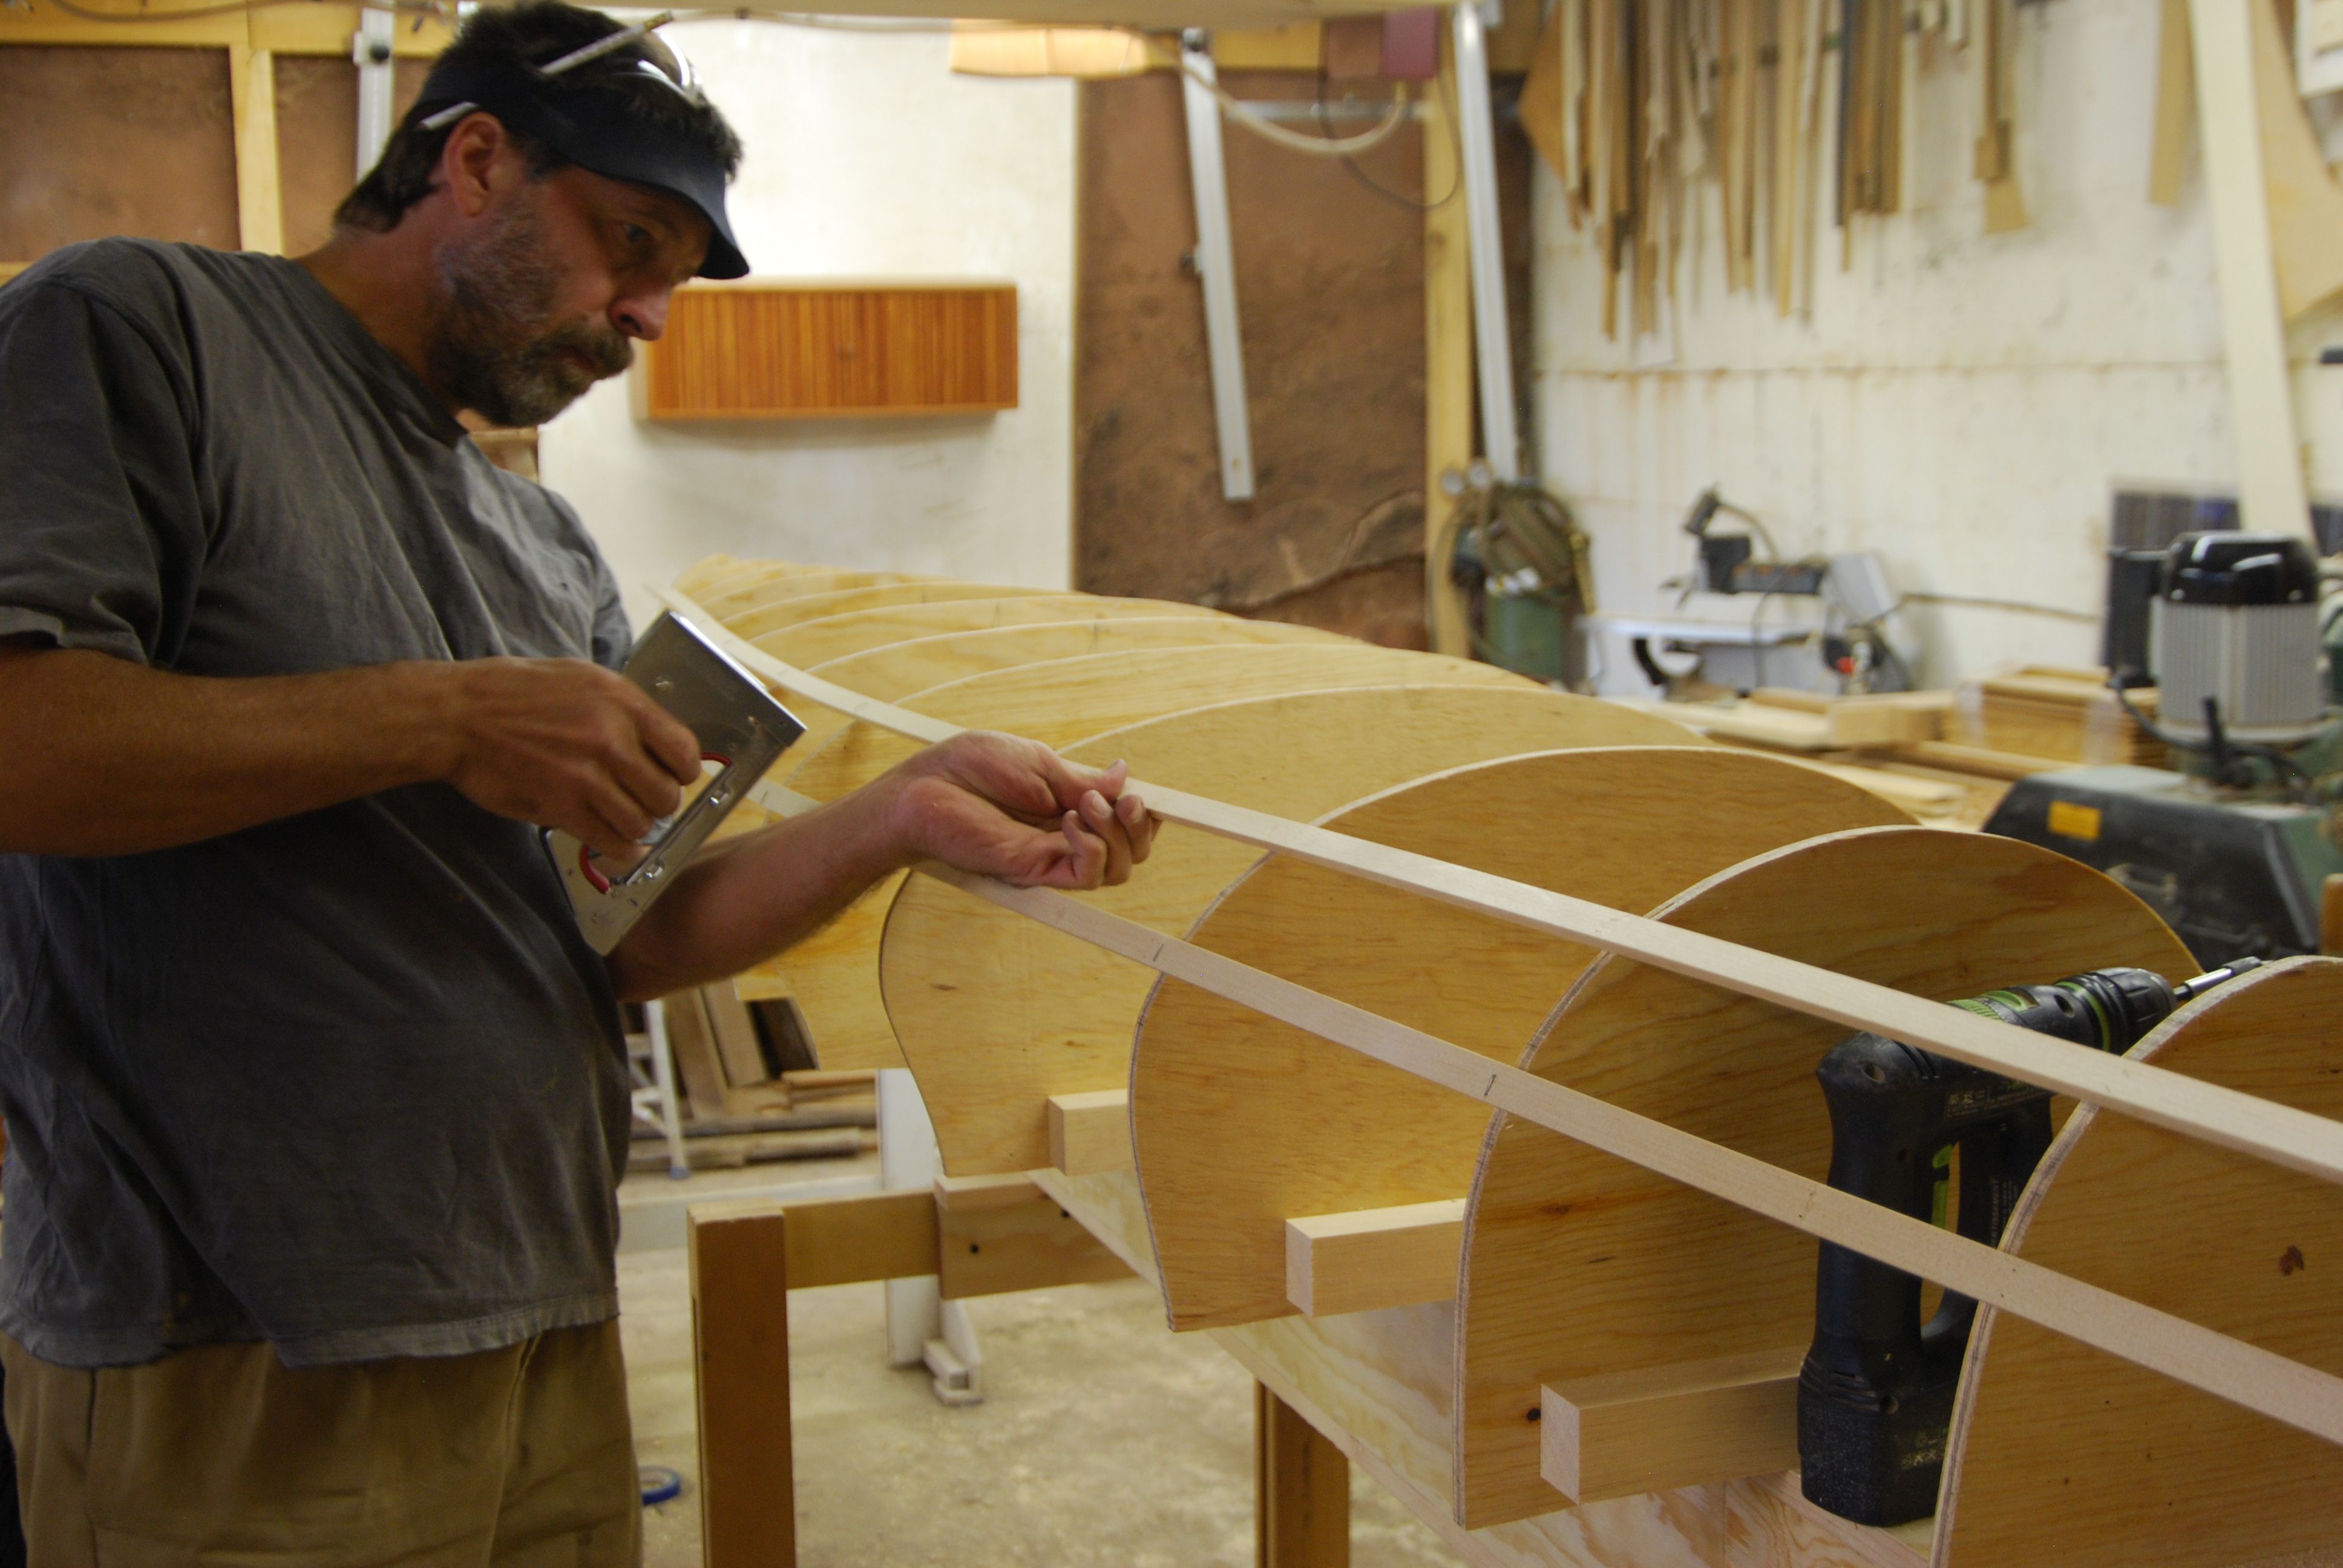
Each strip is stapled to the stations with a regular T-50 type stapler shooting 9/16" staples. As you add strips you glue one to the next with wood glue. Where the strips didn't press tightly to the previous one in between stations, I used clamps to snug things up. By the time I got a strip onto the opposite side of the boat the glue had set up enough so that I could take the clamps off to put on the next strip.
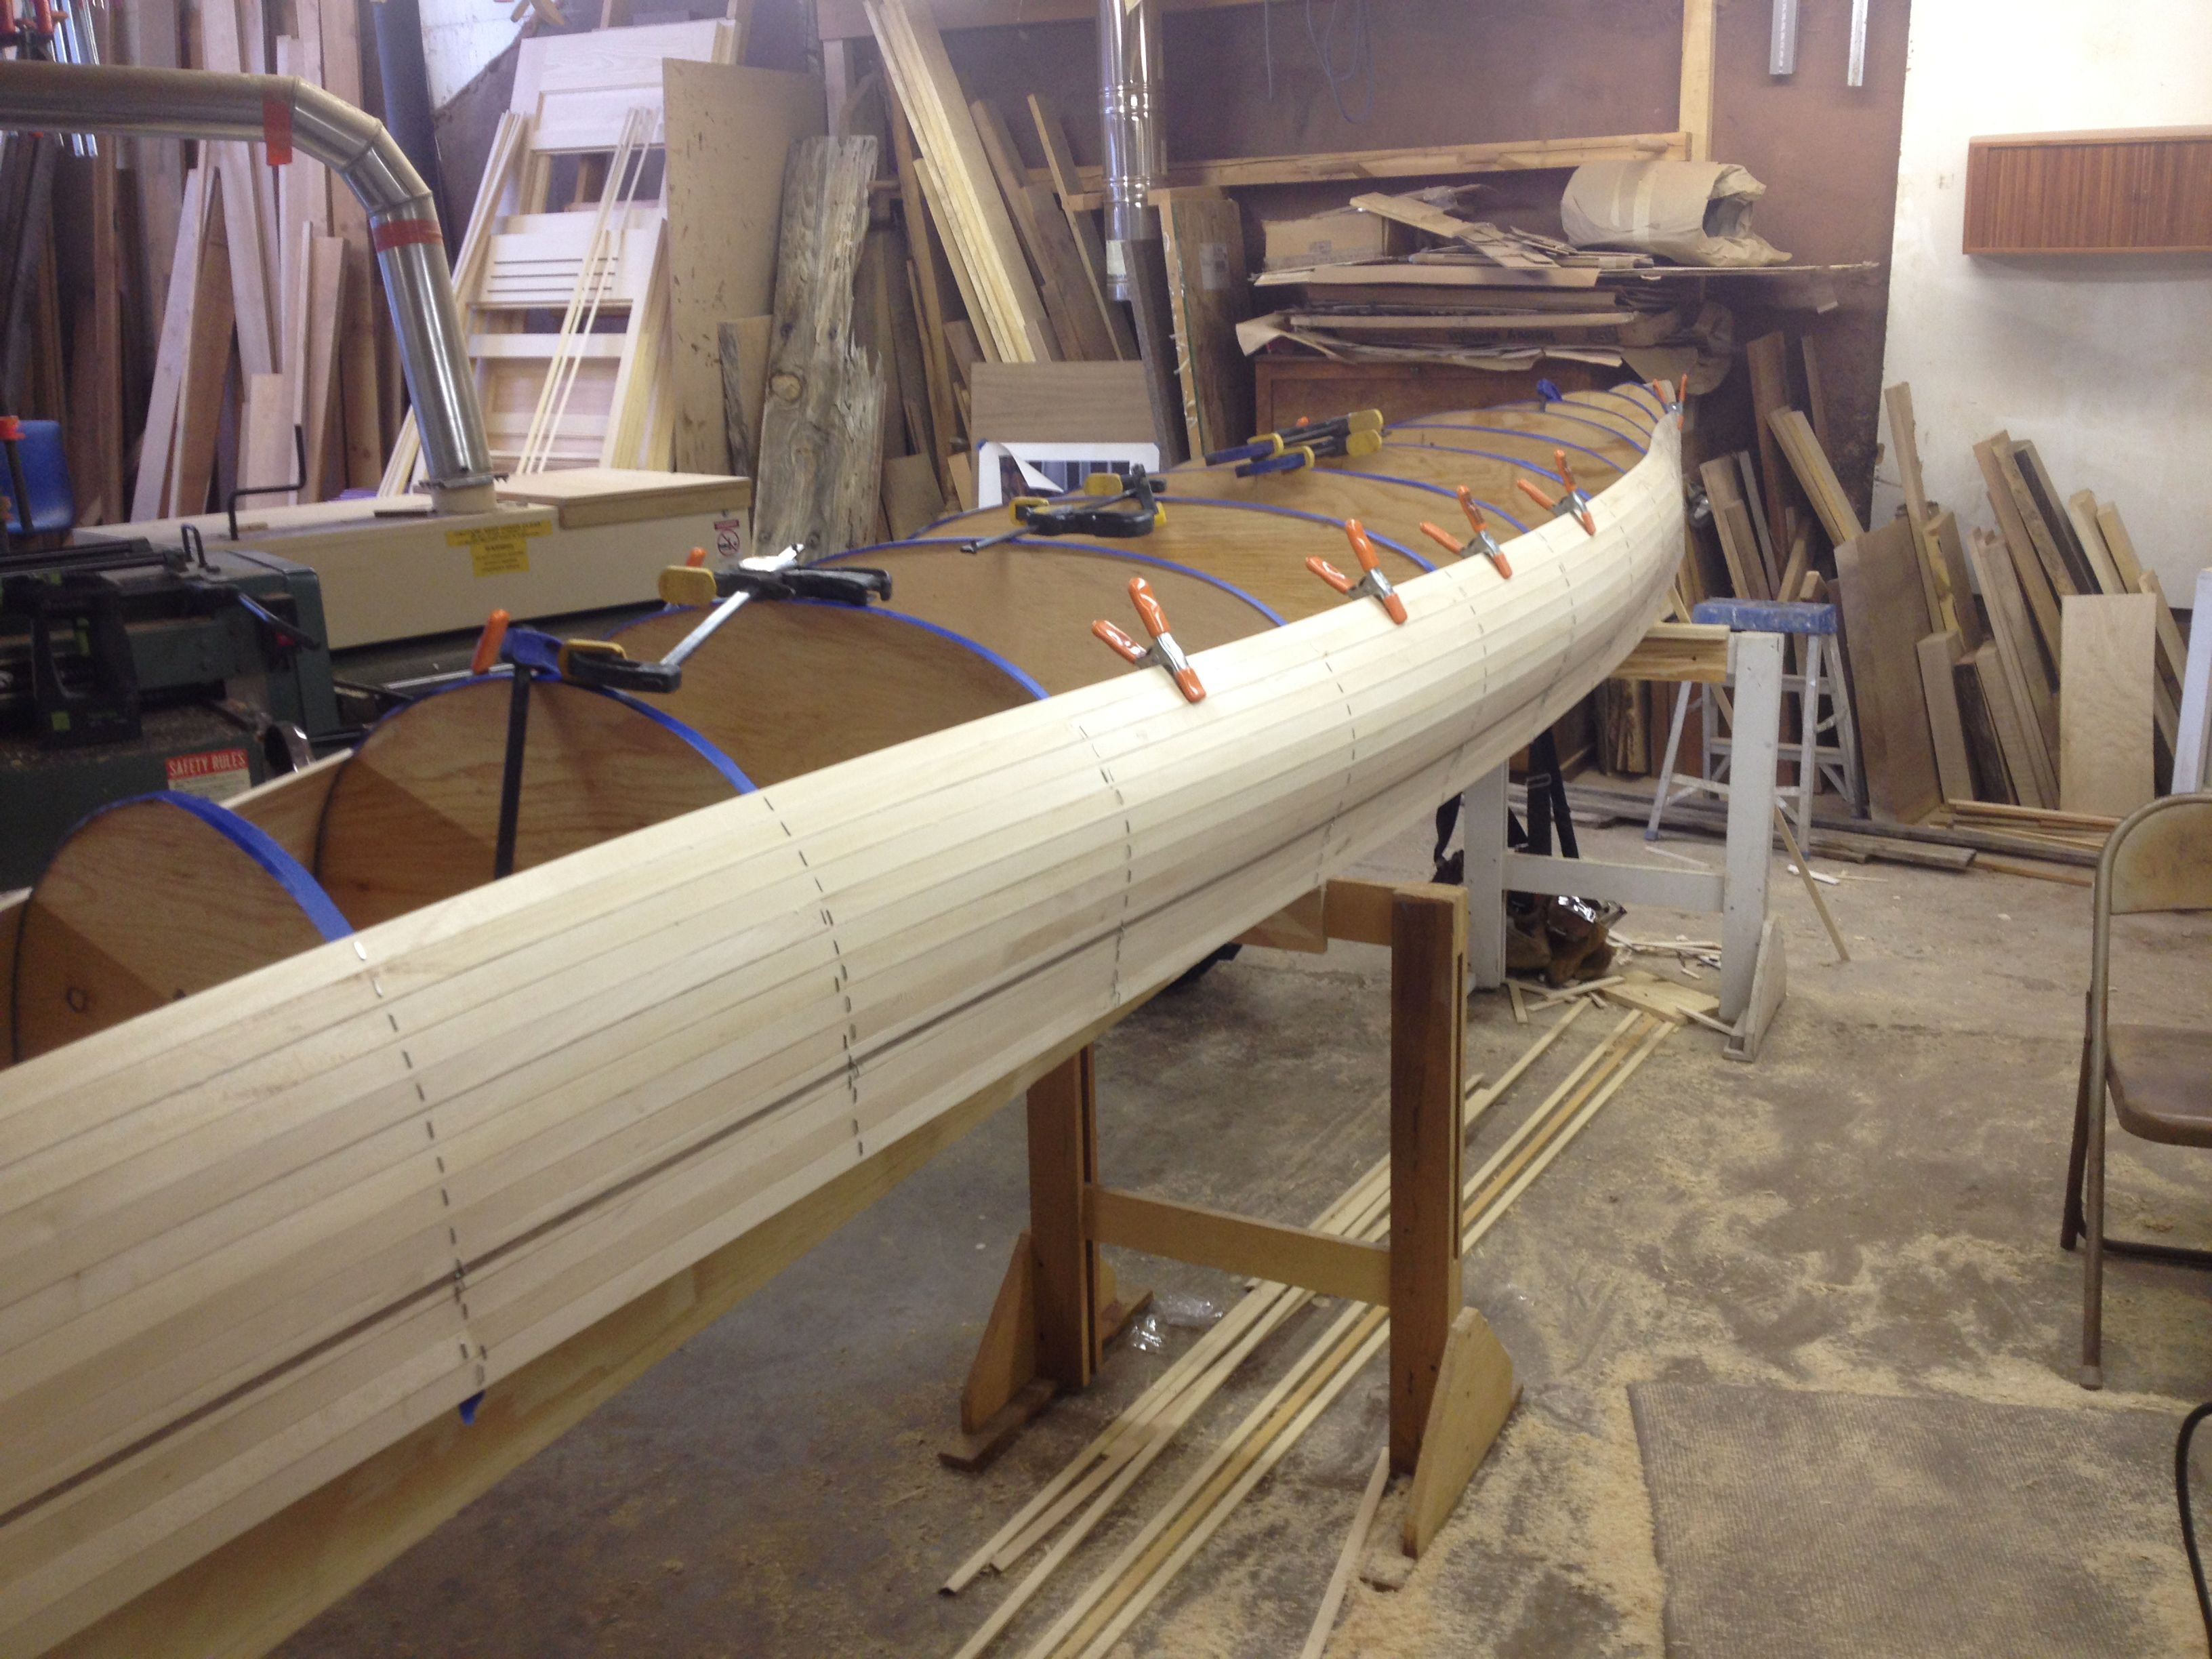
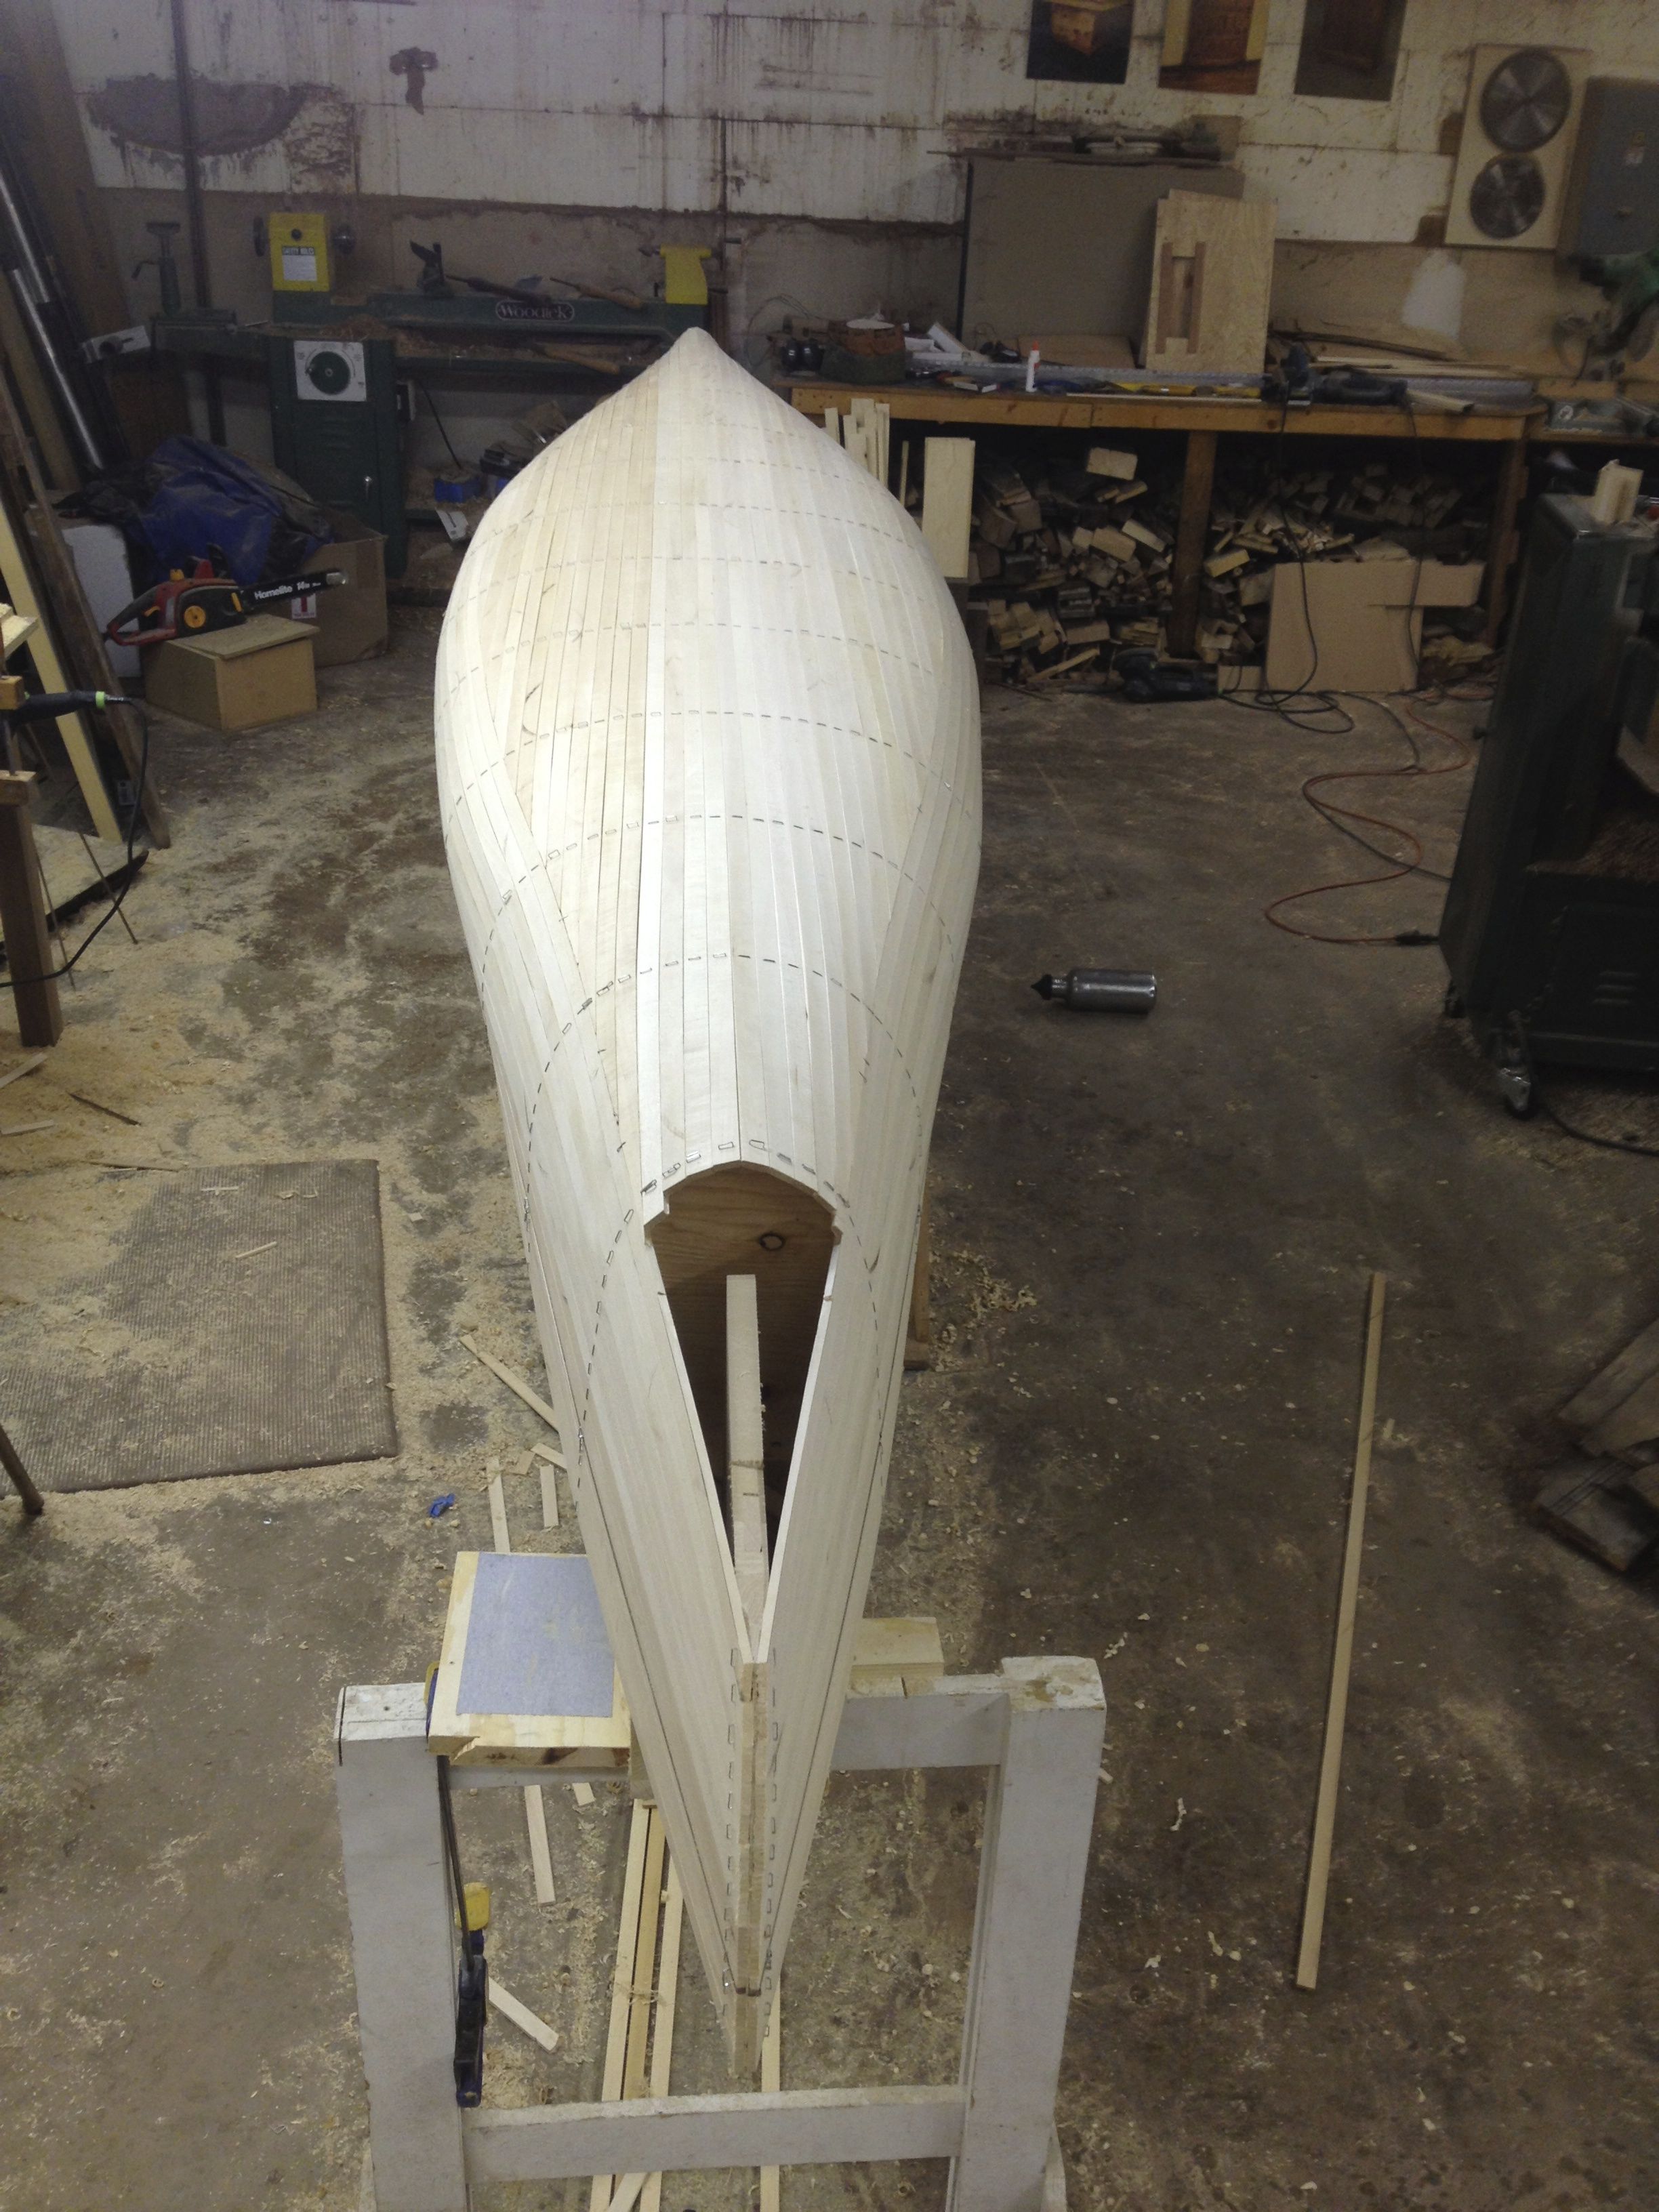
This is where it gets pretty exciting. The shape of the boat really starts to show up as the strips go on.
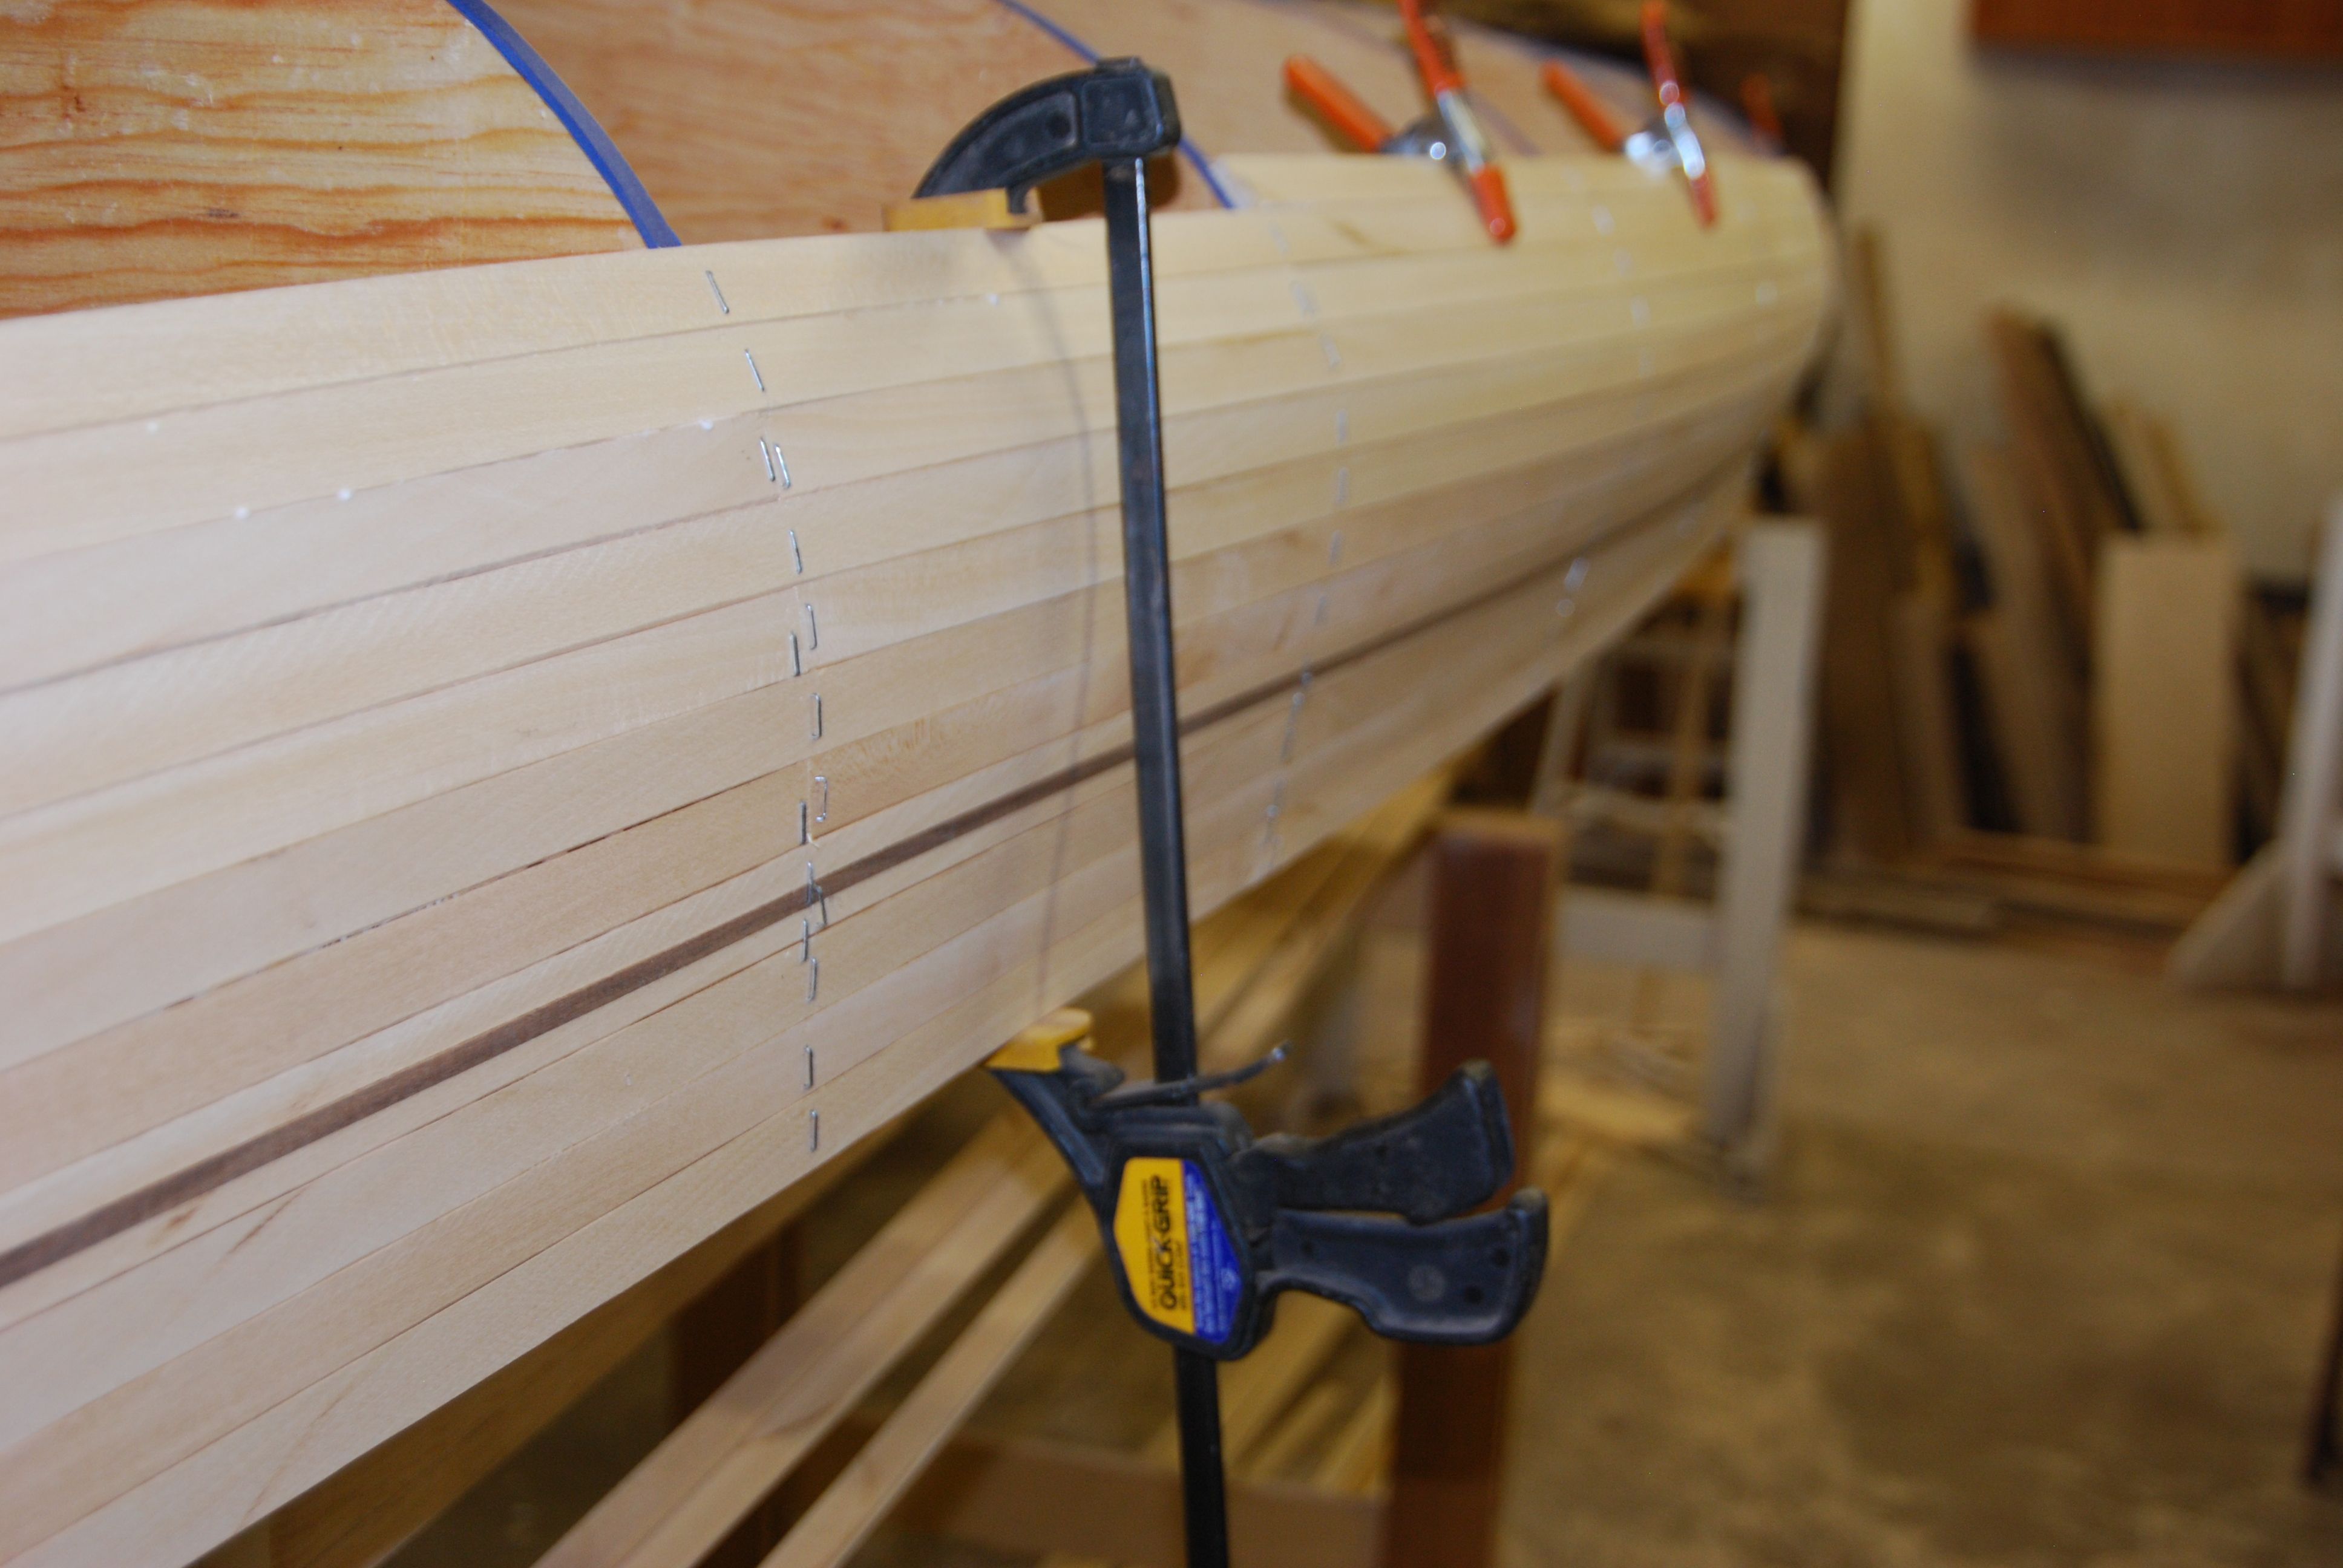
At some point it starts to get tough to force the strips around the increasing compound curves. You could keep muscling them onto the forms, but it's much easier to simply change the pattern at that point. This usually happens somewhere around the waterline. This area is known as the 'football'.
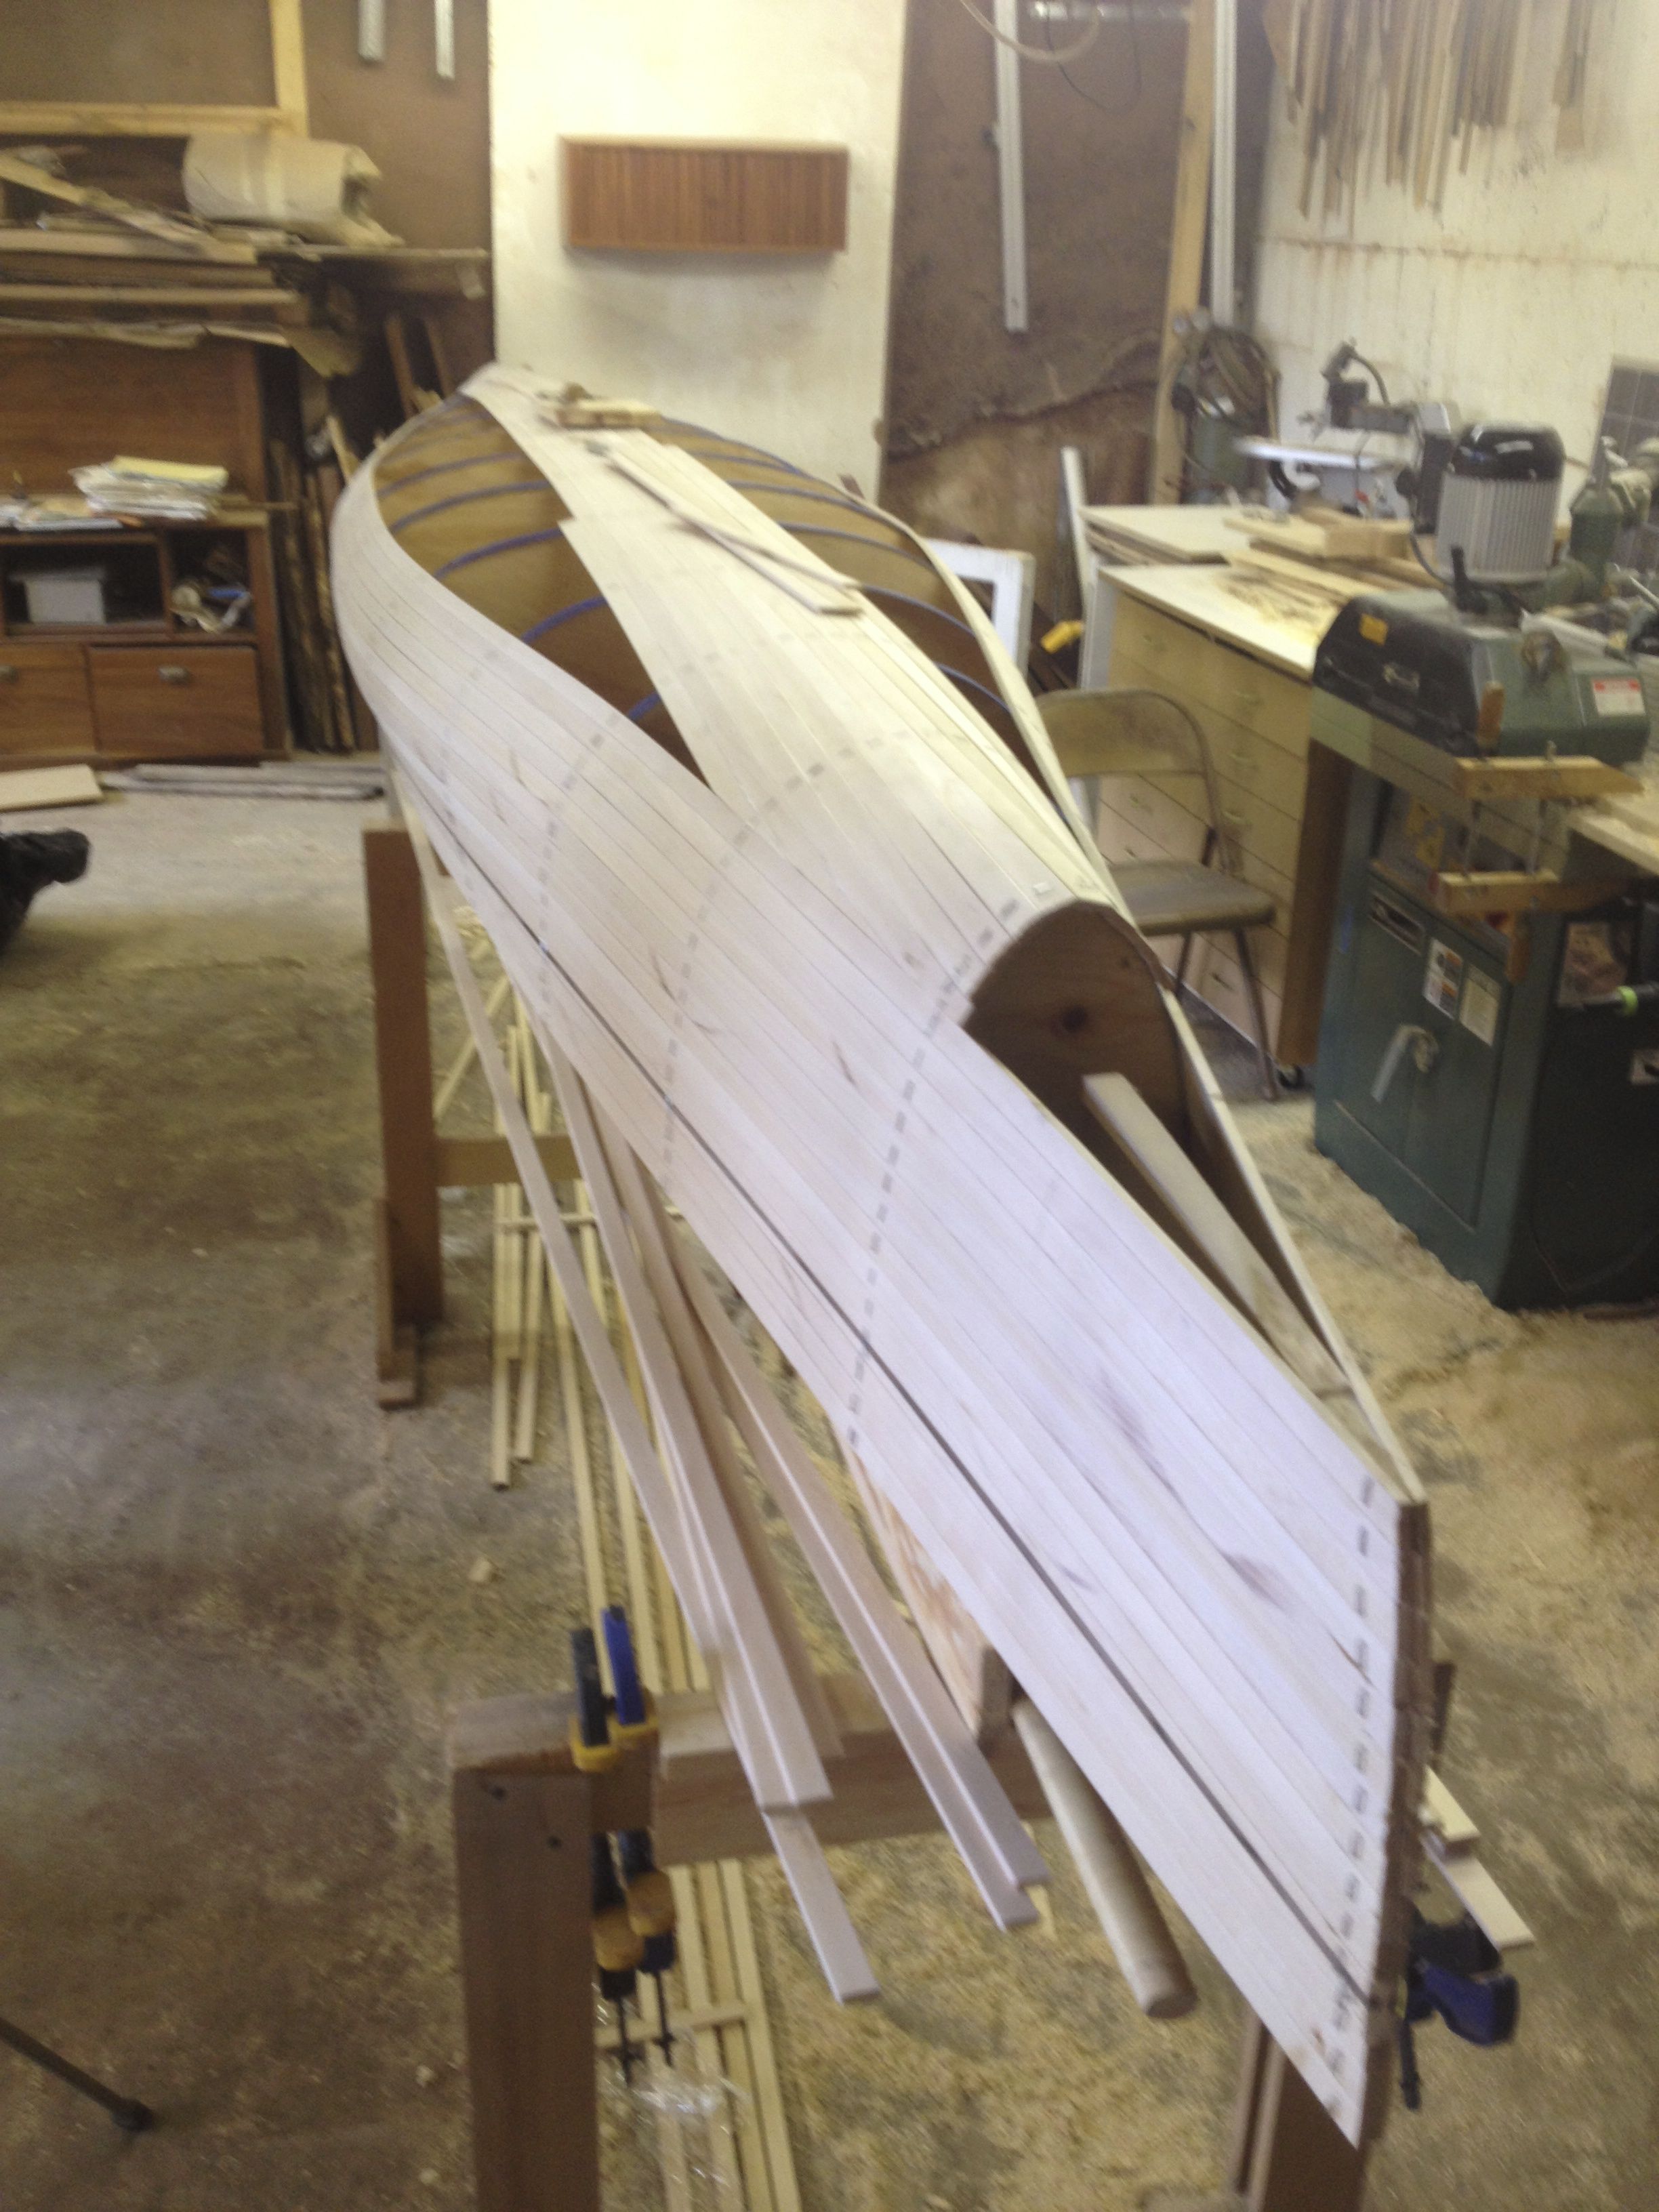
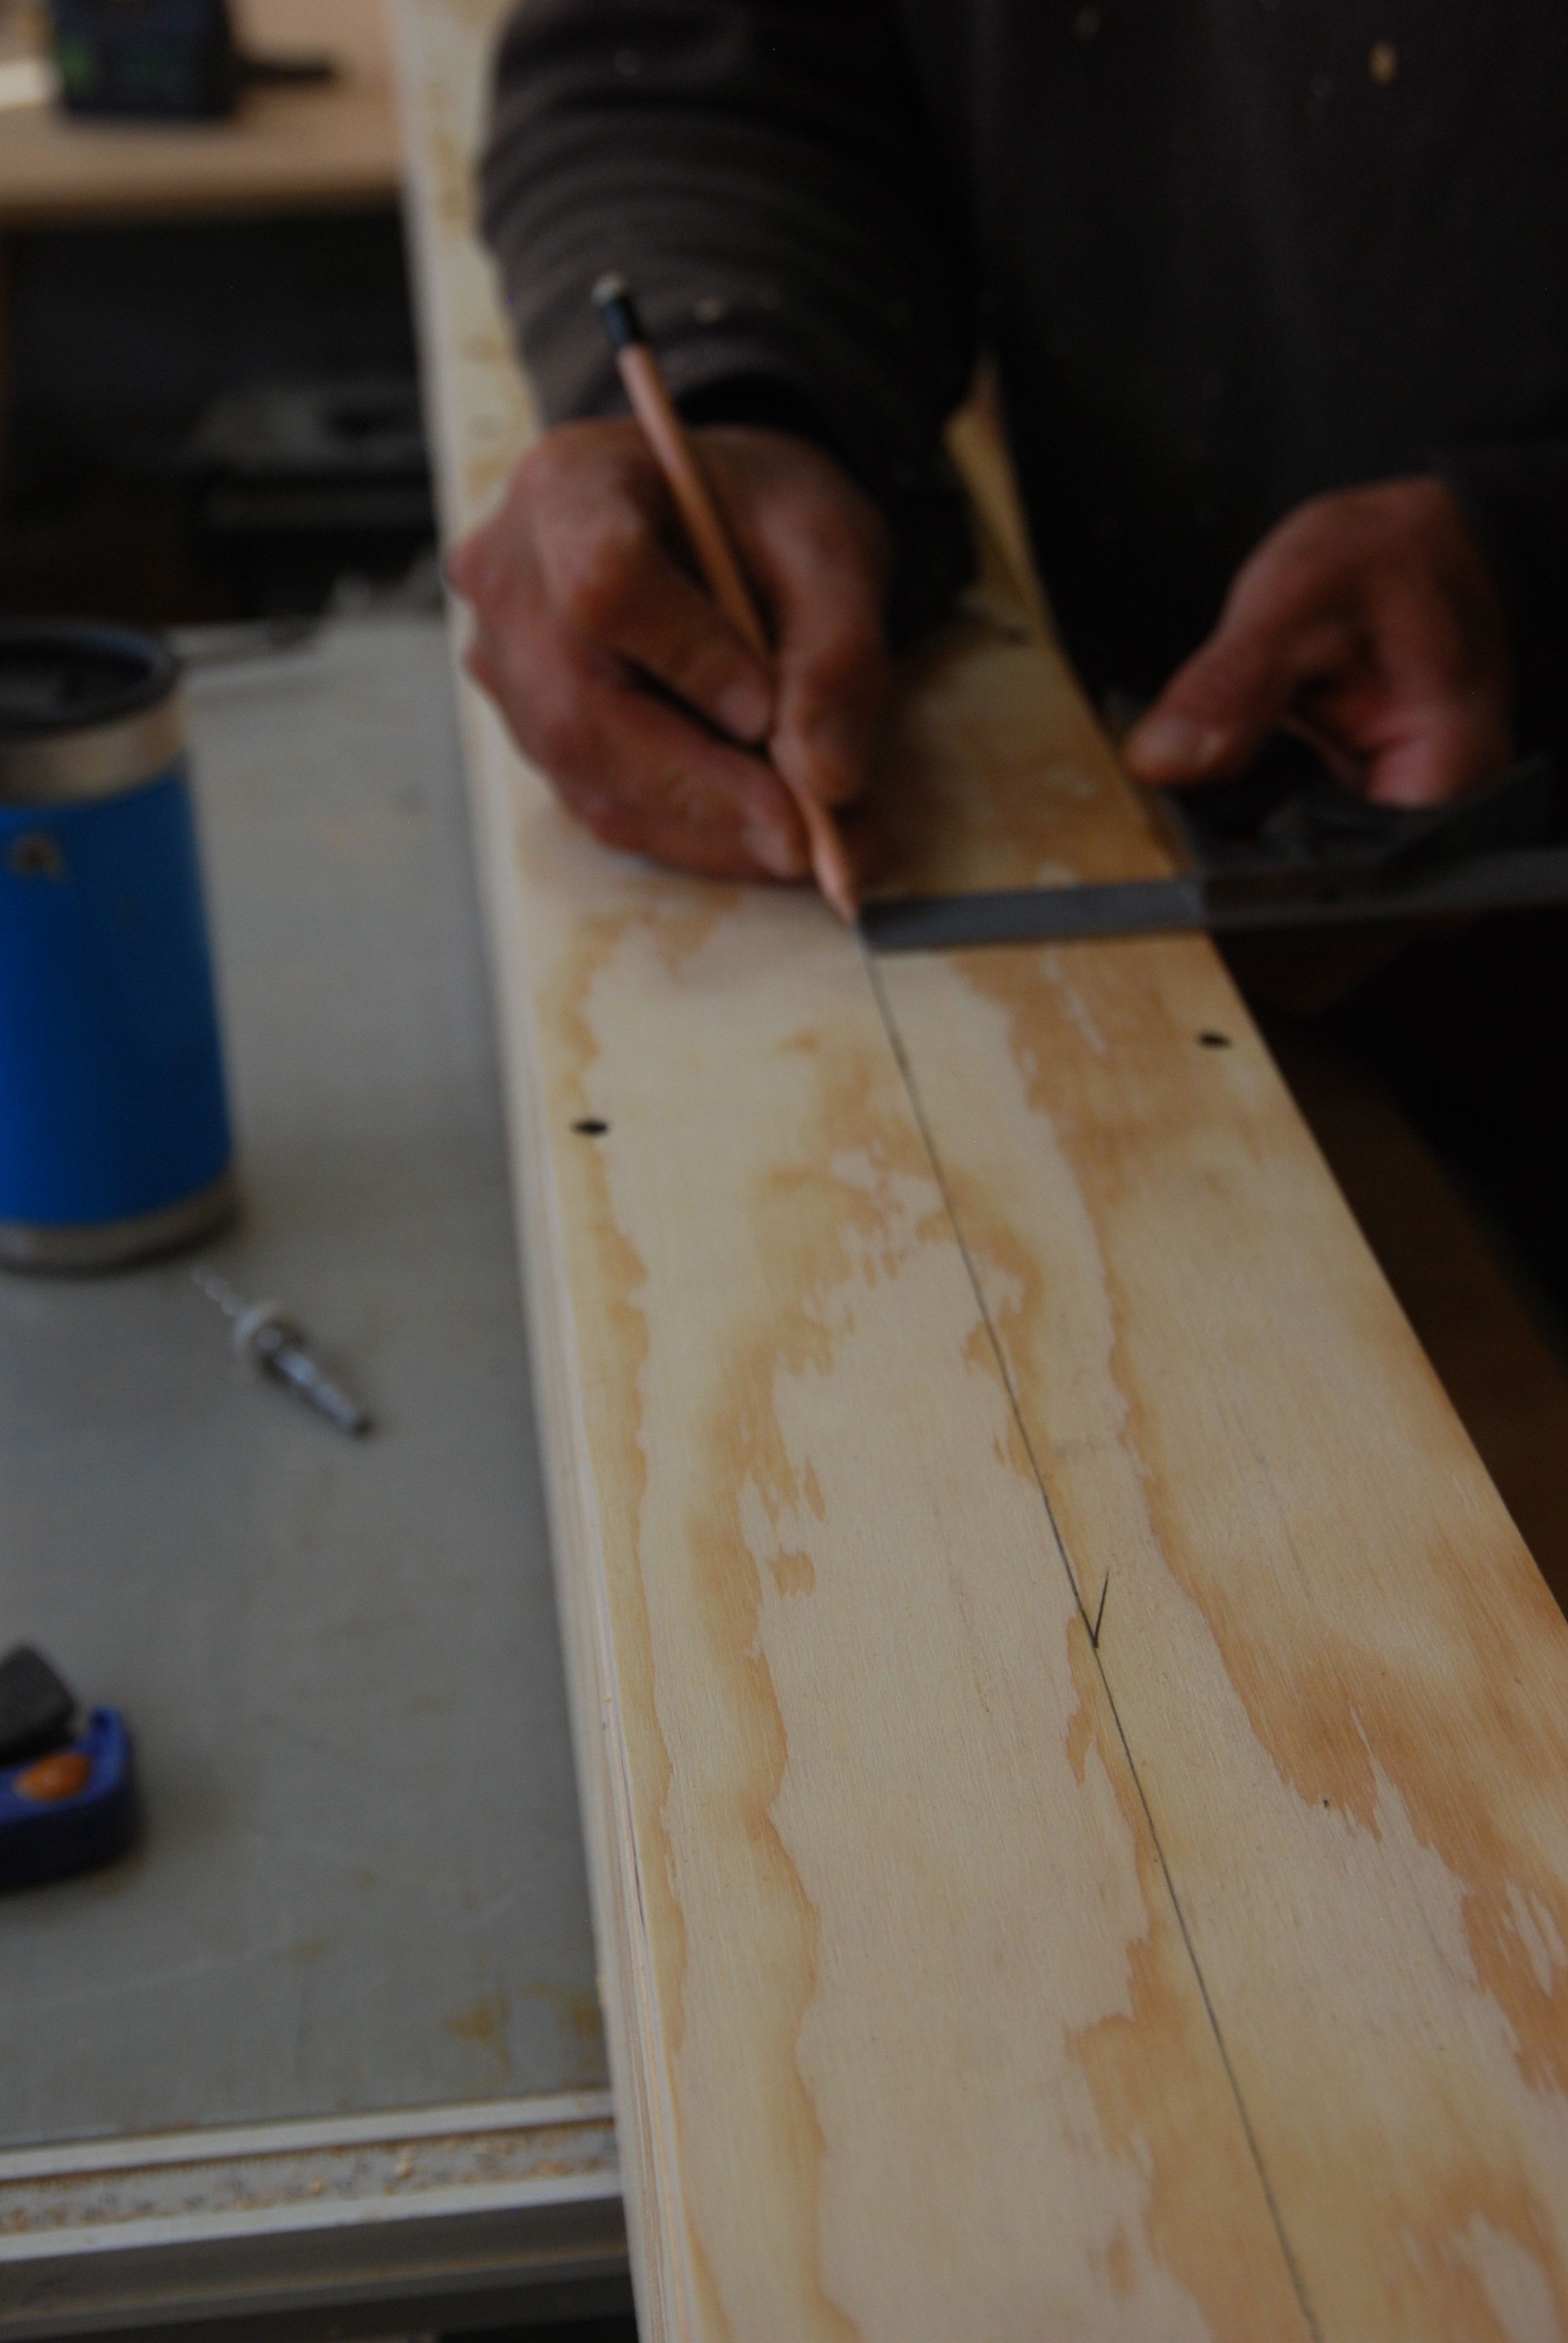
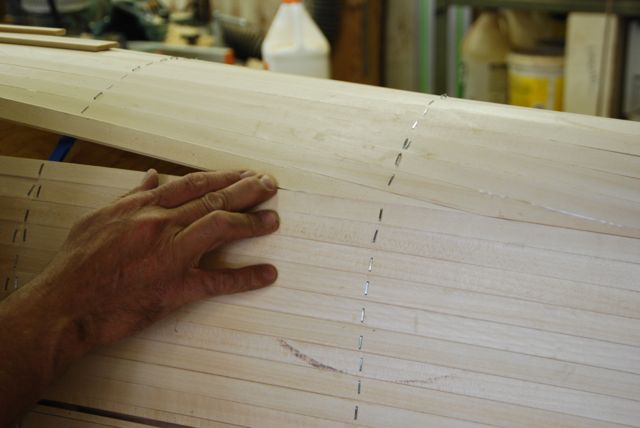
Here the strips are just laid up in a straight line along the bottom. That makes it pretty easy to push them snugly against each other, but it means that you have to scribe the ends of the strips where they meet the strips on the sides.
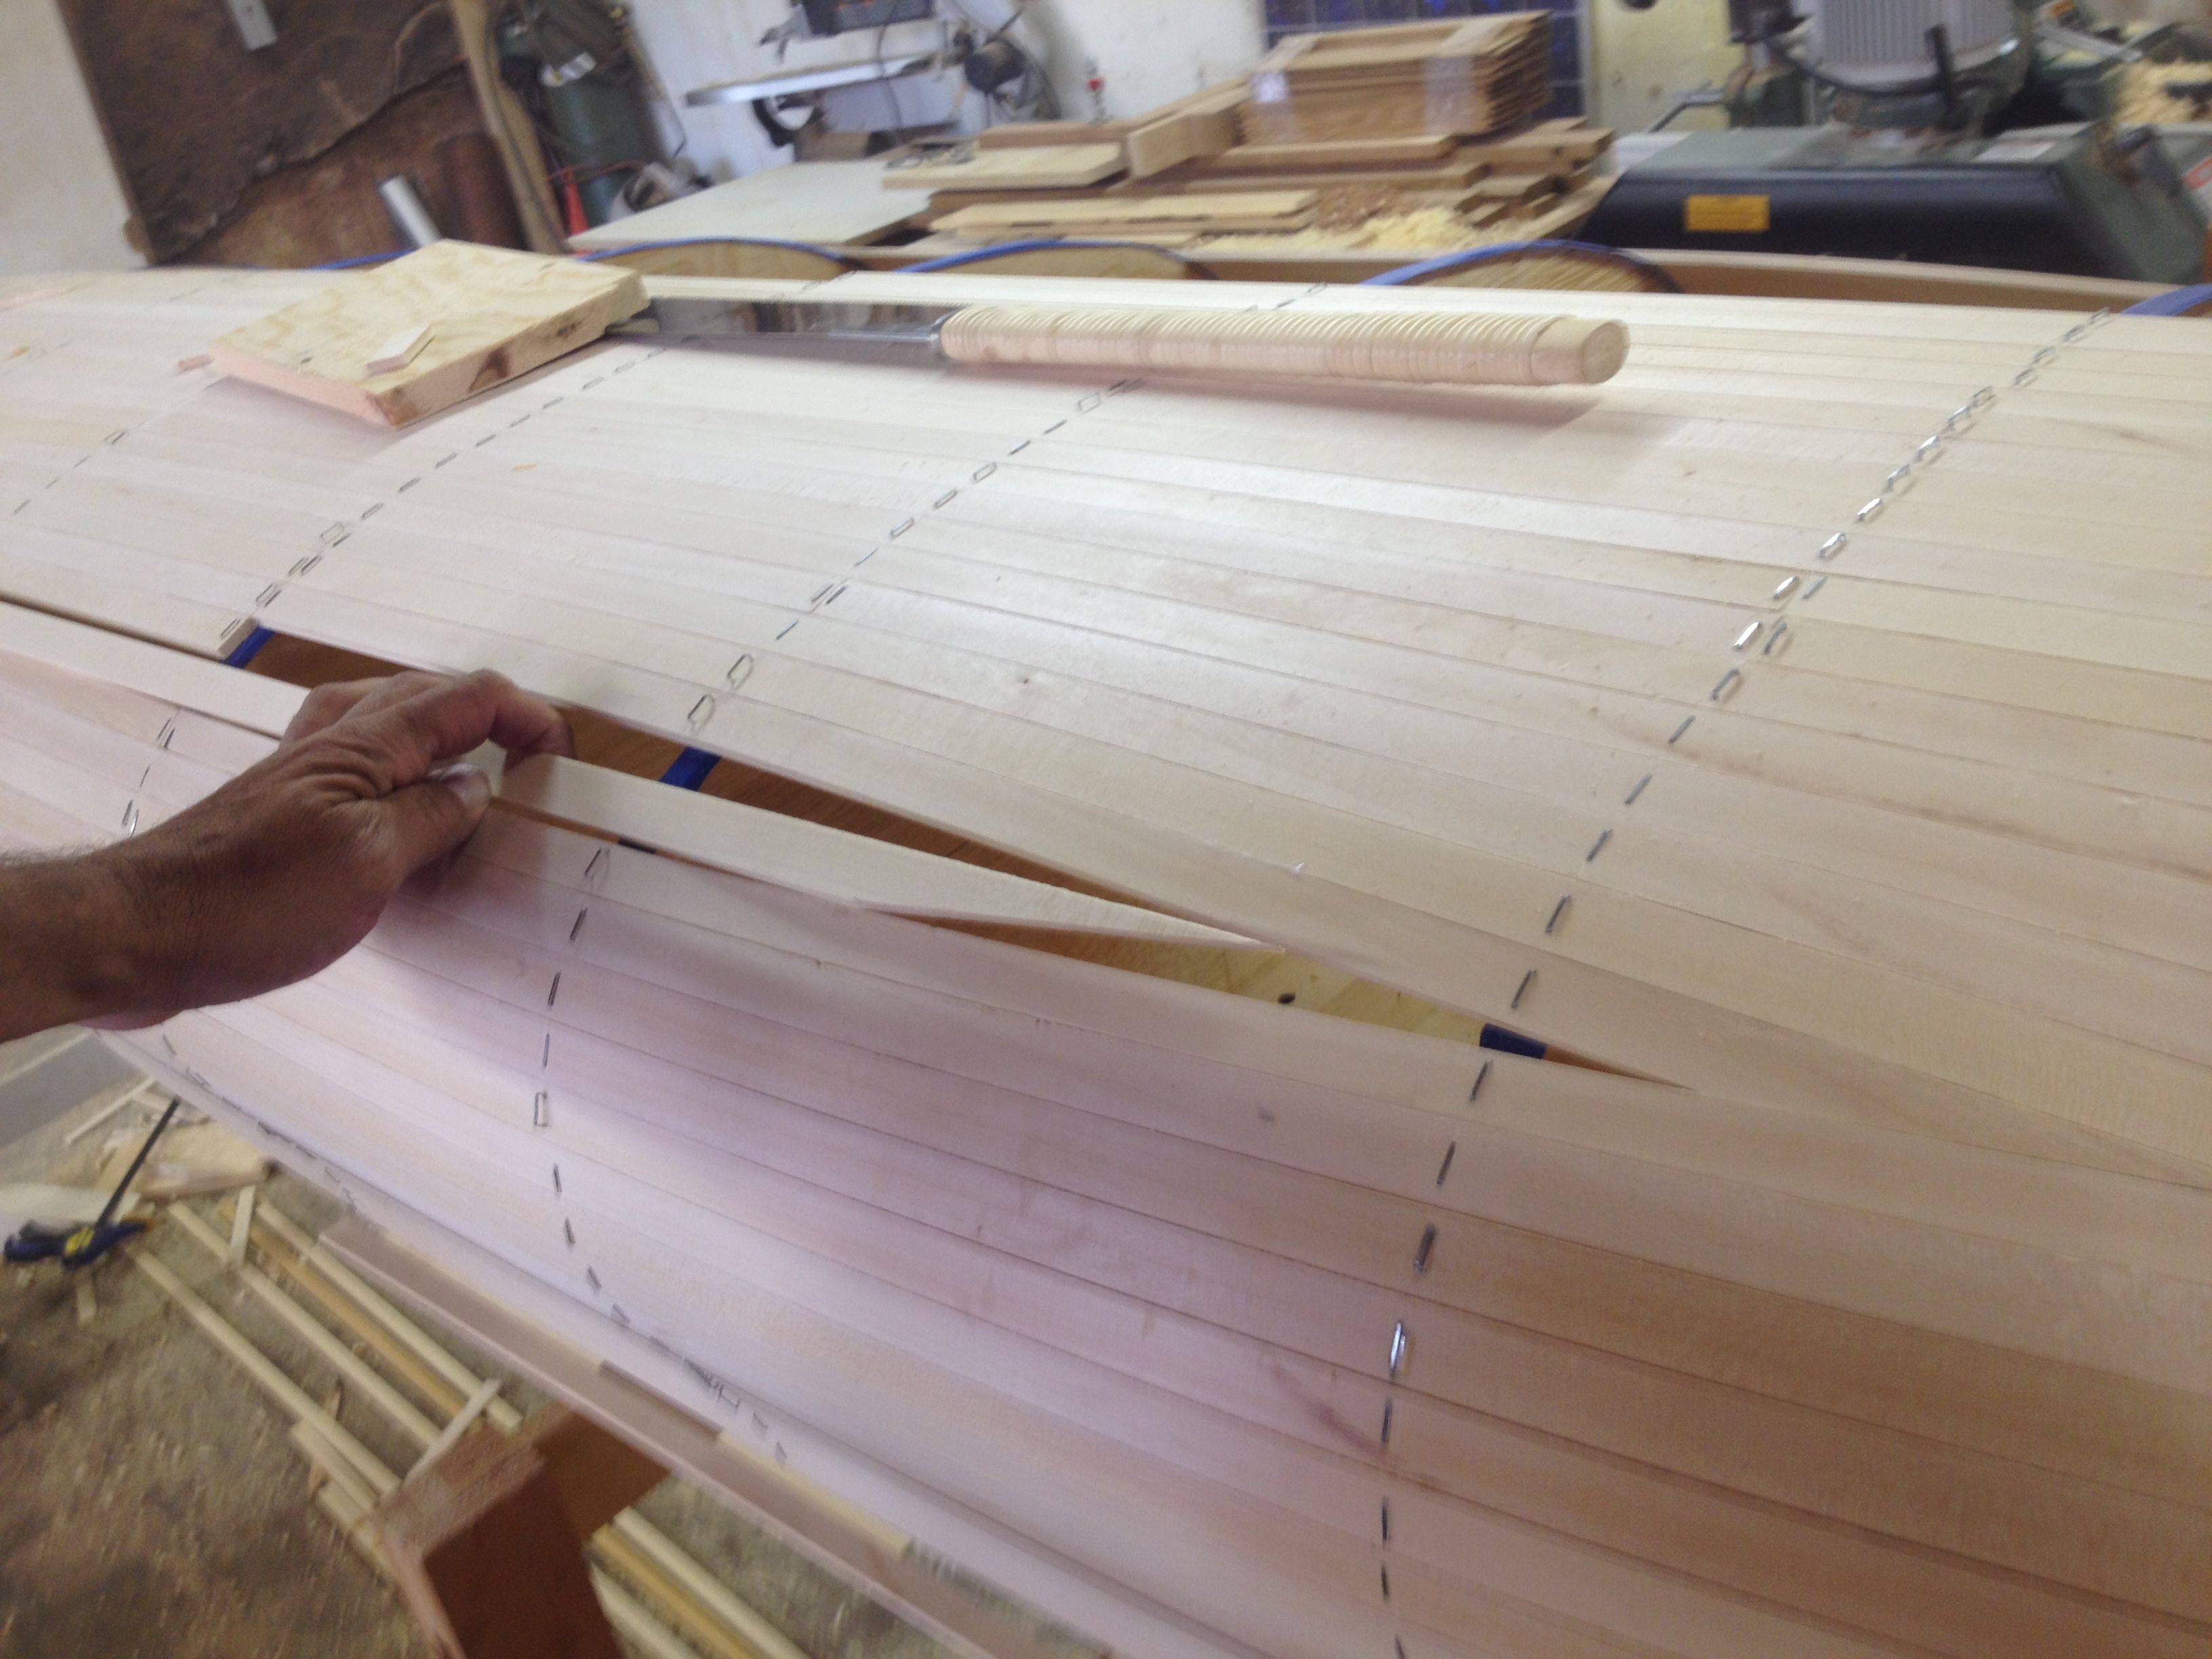
Pick a piece.
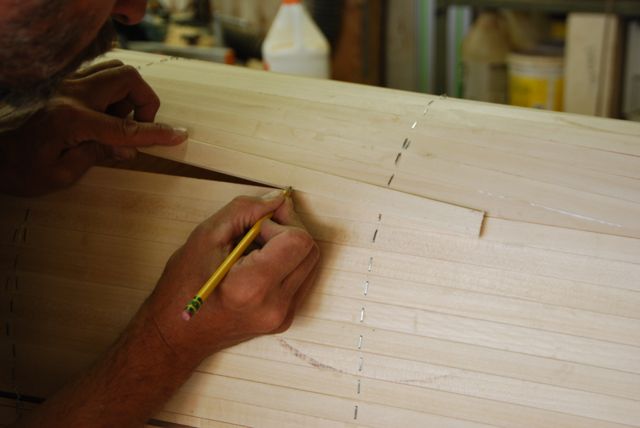
Mark the layout on it.
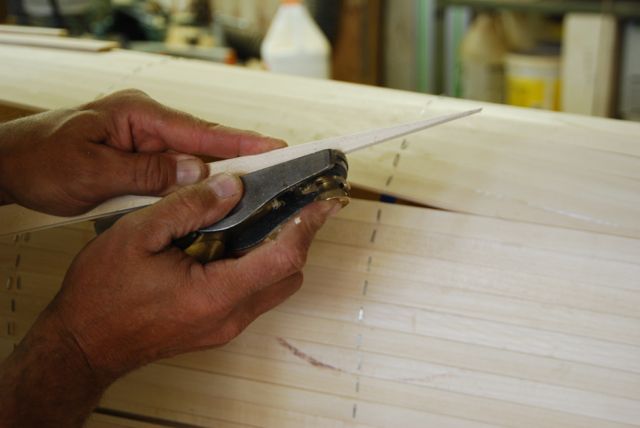
Rough cut it with a saw and then fit it with a block plane.

Check it...
...and glue it in.
This looks kind of tricky, but after you've done a few of them they actually go pretty fast. Before you know it you've got the whole thing stripped. It took me one long day to lay up all of the strips on this boat.
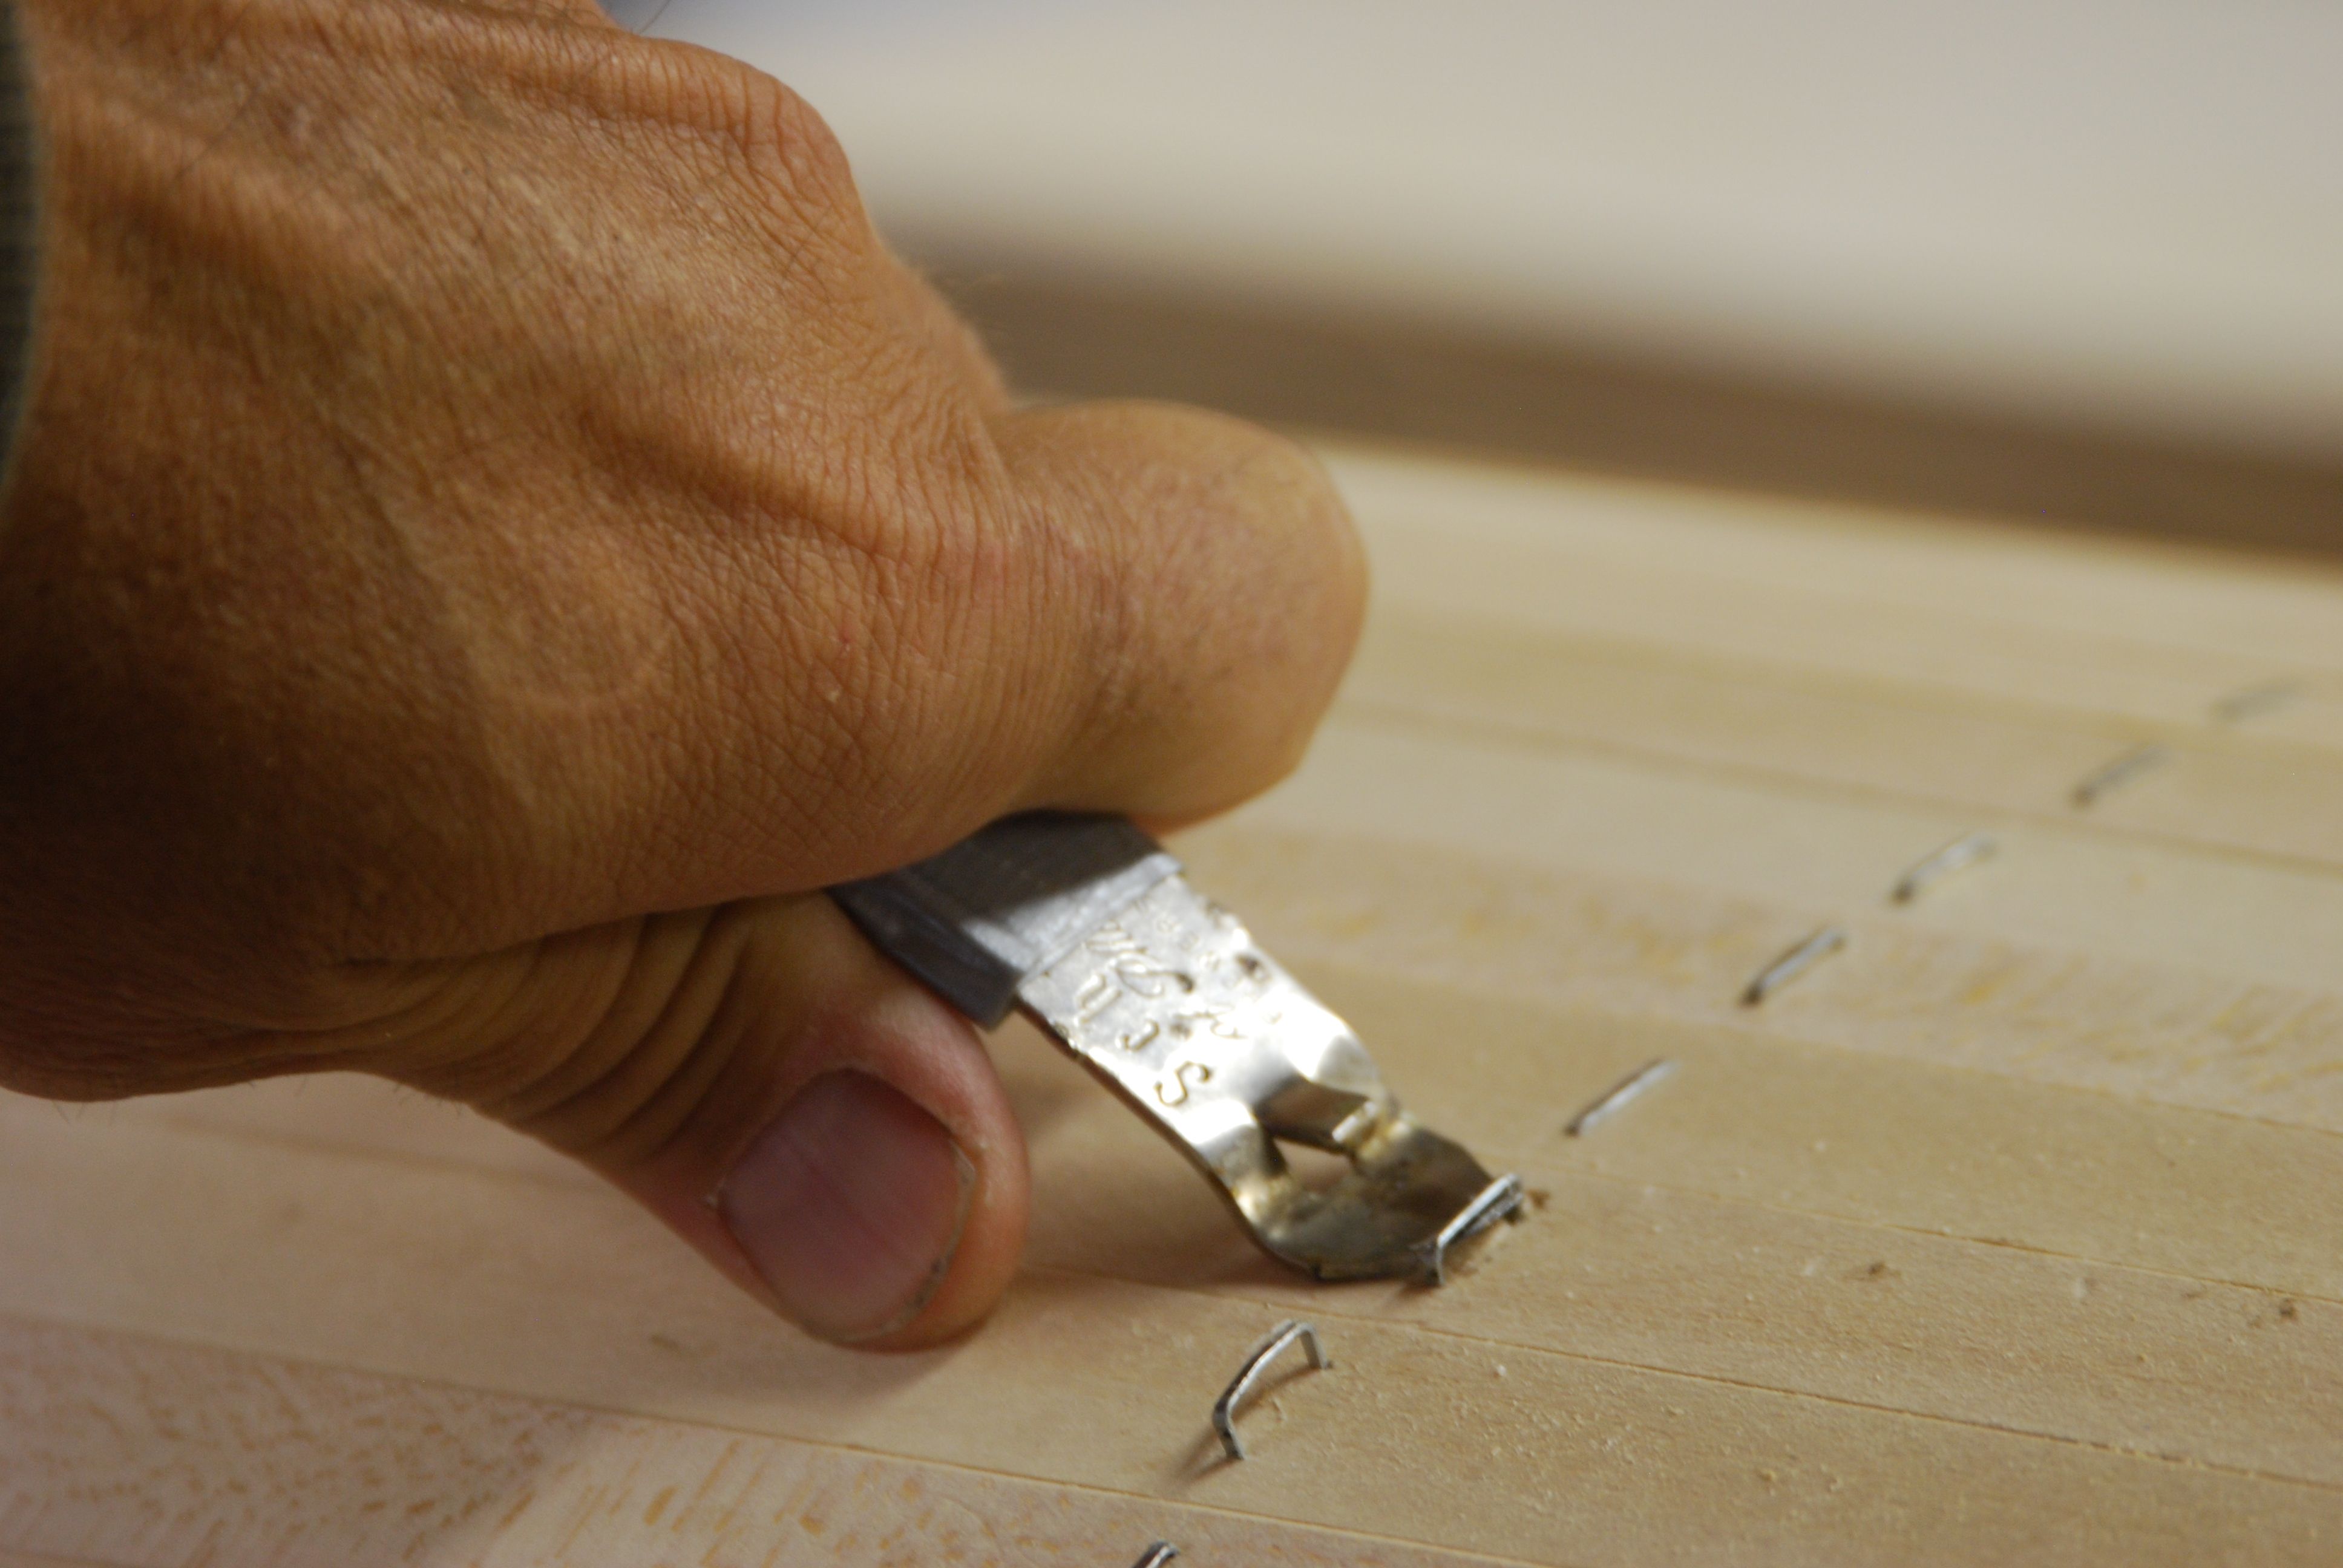
The next step is to pull the staples. All 1200 of them. It isn't as bad as it sounds. Since I have the ultimate, fancy staple pulling tool it only took about an hour.
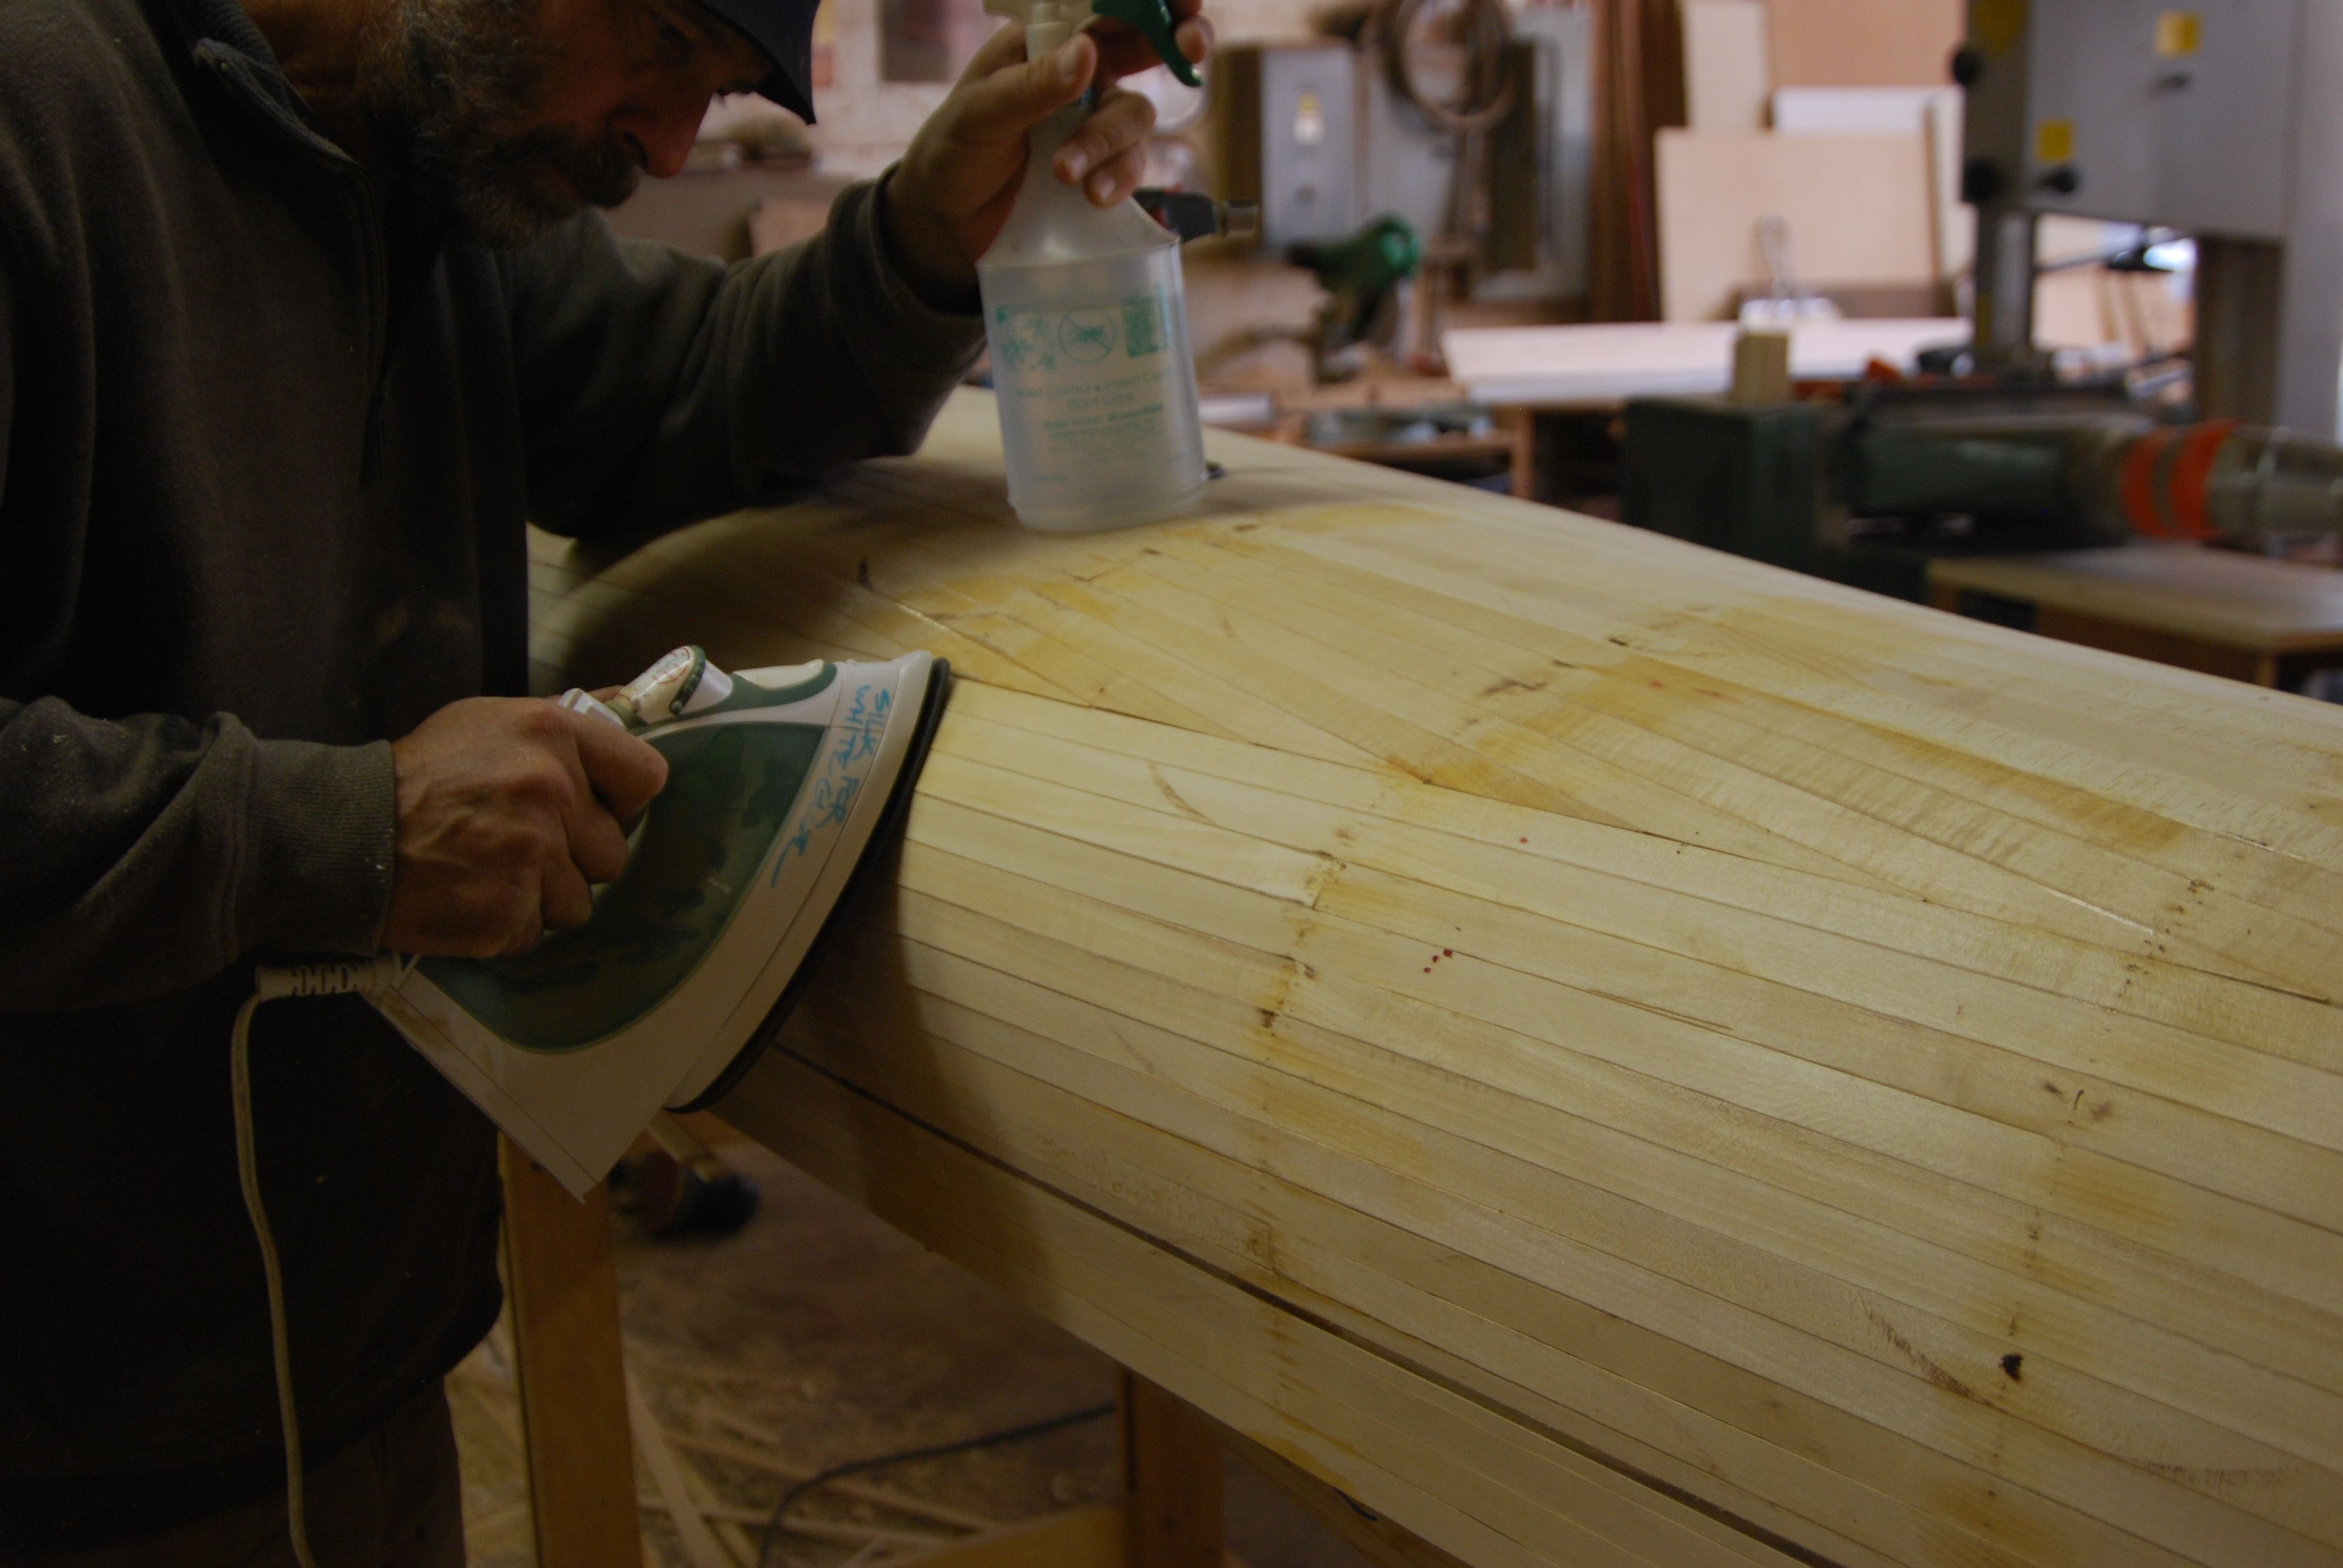
There's an old woodworking trick for fixing dents in wood. You put water on the dent and then iron it. That creates steam and the steam swells up the wood and the dent disappears. I used that same idea to get the staple holes to mostly go away. I sprayed water on the holes and ironed them. It was fast and it worked pretty well.
Once the staples come out, the wood glue between the strips is holding things together while you sand out the hull.
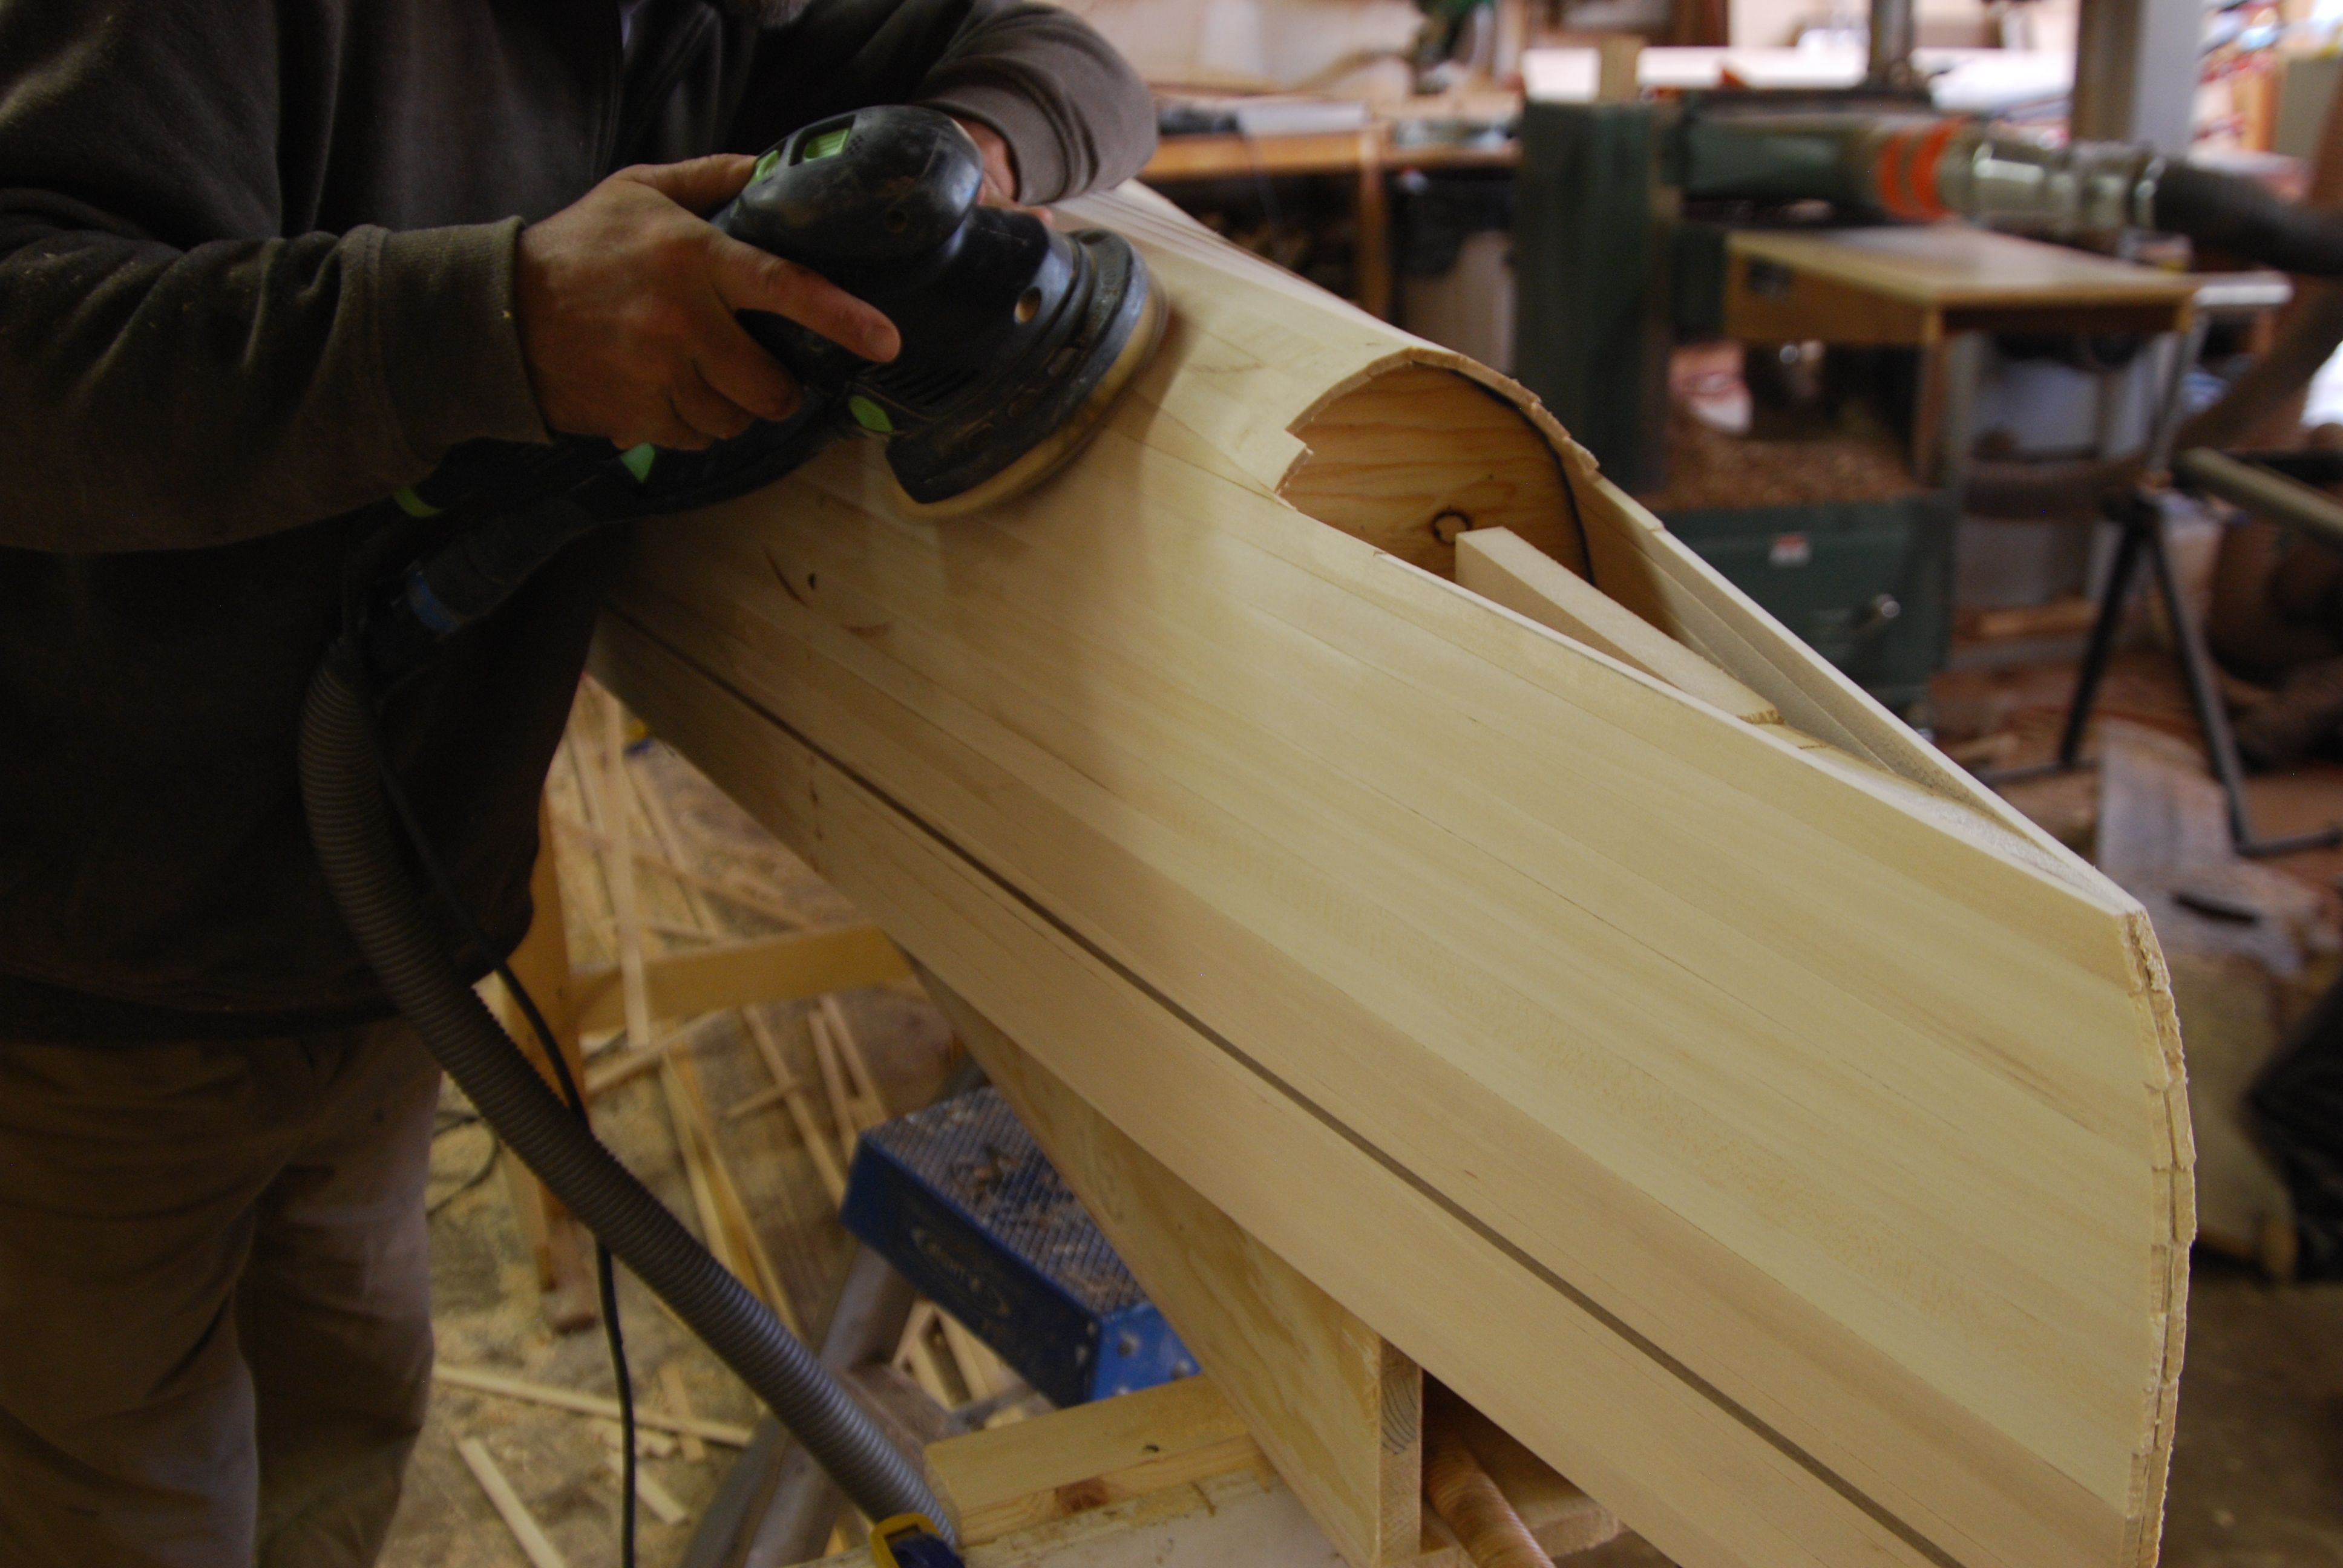
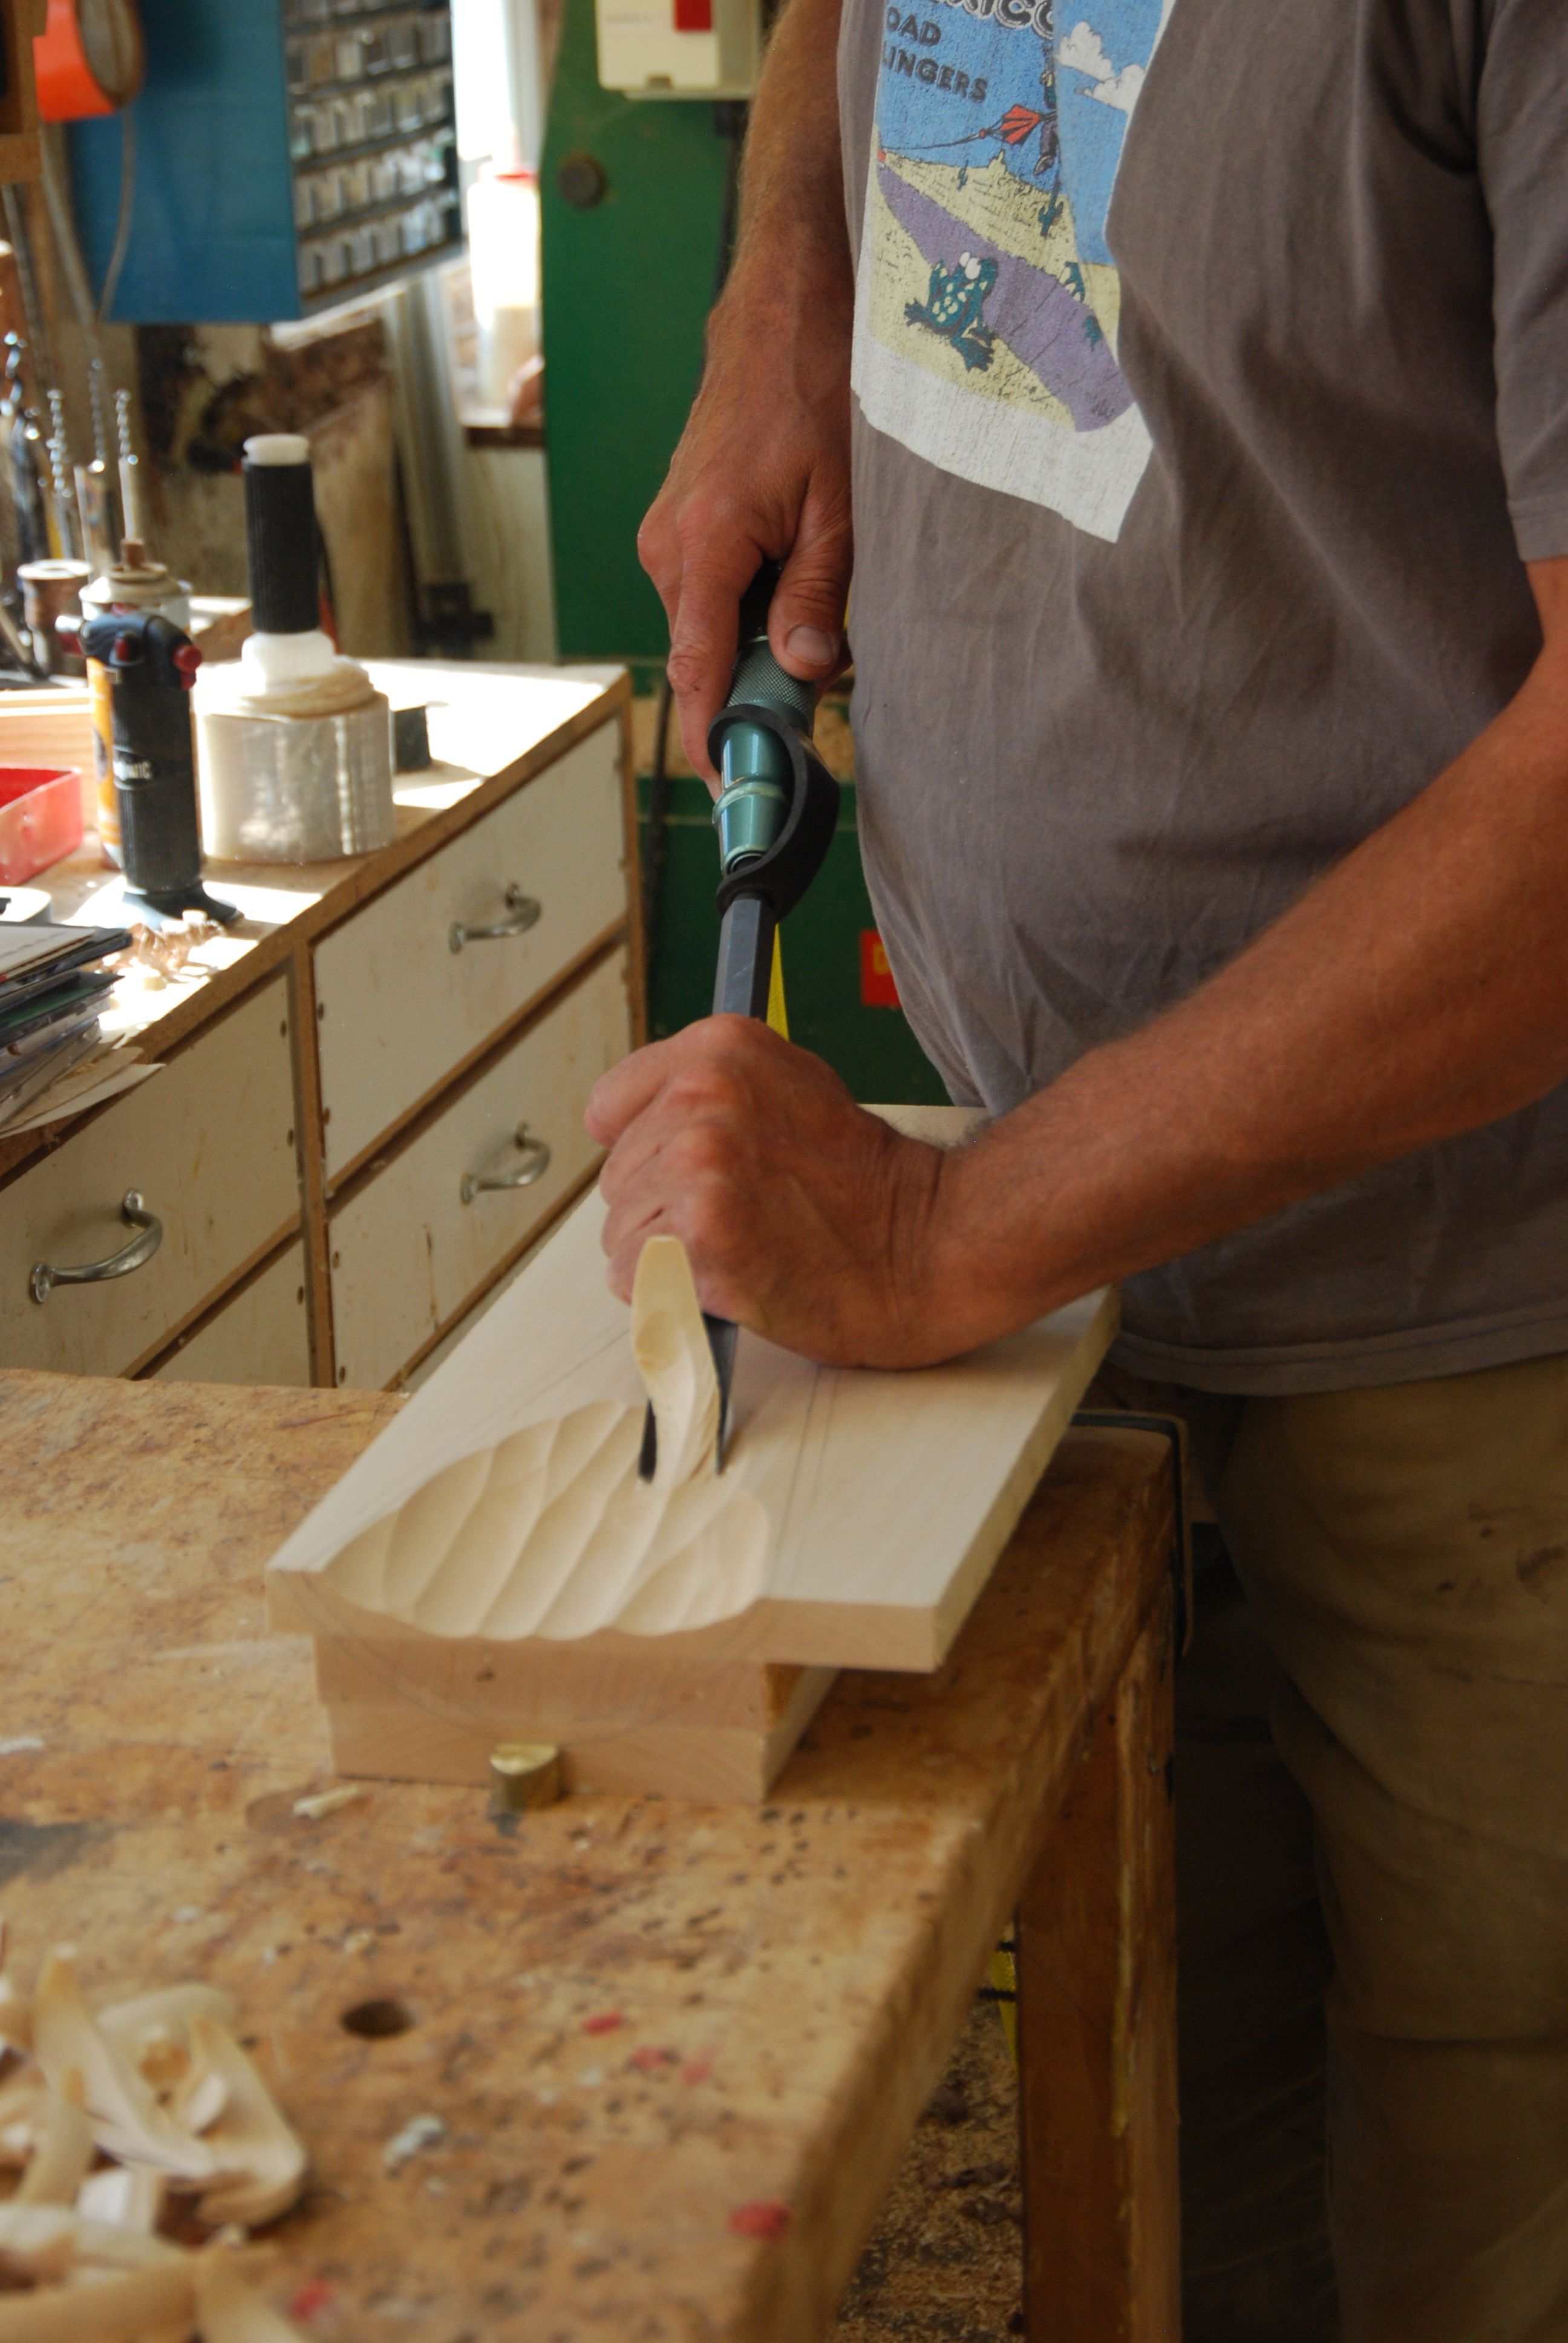
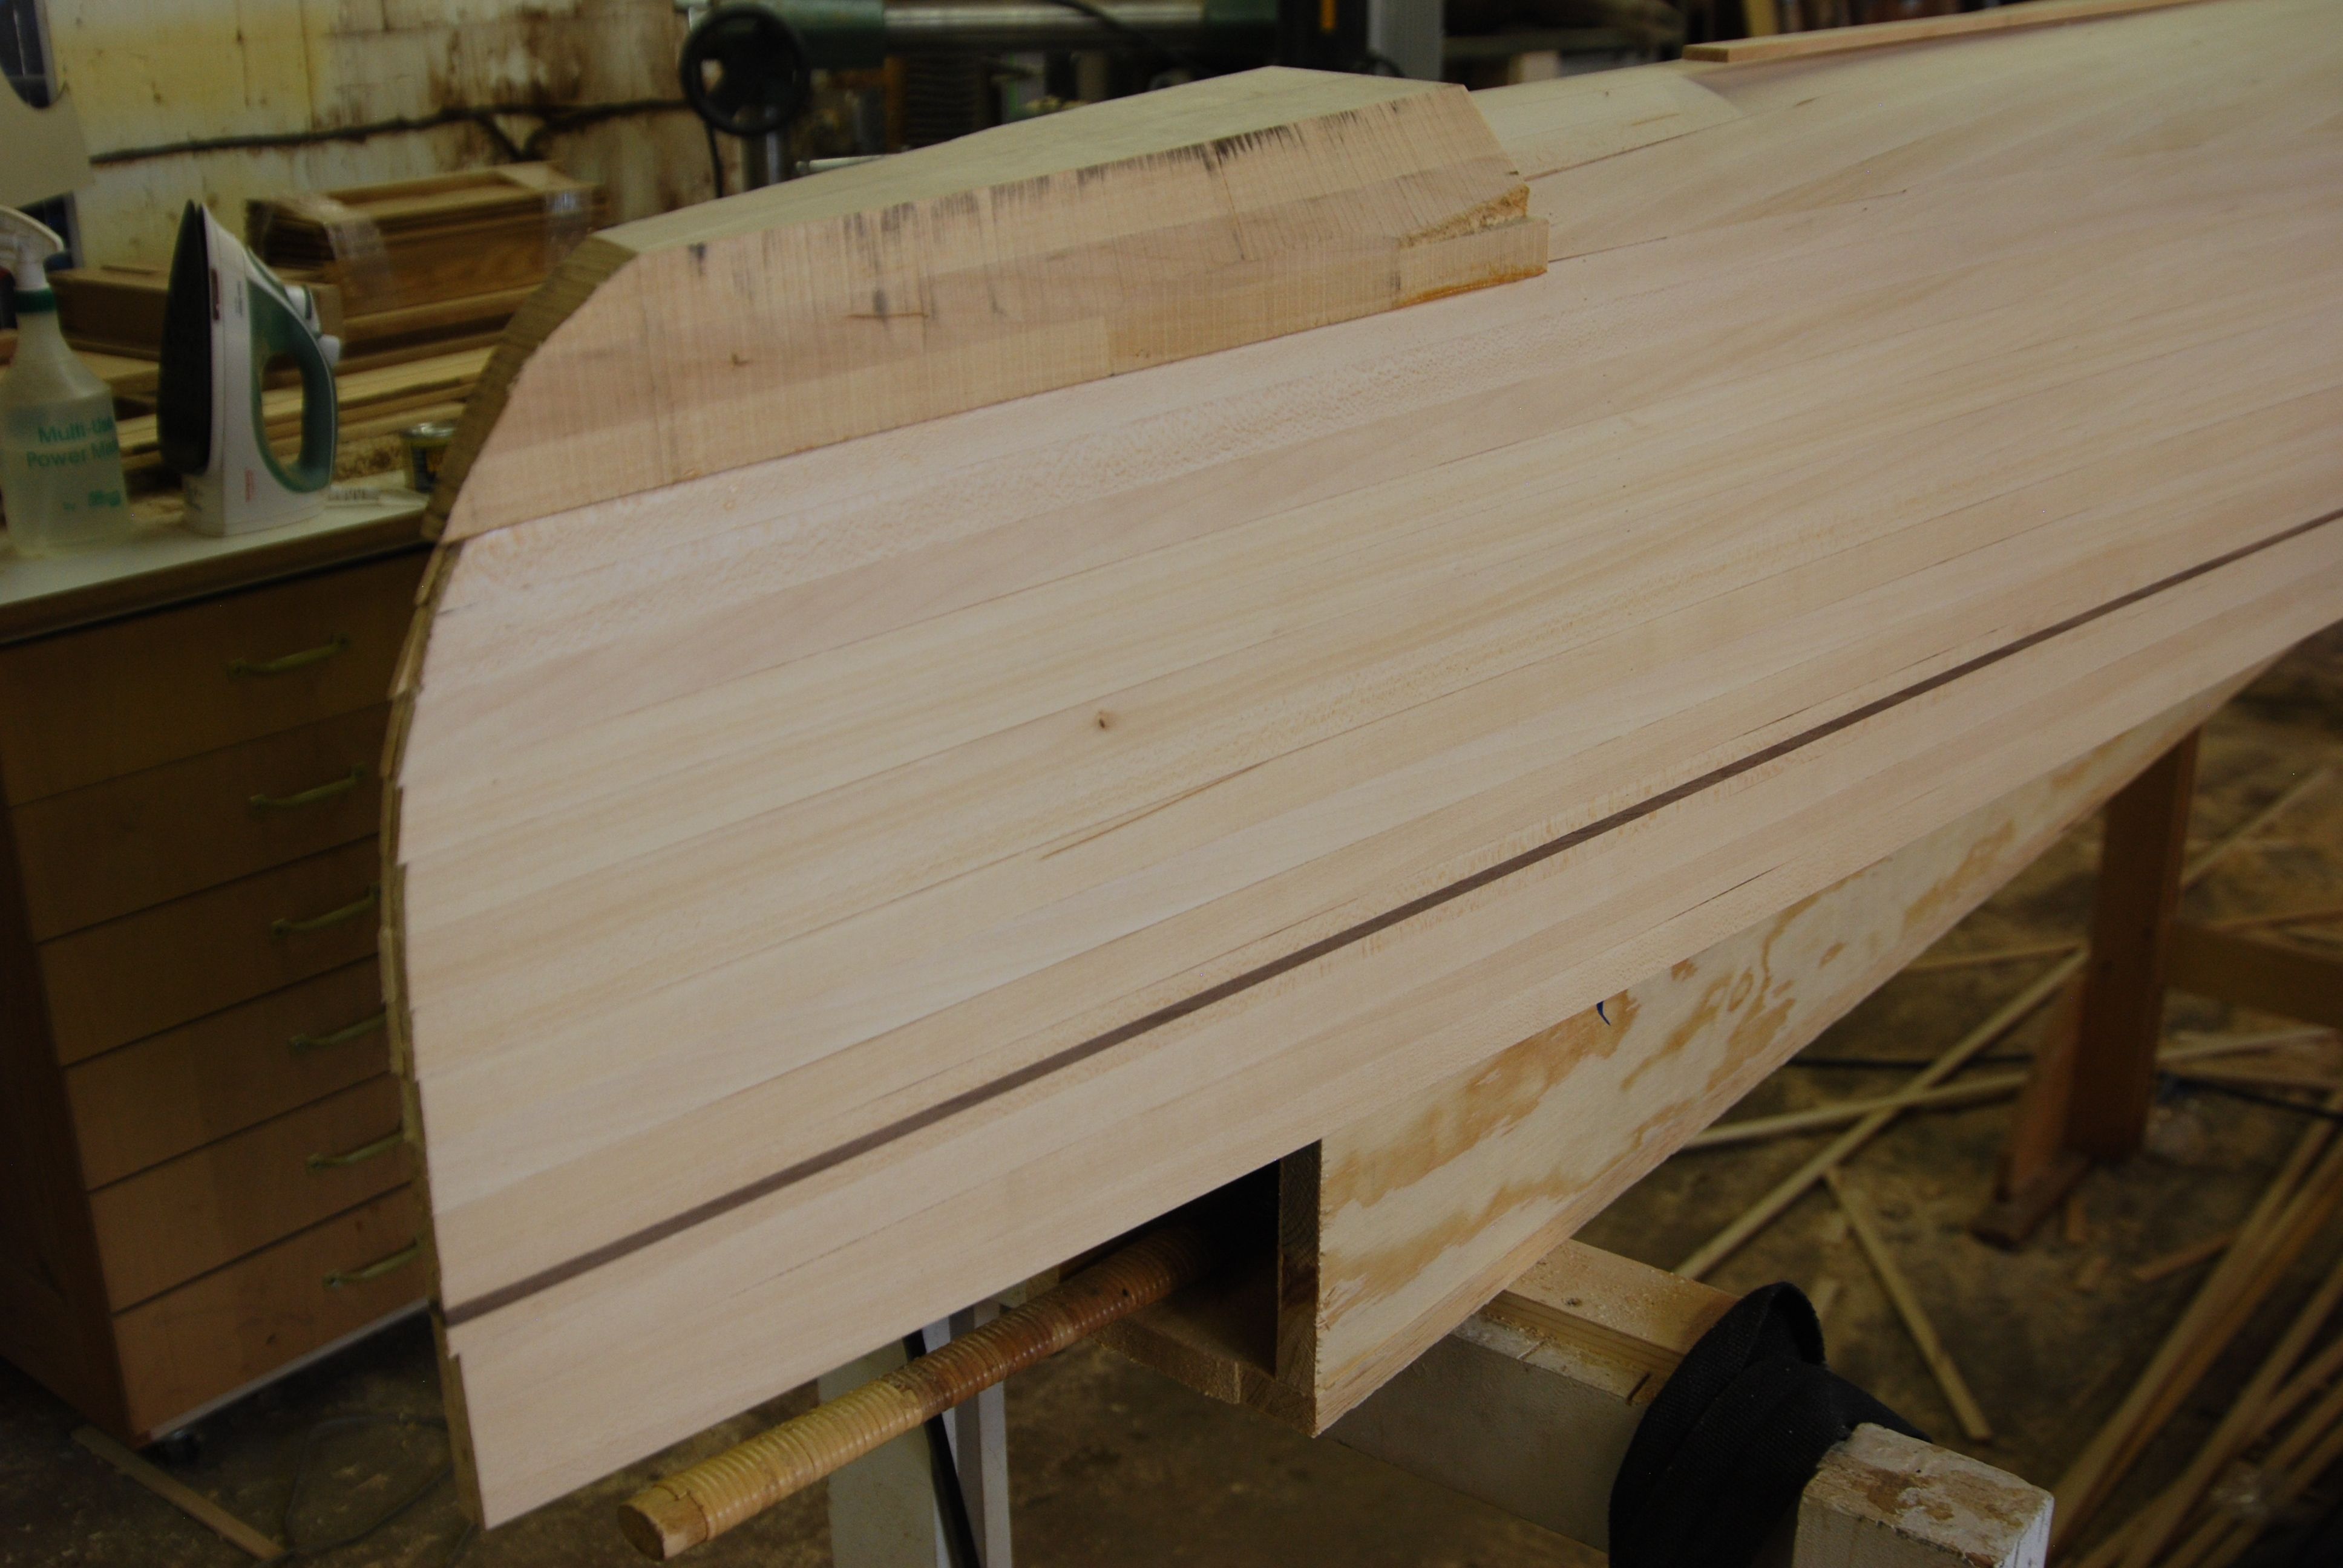
At the bow and stern there are two spots that I've left unstripped. These would be pretty pesky places to strip. There are lots of strips coming together here and they would all have to be tapered and fit together. This is also a spot on the boat that has the potential to take some knocks. So instead of fooling around with all of those little strips, you can make up a big block of wood called a sabot to go there, and then shape it to follow the lines of the boat. Inside and out.
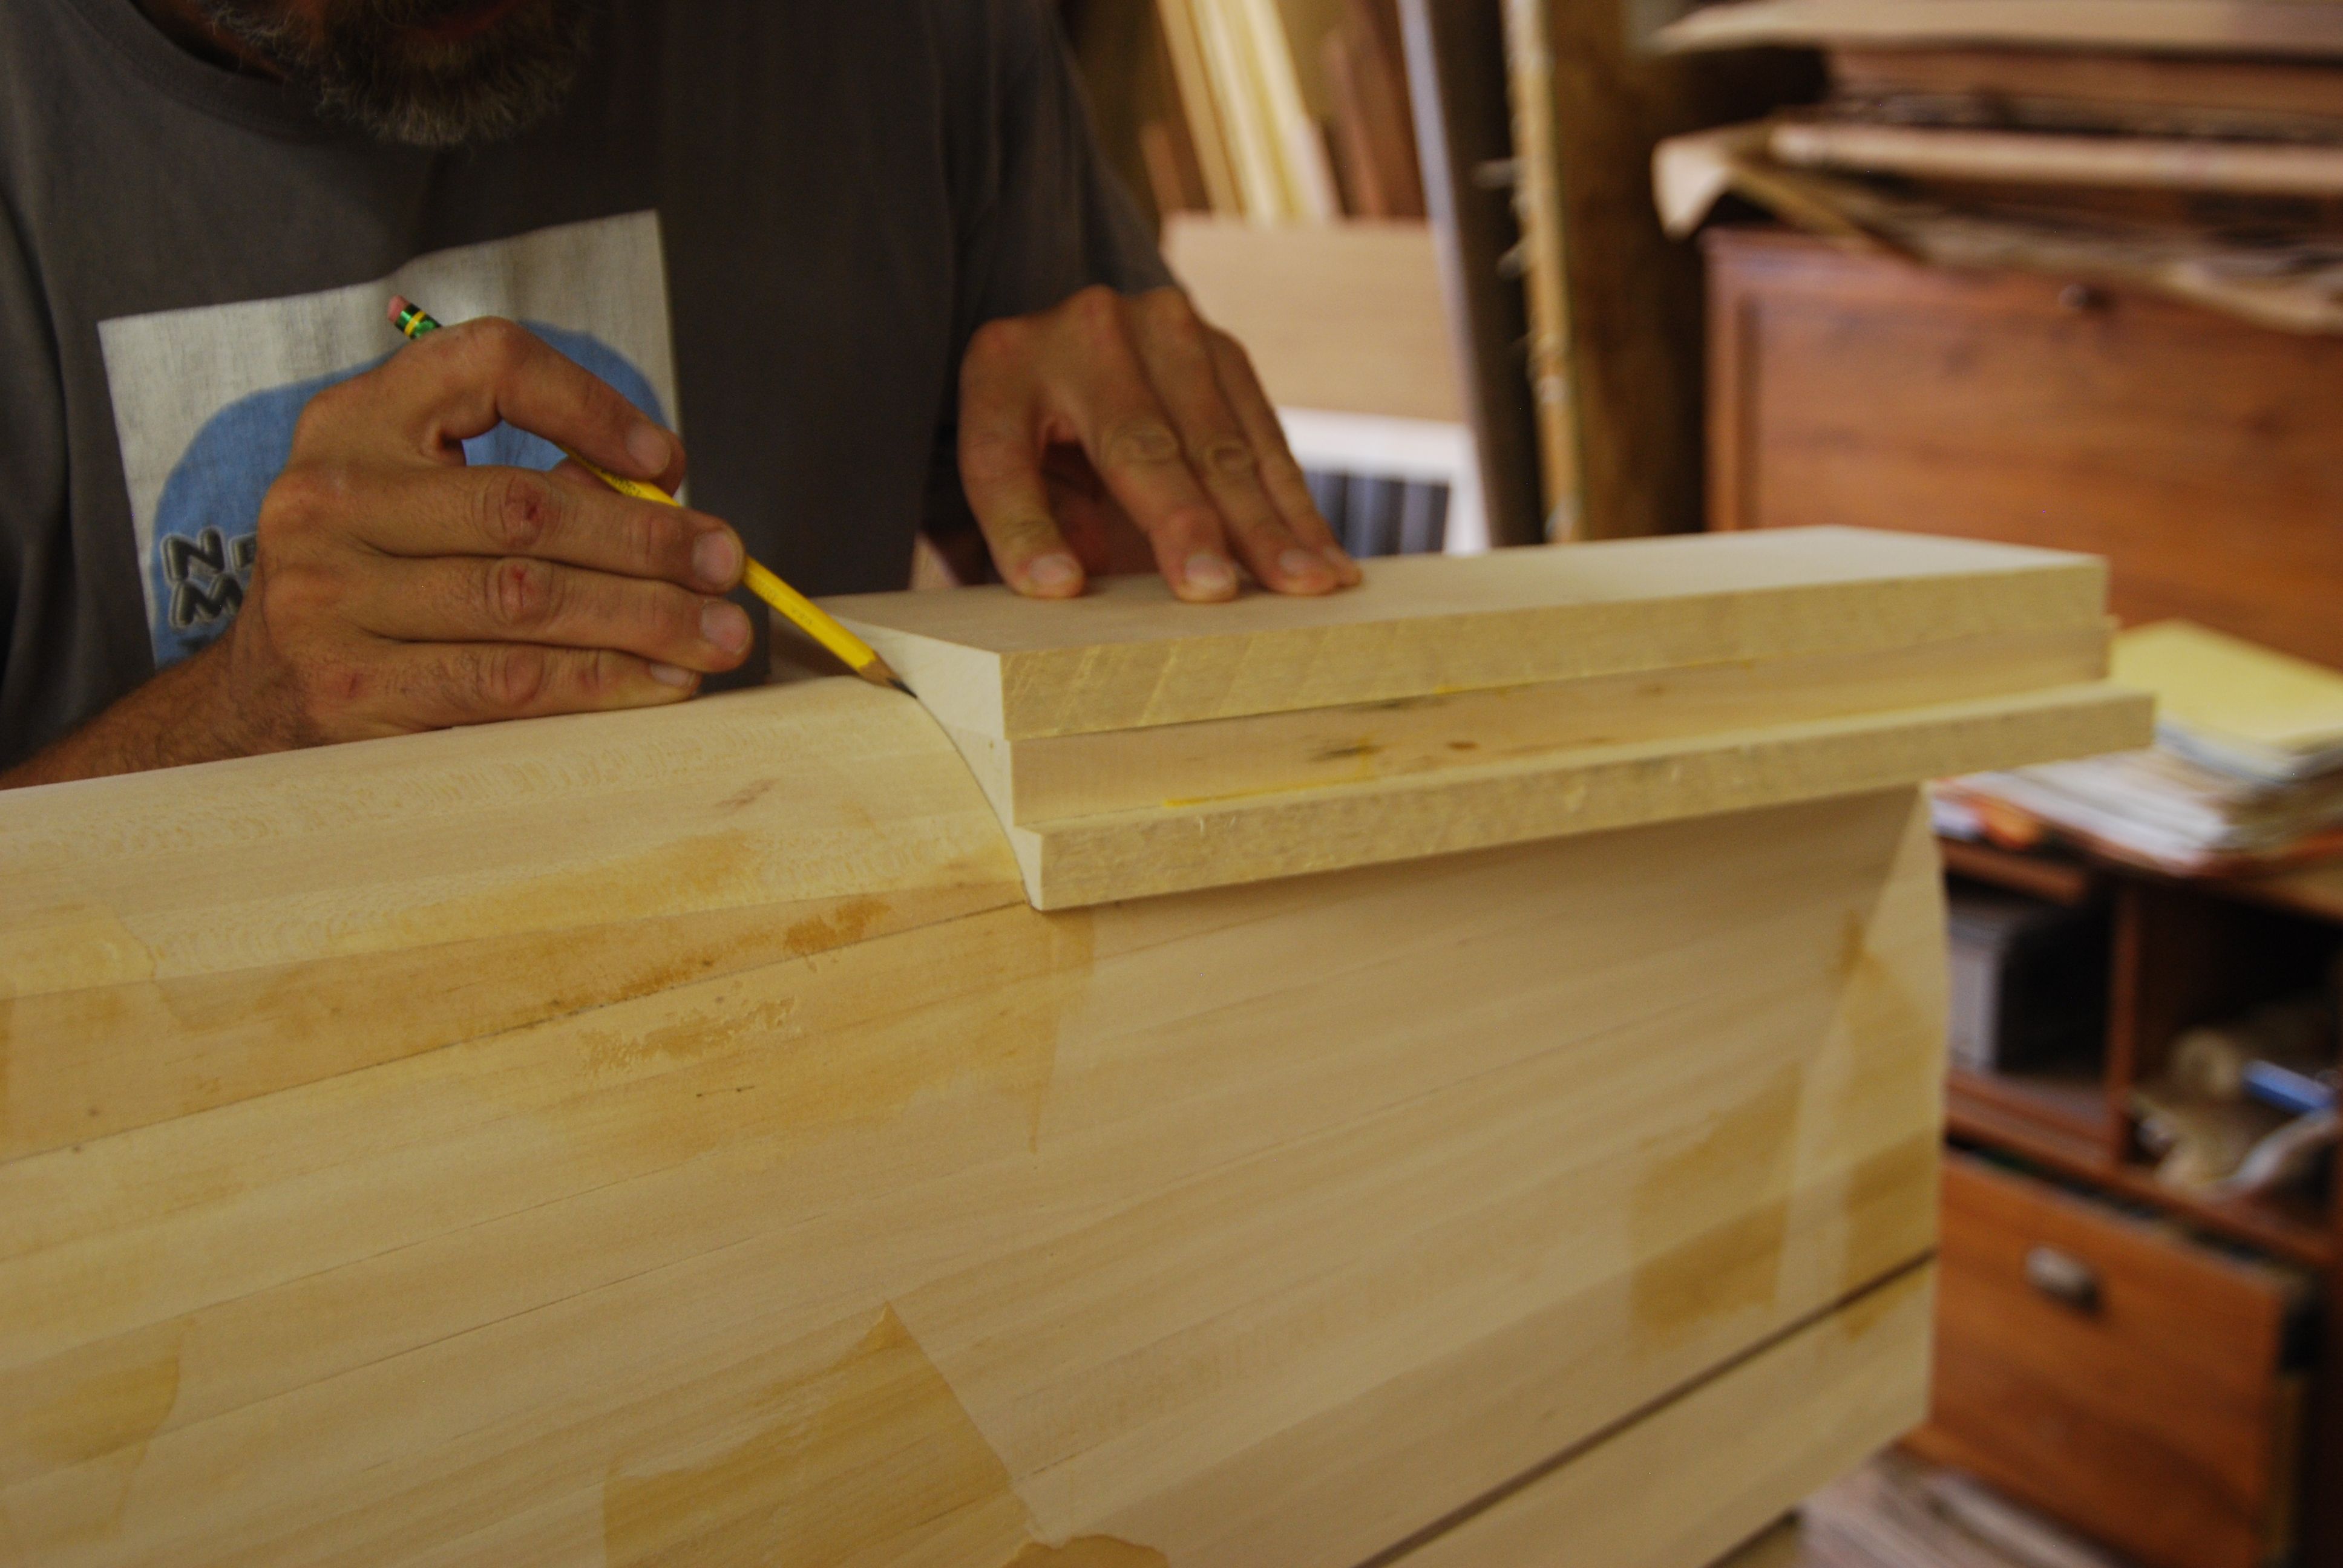
Once the block is glued up you put it on the boat and scribe the lines of the hull onto it. Then you draw parallel lines inside of the first lines by 1/4" - the thickness of the strips.
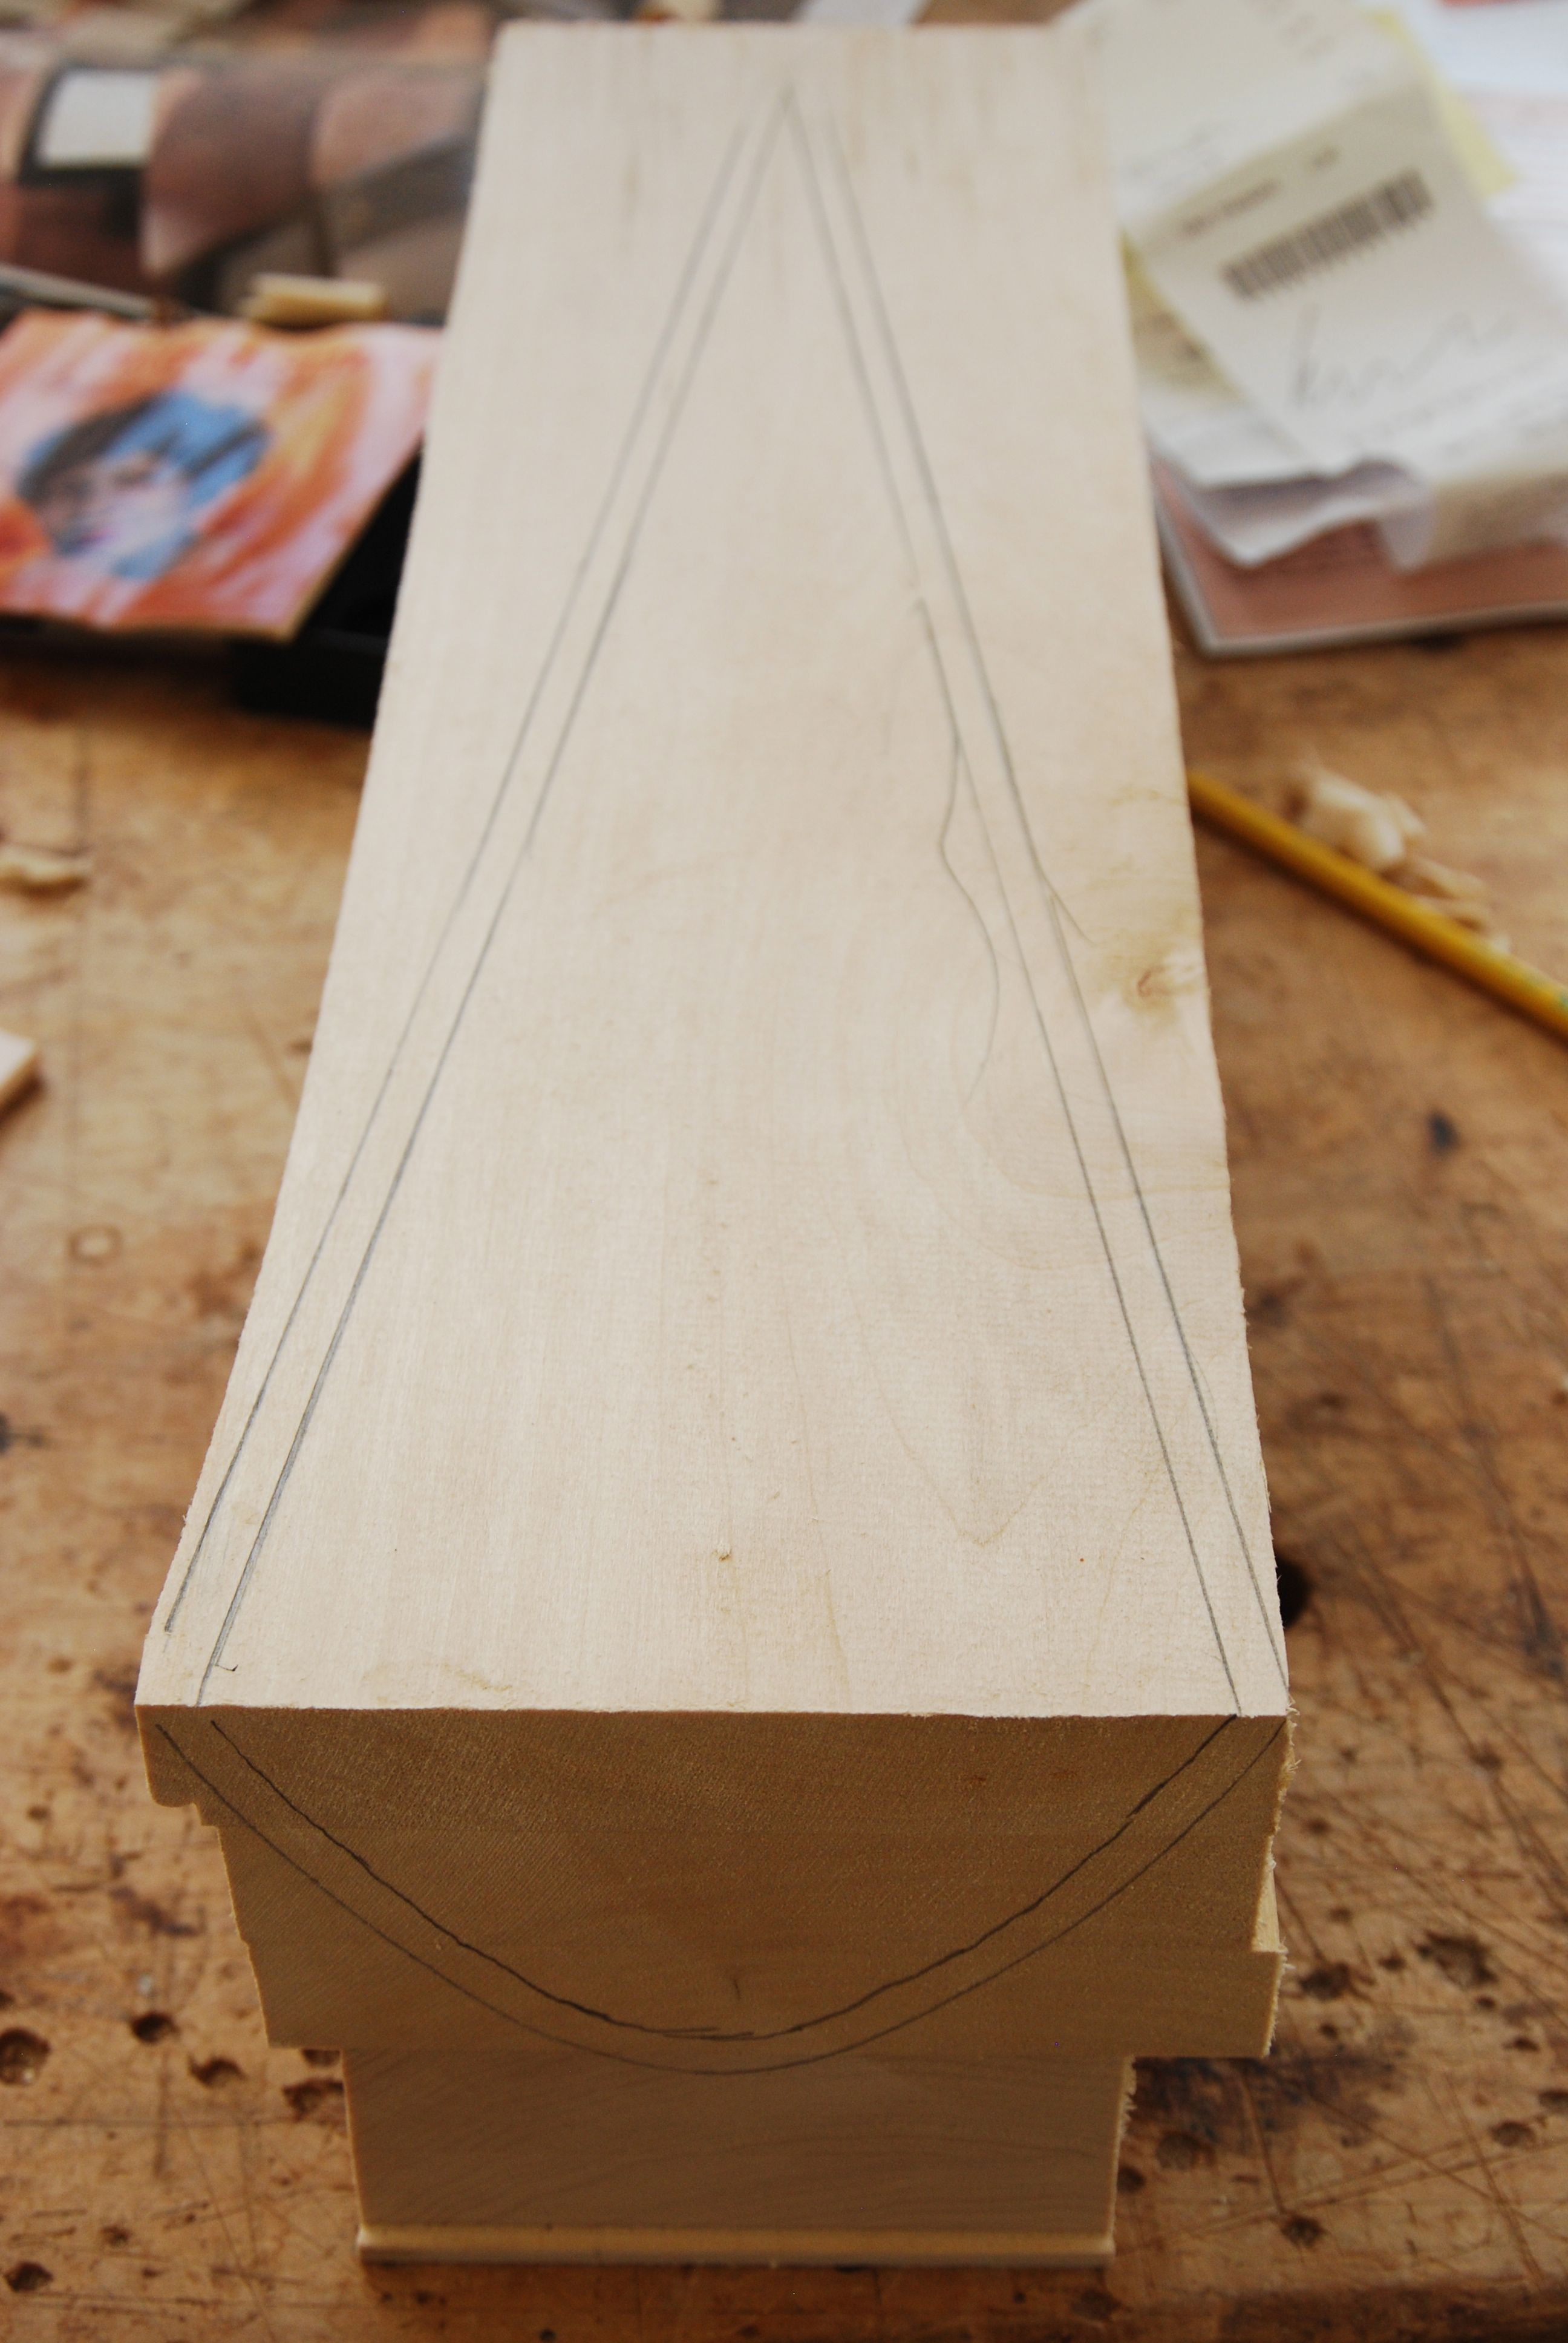
Carving out the inside gives you a smooth transition between the strips and the sabot. The idea here is to leave some thickness at the ends to give the boat a little more strength where it could bang into things, but carve the transition so that it mates to the rest of the hull.
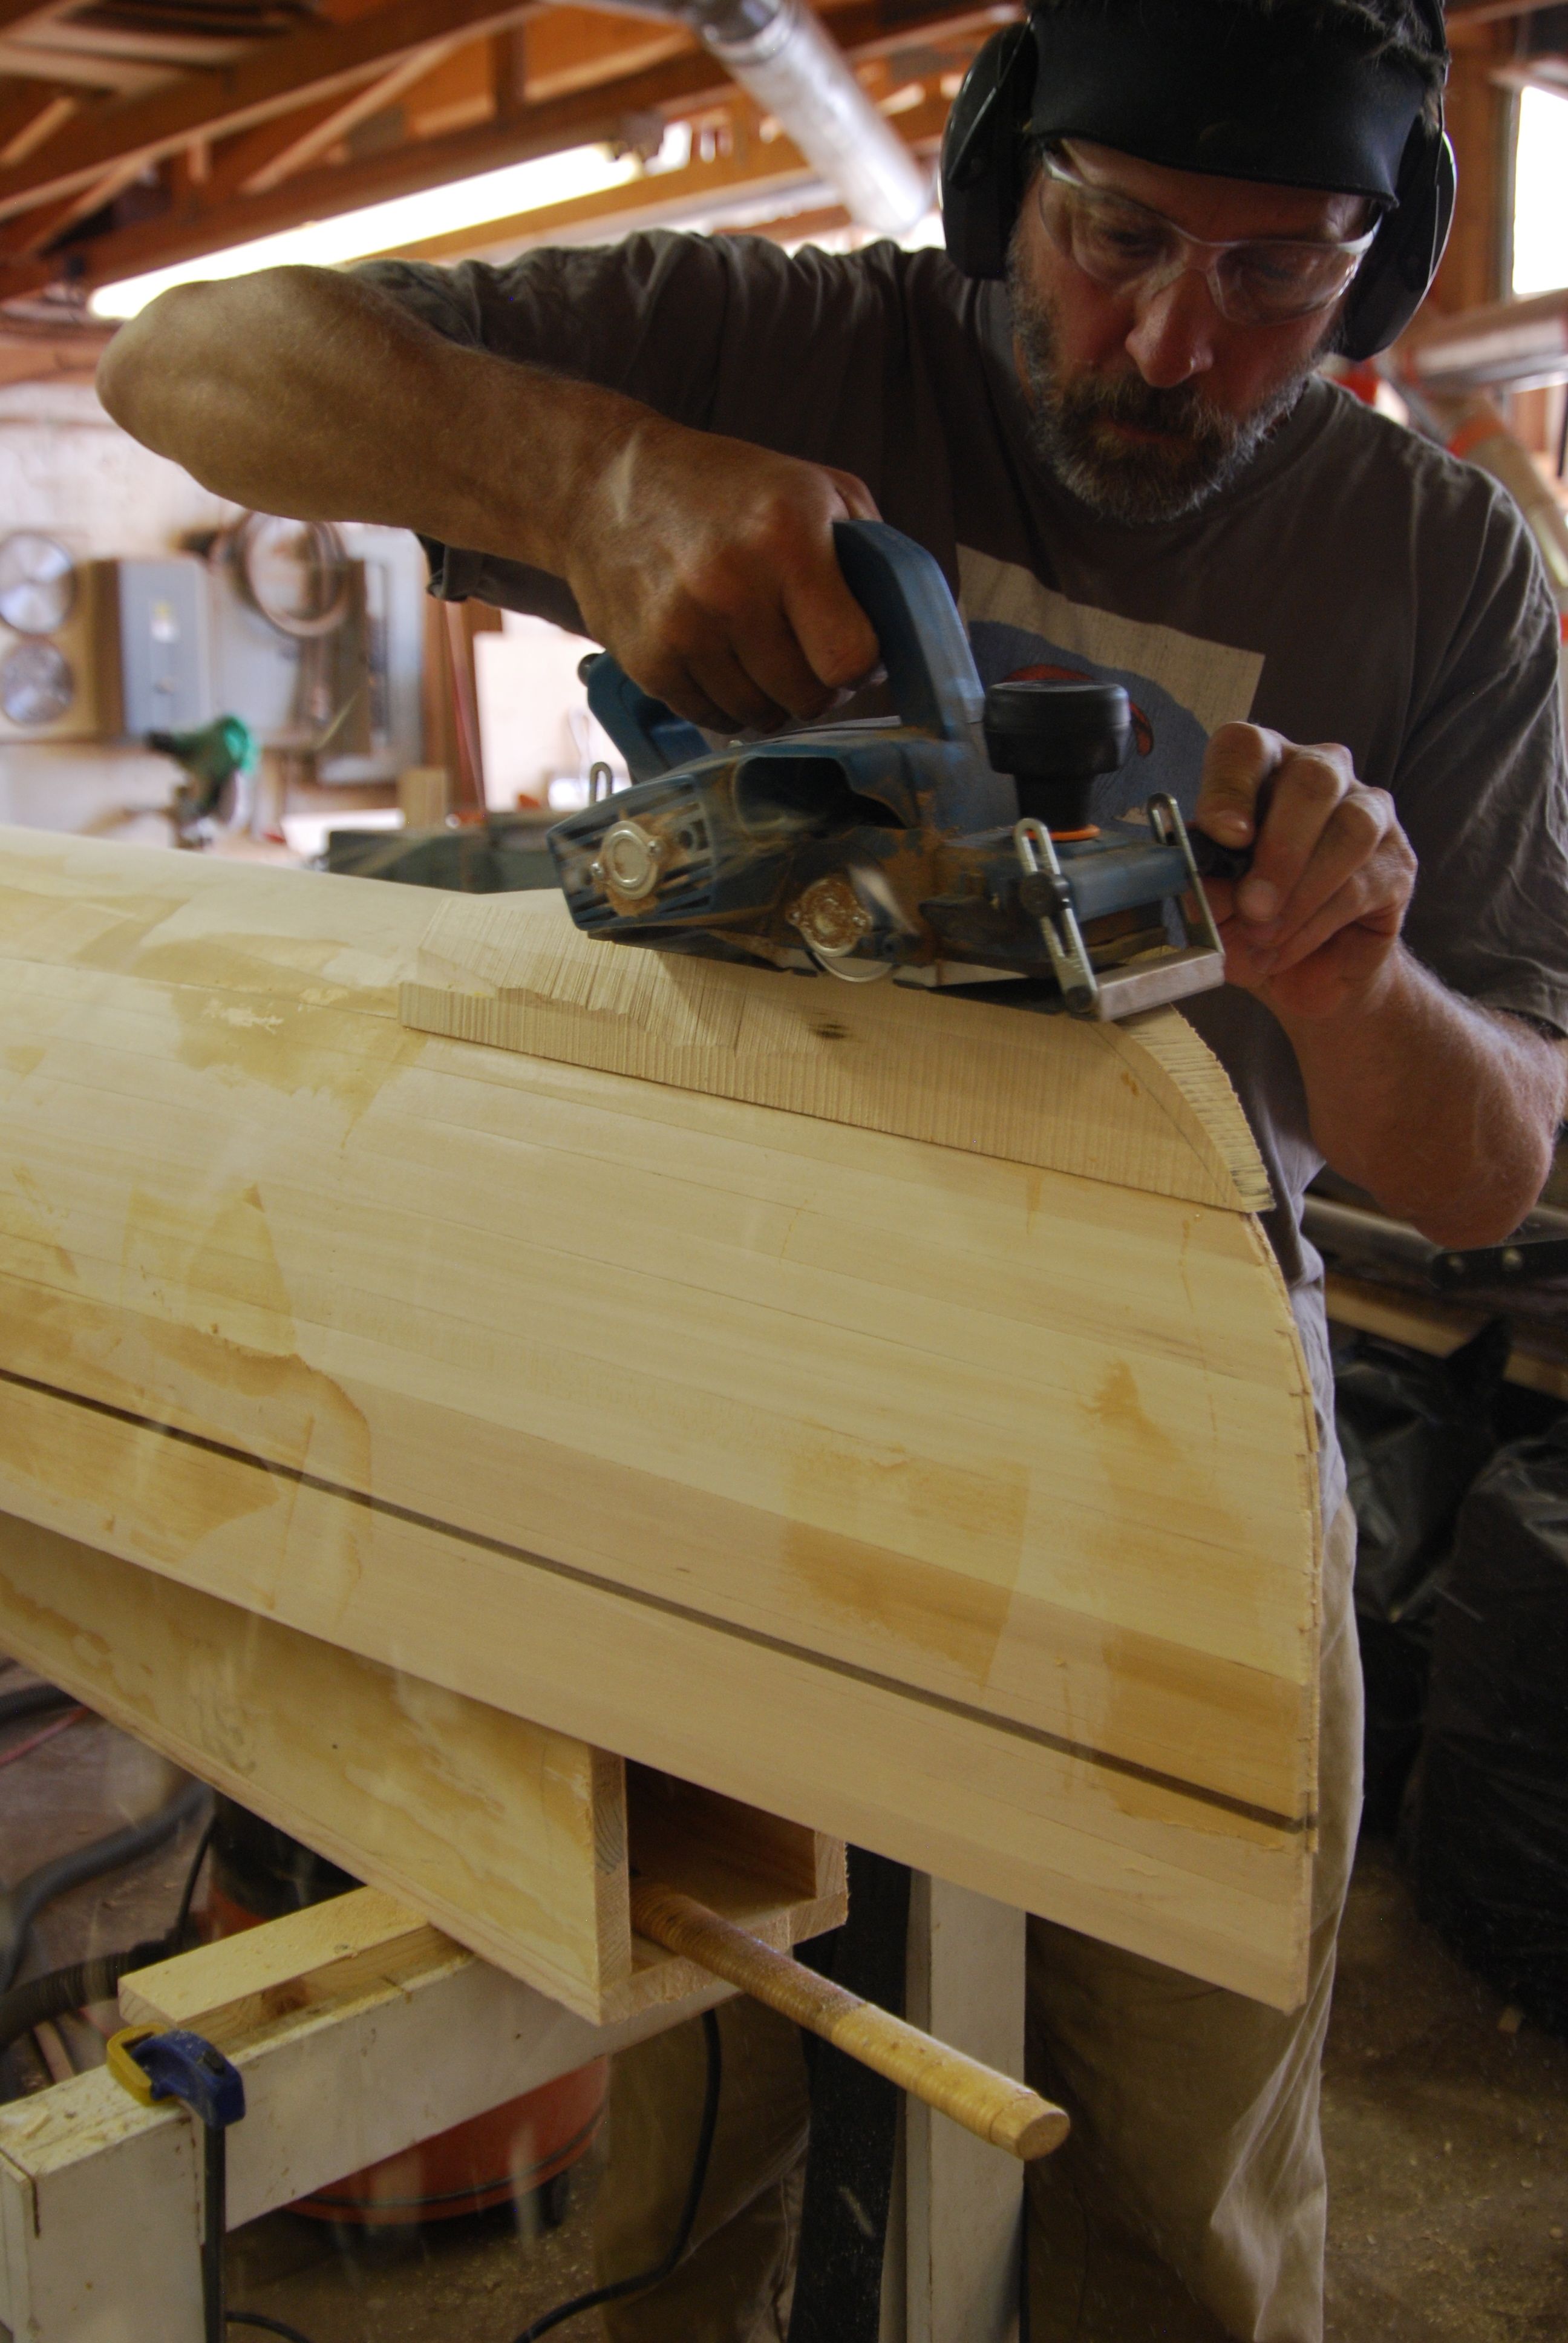
After hacking the sabot to rough shape on the bandsaw I glued it to the hull and started shaping it.
I whaled on it with a power plane to get it close to the right shape.
When it was close I kept shaping with a hand plane.
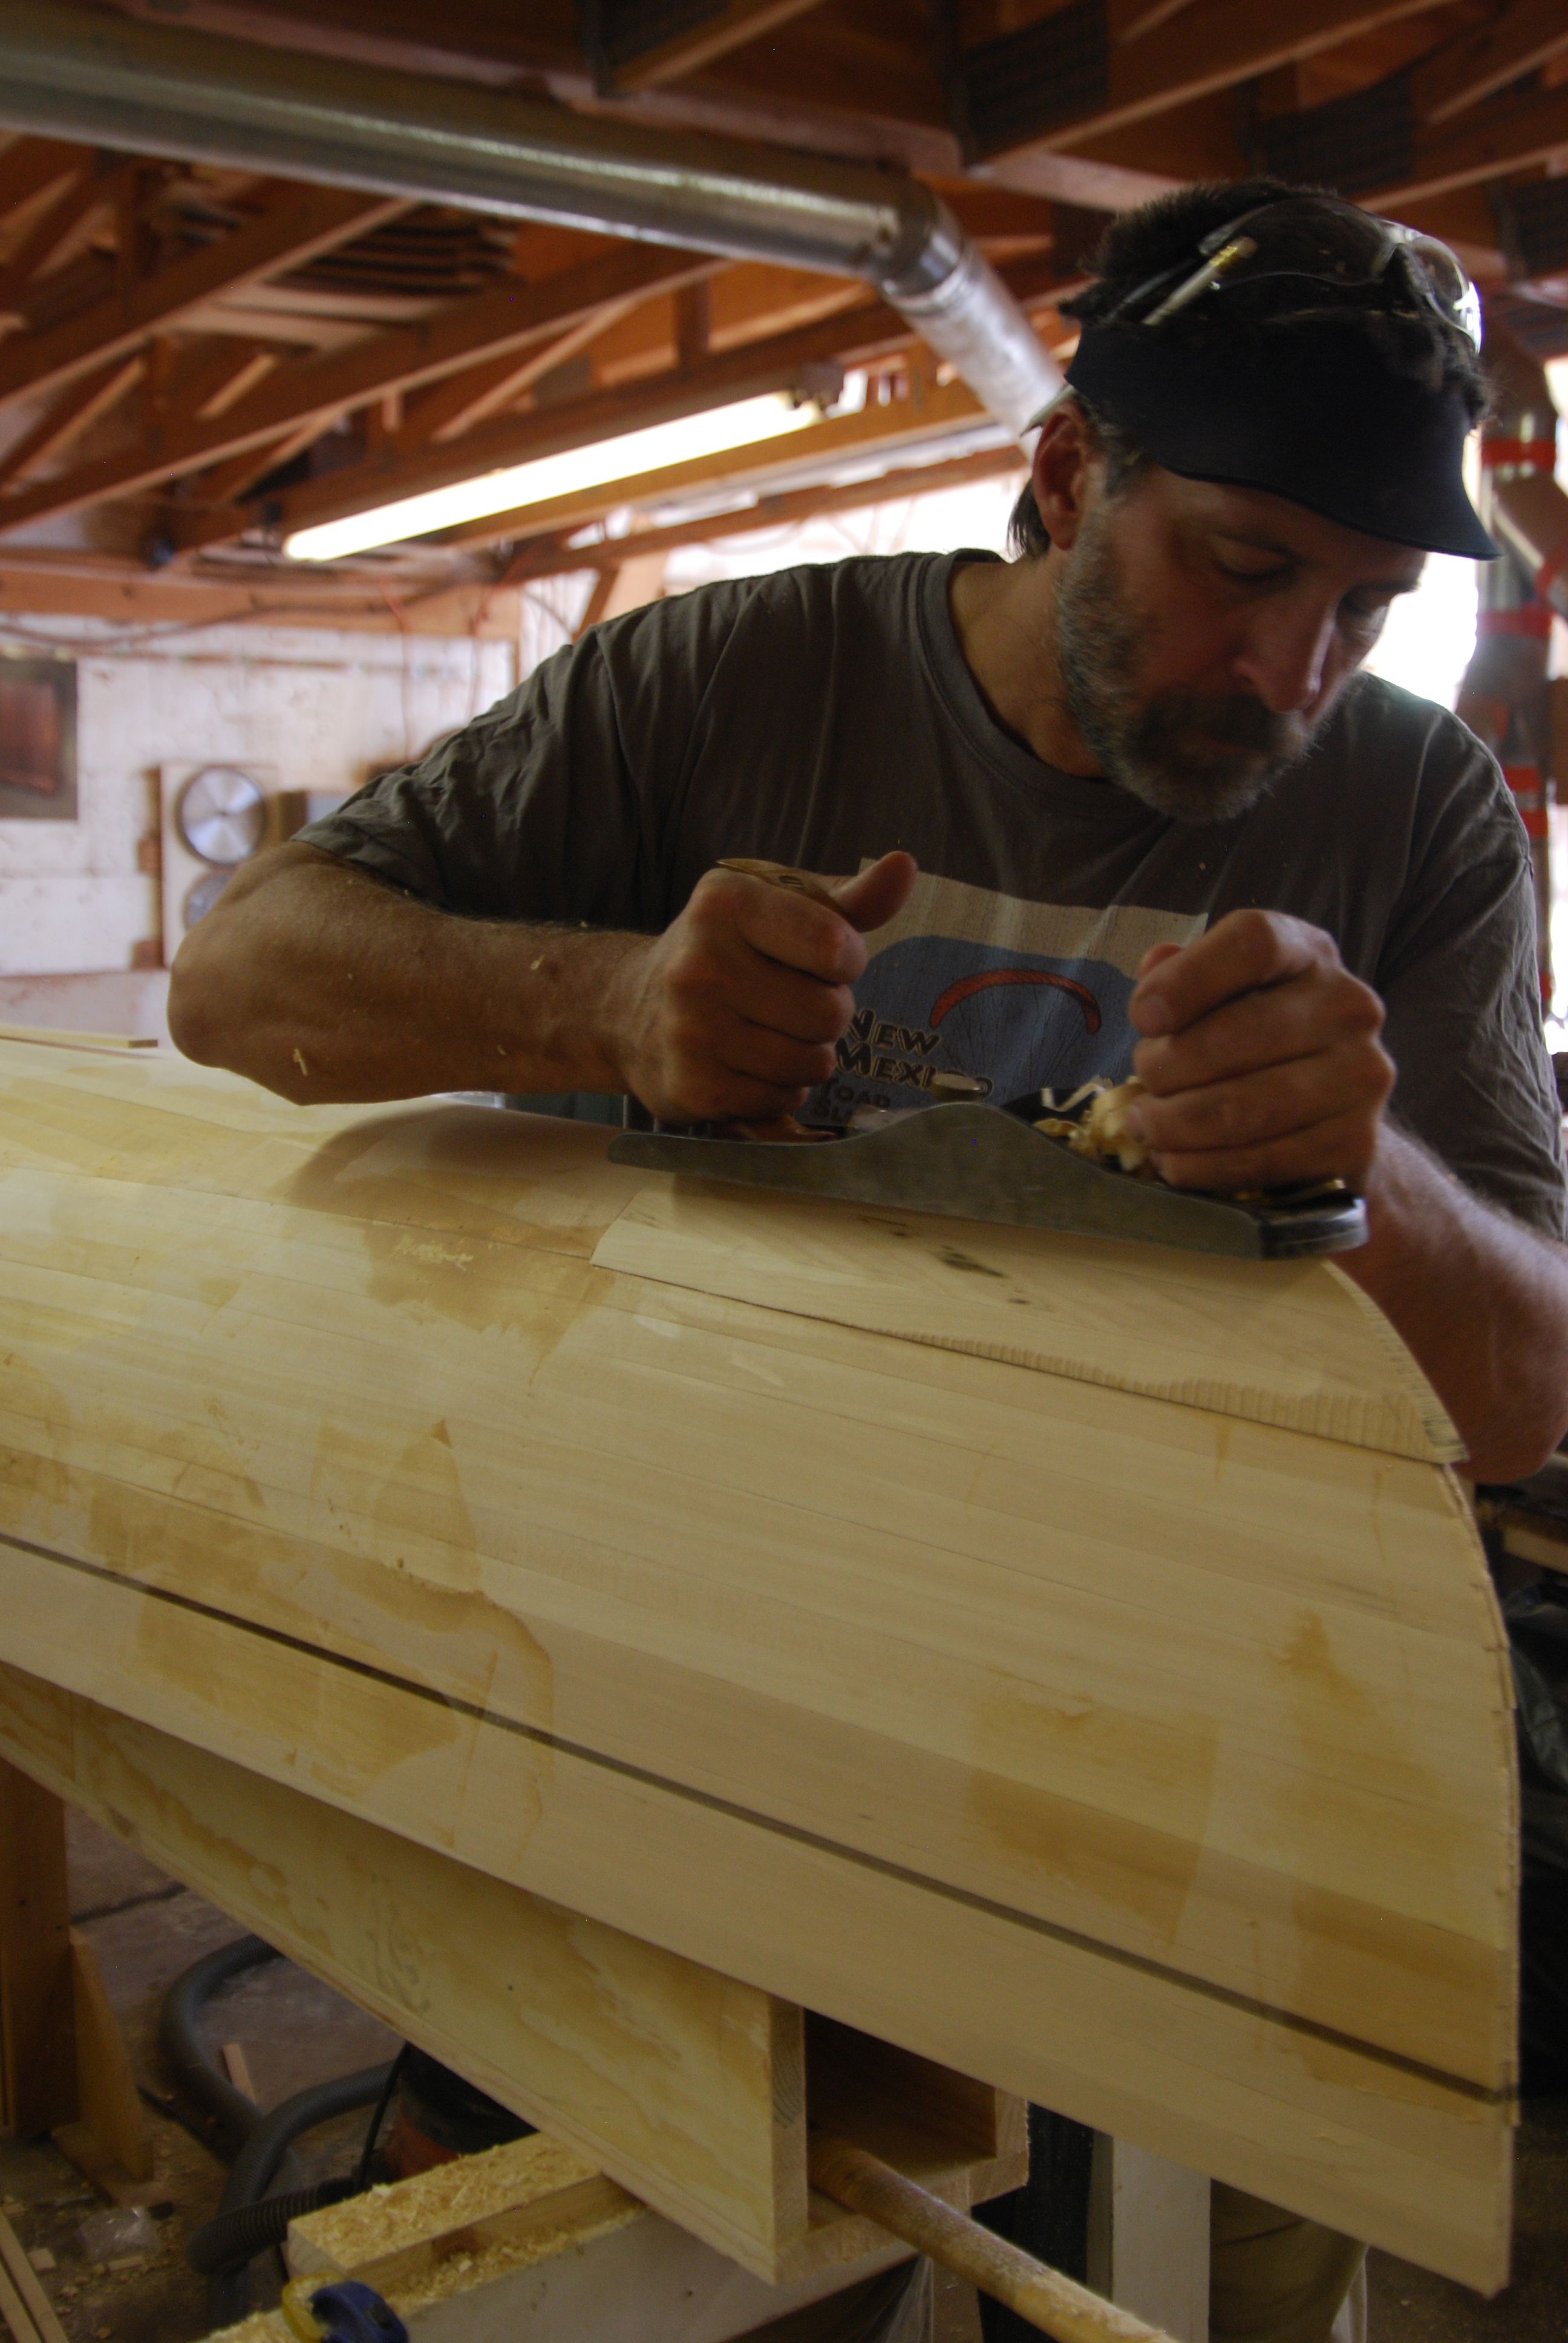
Then a spokeshave.

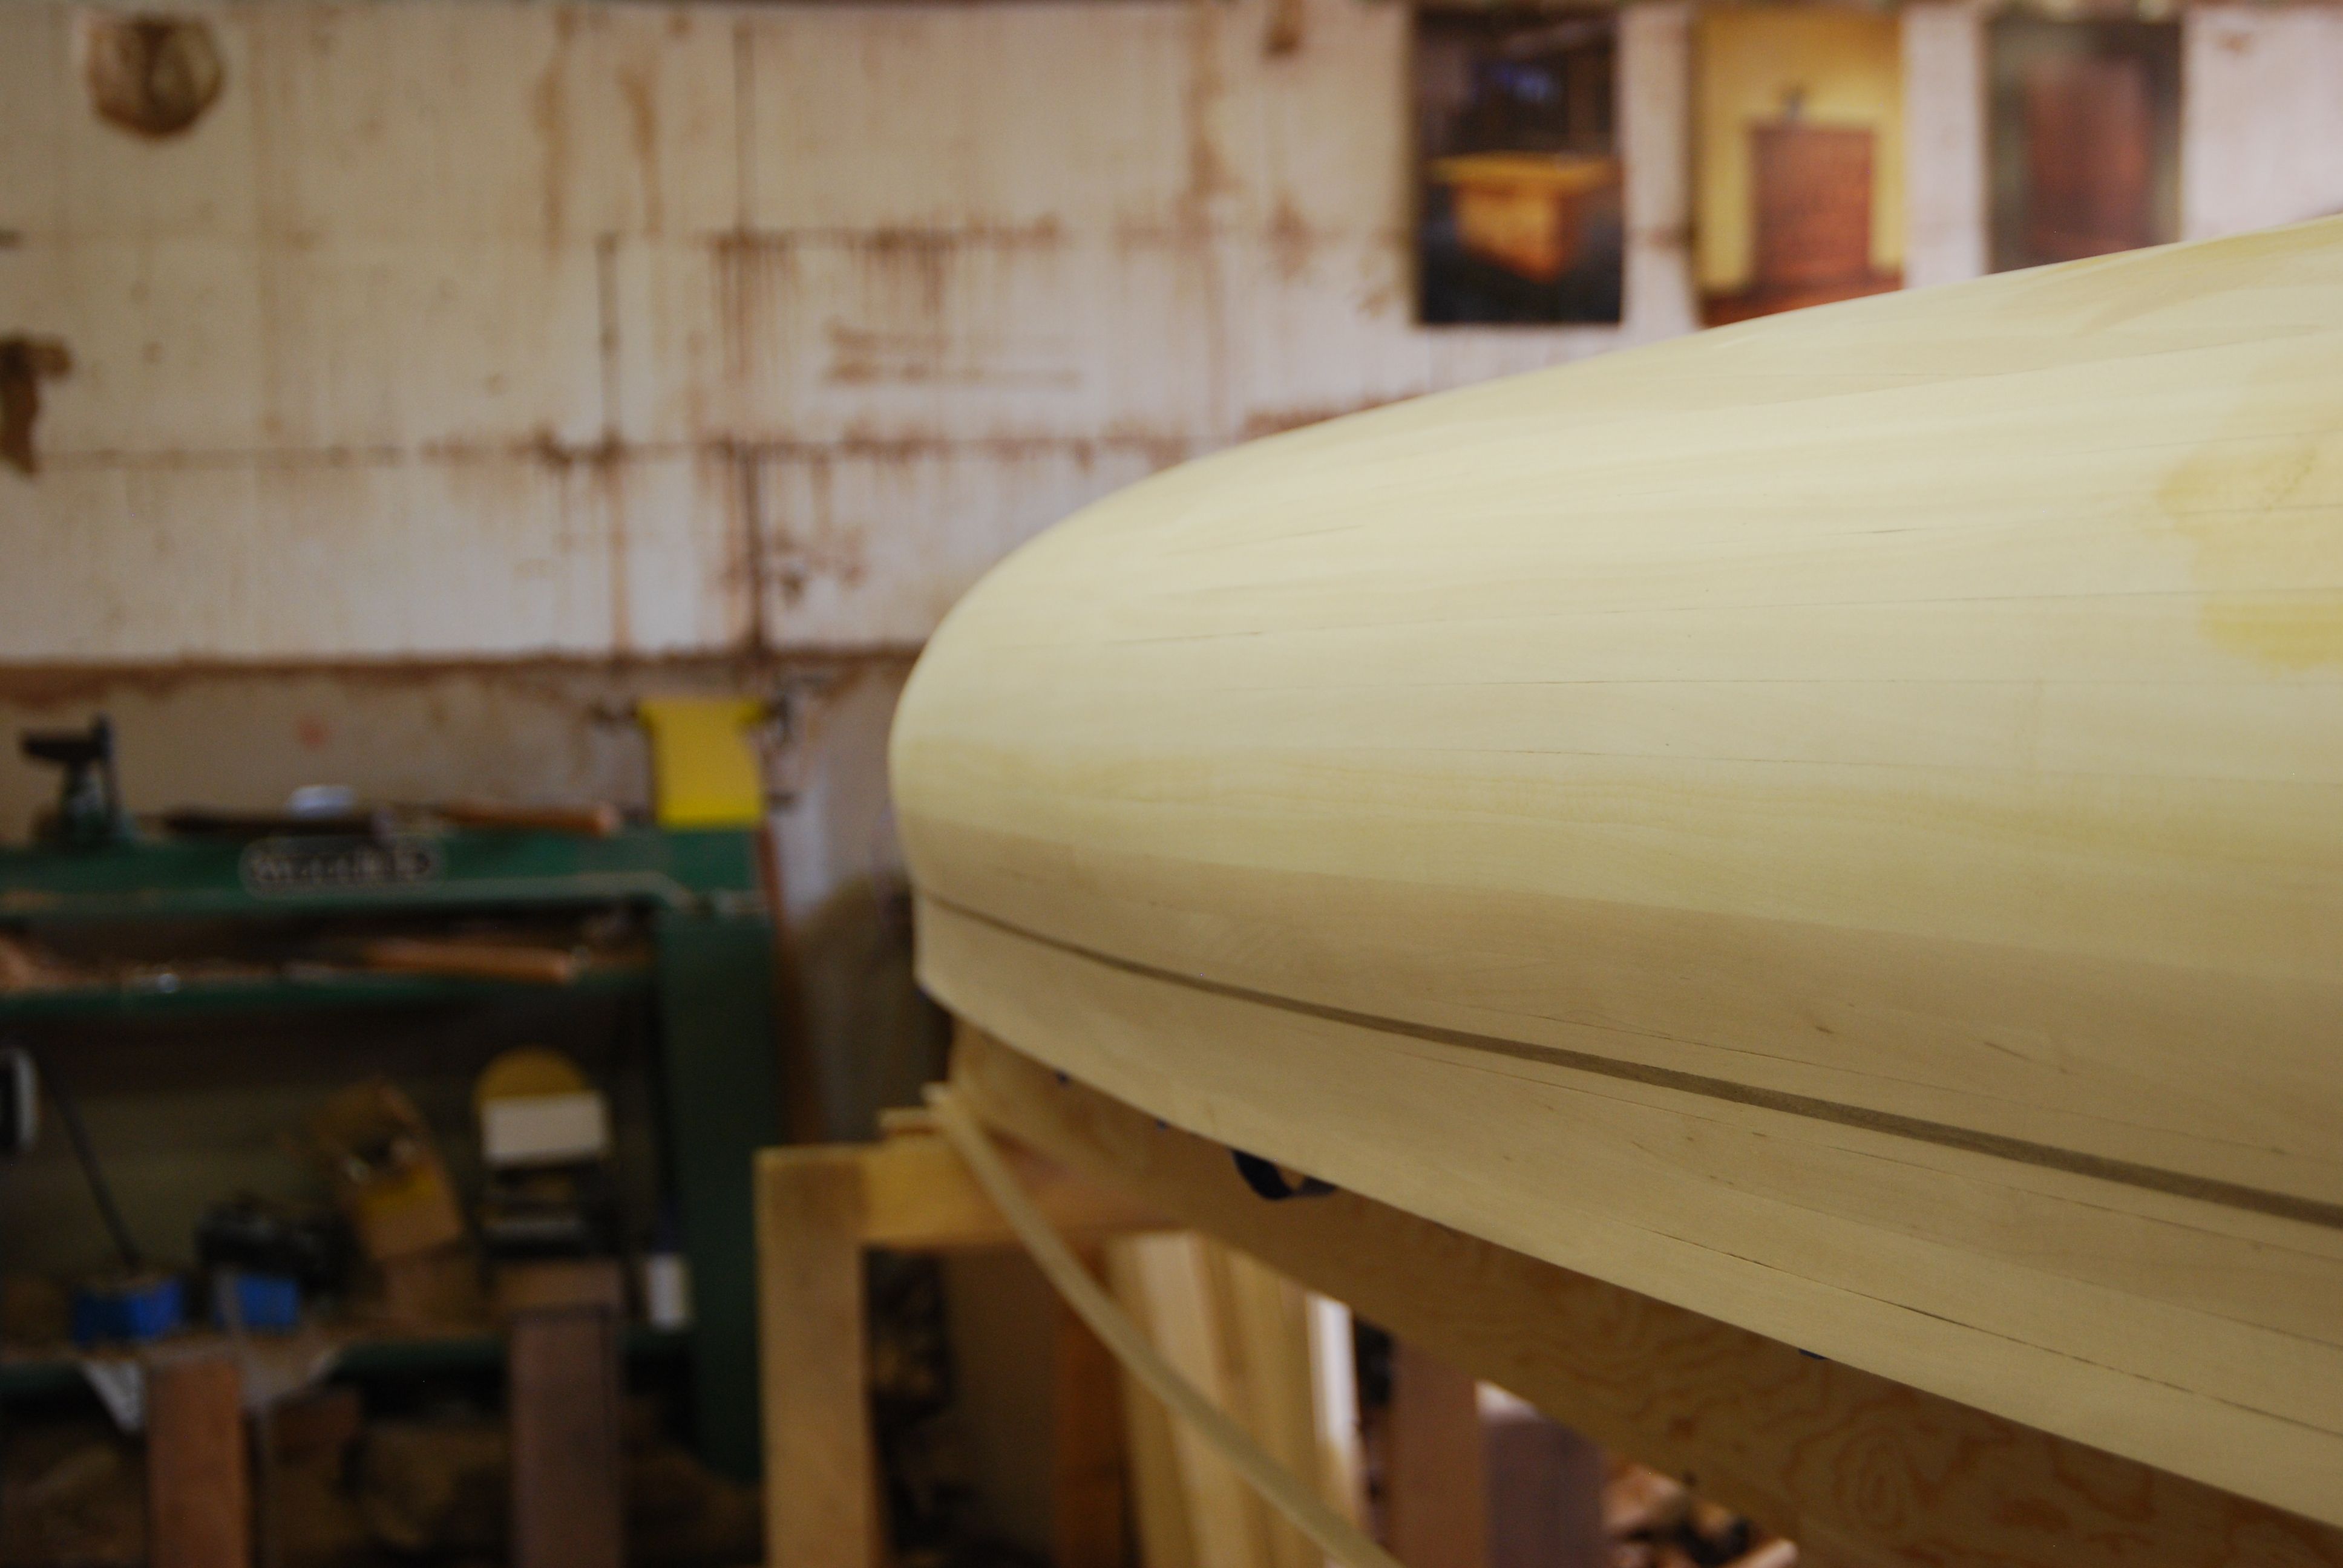
Viola! It looks like a boat.
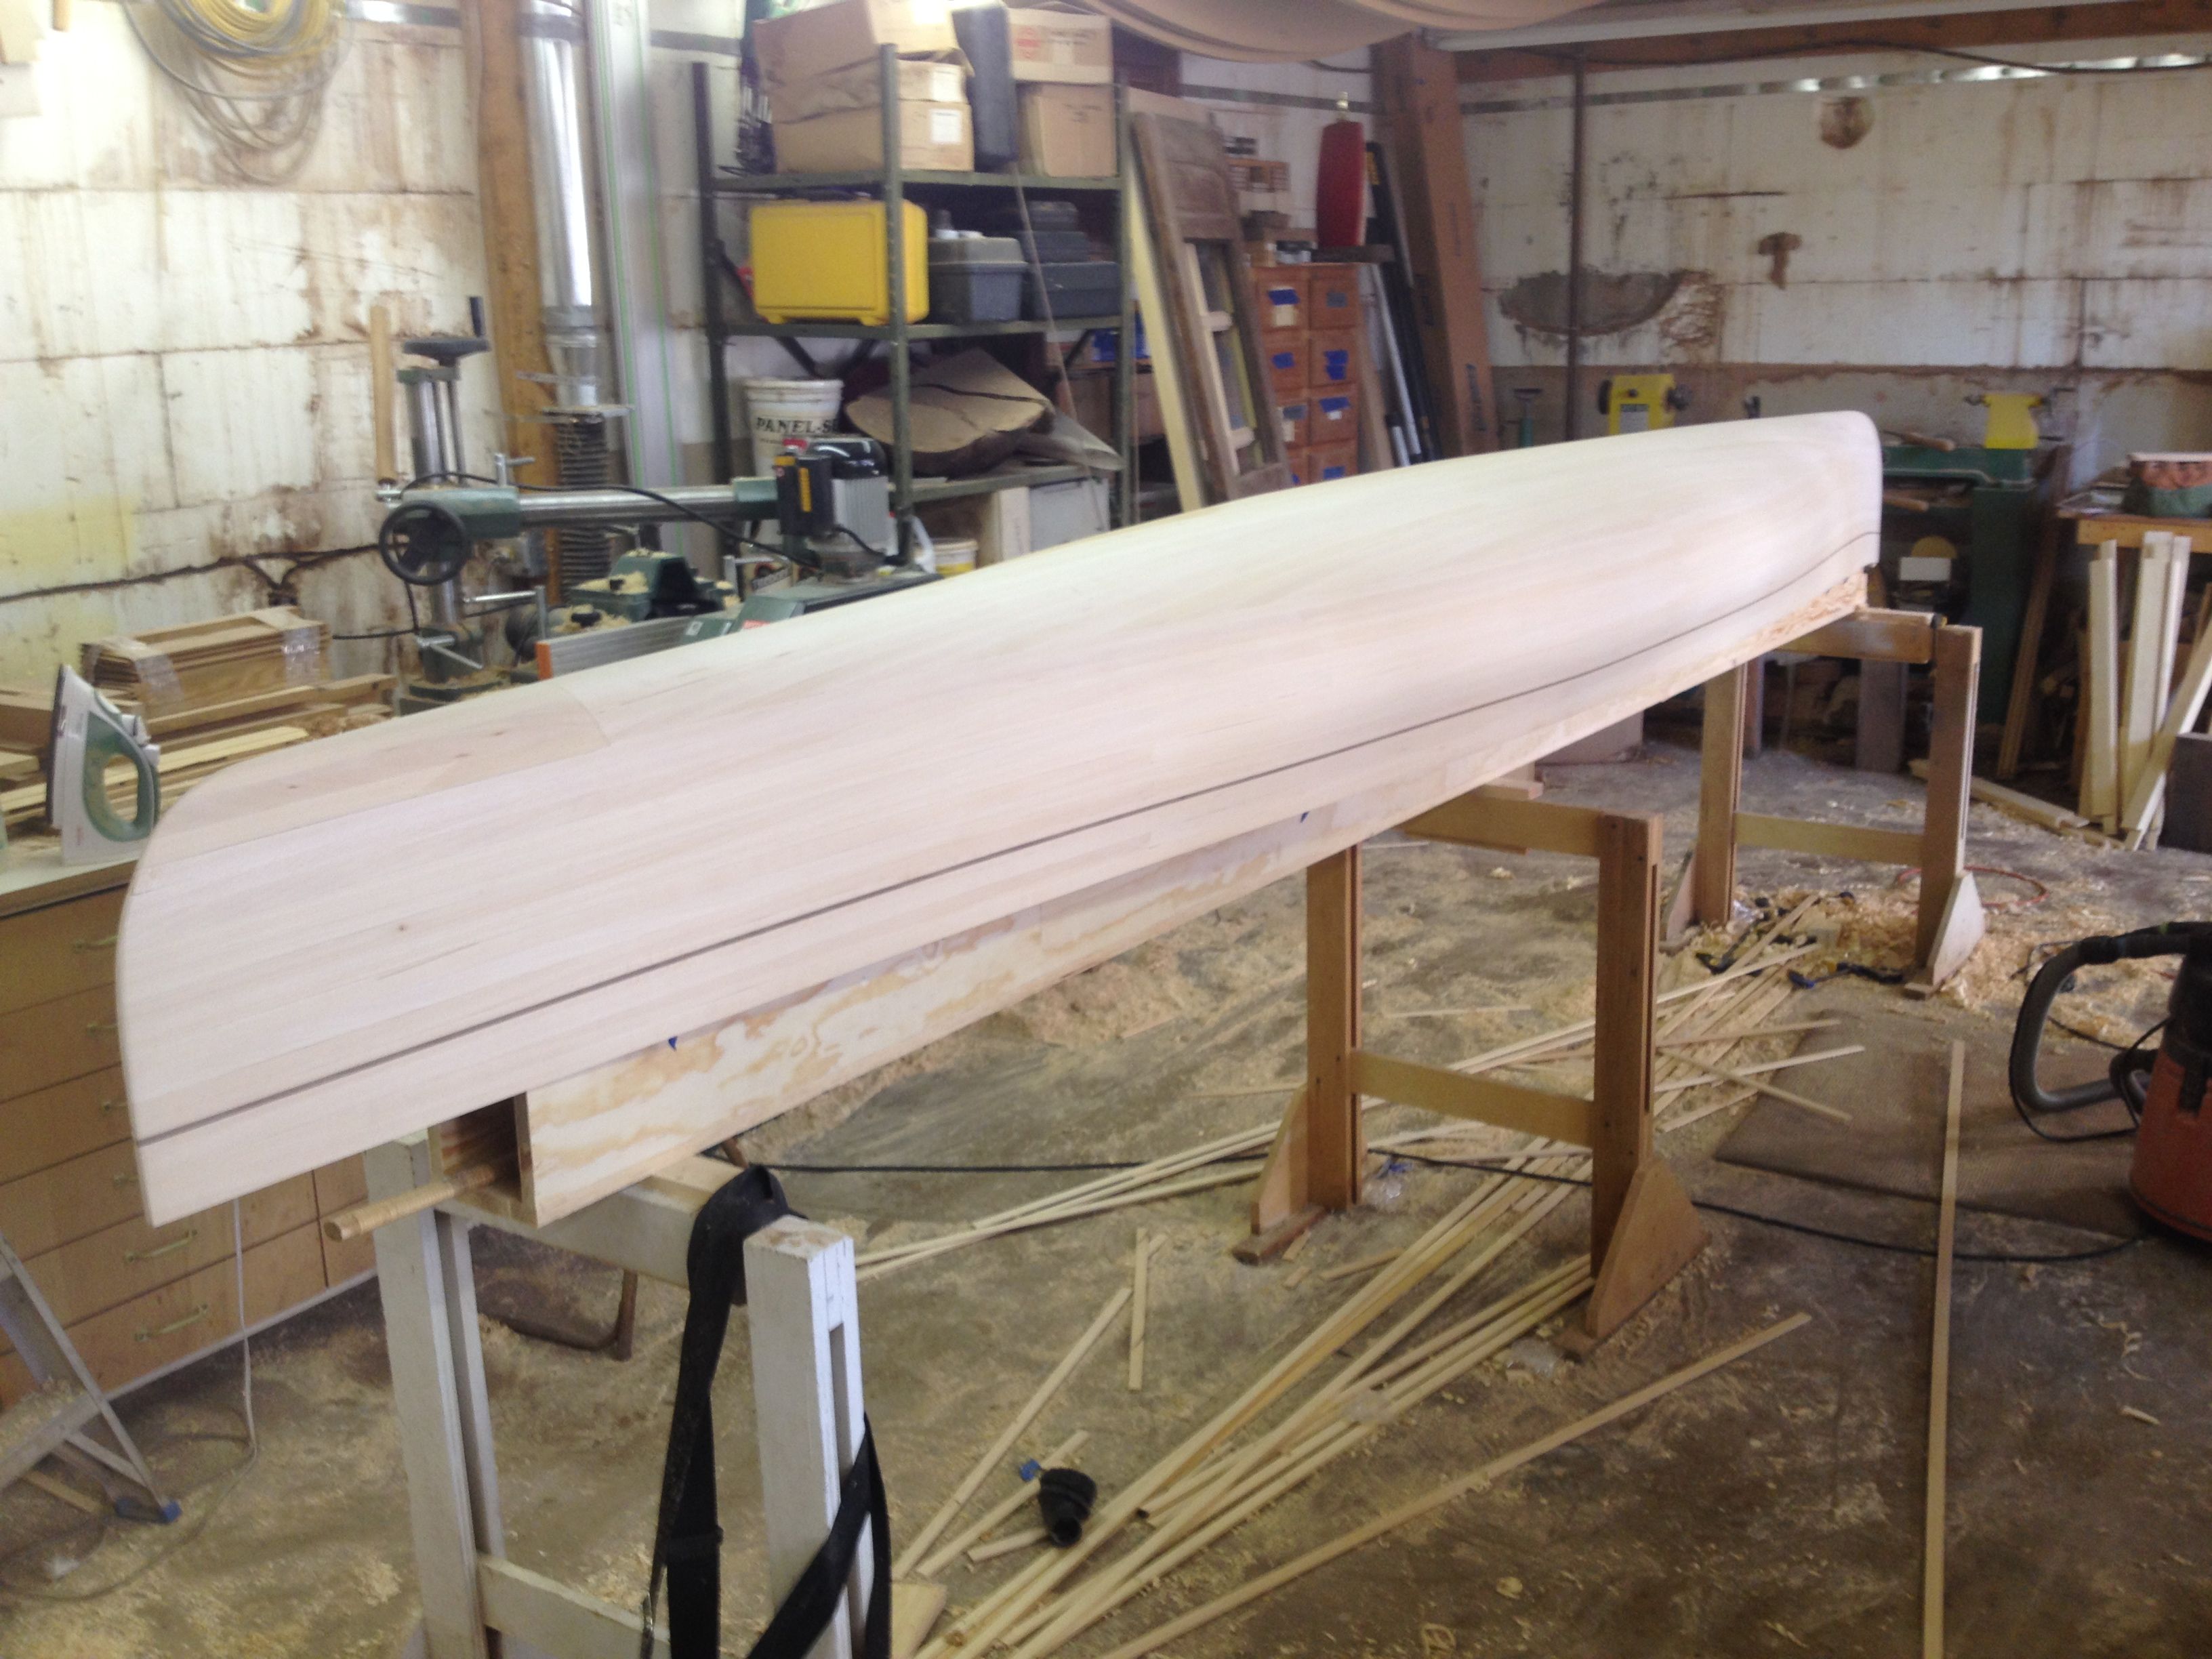
In the next installment I'll cover fiberglassing the hull, pulling it off of the forms, sanding and glassing the inside and fitting the decks and gunnels. There's still some work to do before you head to the river.